When Sarah and I first started dating, I liked sending her care packages from New Zealand. While collecting things for one package, I came across this interesting little thing in a cultural souvenir shop in downtown Wellington.
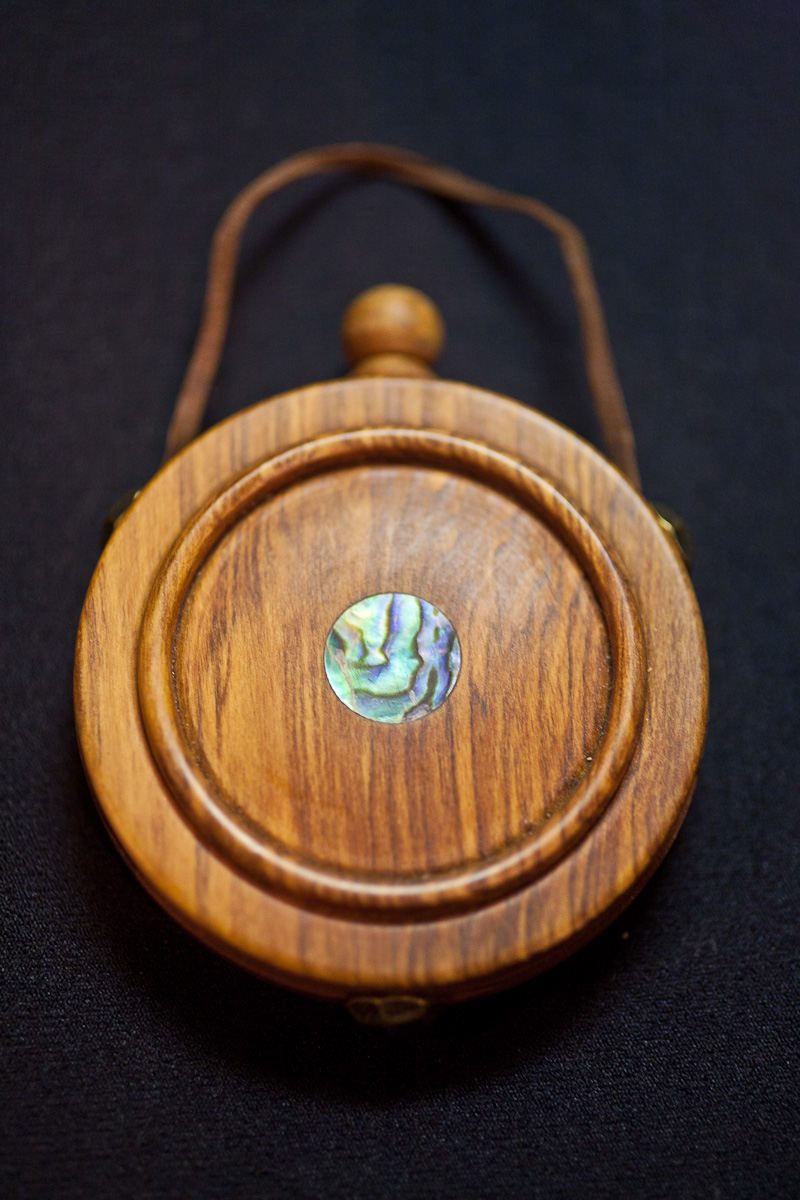
I asked an employee what it was, and she explained it was an air freshener. She pulled a tiny plug out of the top of it to reveal a bored hole that ran the length of the disc.
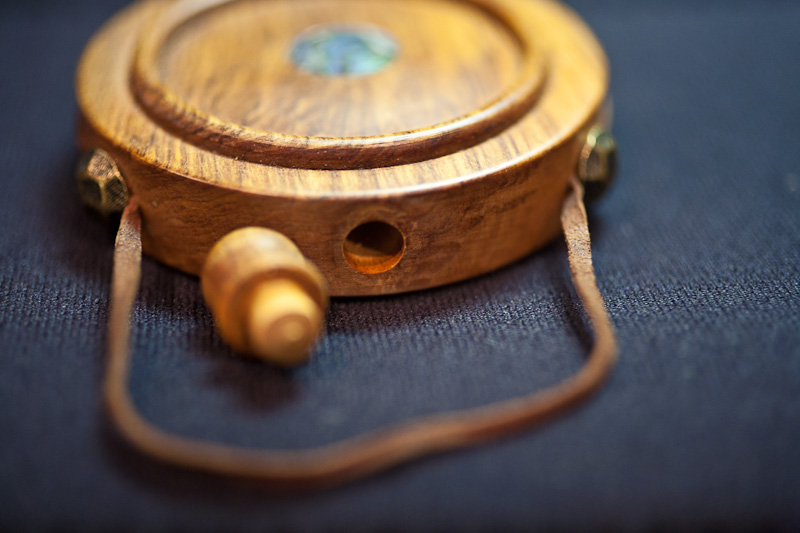
This cavity can be filled with essential oils, which the wood absorbs and releases slowly. She said sometimes people keep them in closets or in the pockets of suits to keep things smelling fresh.
I totally loved the idea, so I bought it and filled it with my cologne. This doesn’t work quite the same way, I knew…cologne is alcohol based so I was curious if it would evaporate too quickly to even make it from New Zealand to New York, much less to last beyond that. I played with the thing for a few weeks, filling it with cologne every day or two before letting it dry out for several days…even though the liquid went away, the smell persisted, and before long I had a little trinket that smelled like me. When Sarah eventually opened the package, she said the box was flooded with the smell, and she’d periodically mail it back to me to have me refill it.
I’ve been on a jag for a long time to make my own service piece for this project. The service pieces play such a large role in setting the stage for each of these dishes, and the more abstract or unexpected they are, the more I love them. I don’t yet have metalworking skills or know how to pour porcelain (though I want to learn both), but I do know a little about woodworking. A friend from work recently introduced me to a nearby exotic woods shop; it’s filled with beautiful exotic lumber from all over the world, including odd cuts, burls, and other unusual things. I decided to try to find something that I might be able to fashion into a service piece.
I didn’t have a firm plan going in to this really; I just went to the shop one afternoon looking for something sized roughly-appropriately to sit in front of me on a table, and that was unique and bizarre and interesting. The owner pointed out several gigantic slabs of california walnut that are typically bought by artists and turned into large-scale furniture like live-edge tables. The idea of honing one into a plate seemed mildly interesting until he told me I couldn’t buy cut-offs of these, but had to buy the whole thing. I asked if he had anything smaller, and he directed me to their lumber loading dock, where they’d just gotten a new shipment of stuff.
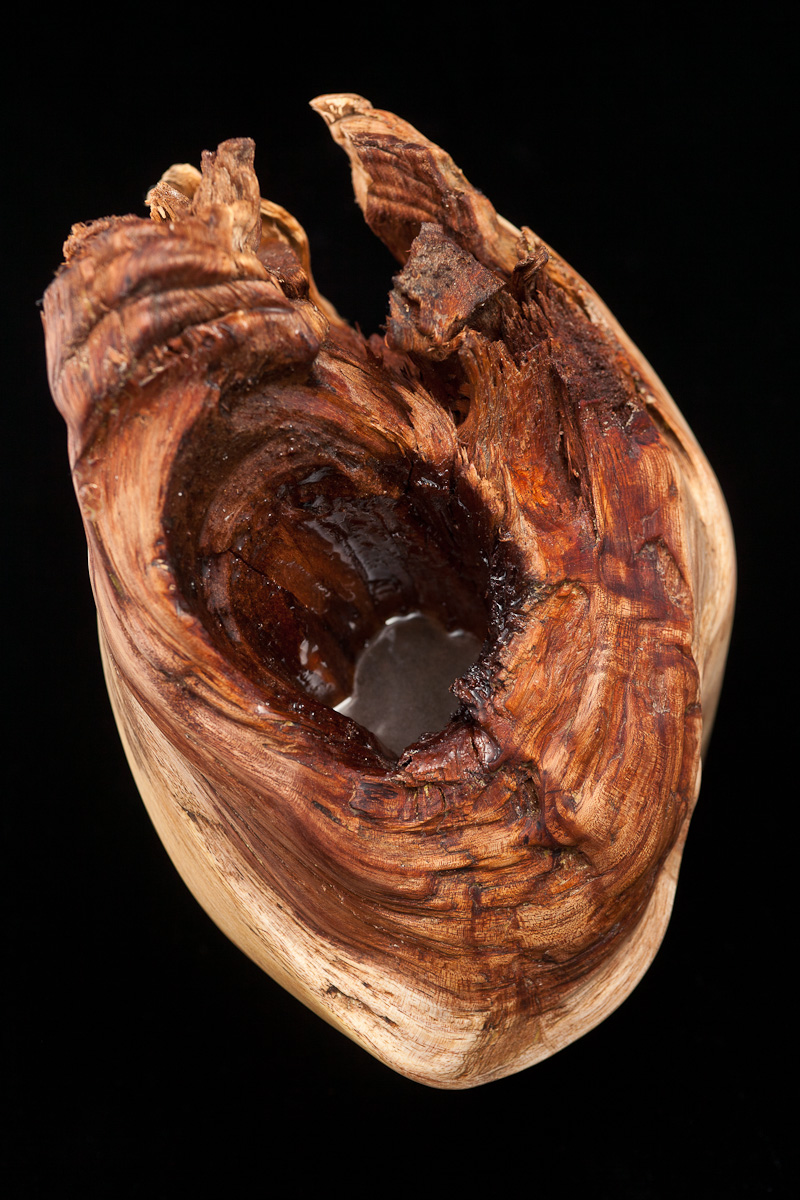
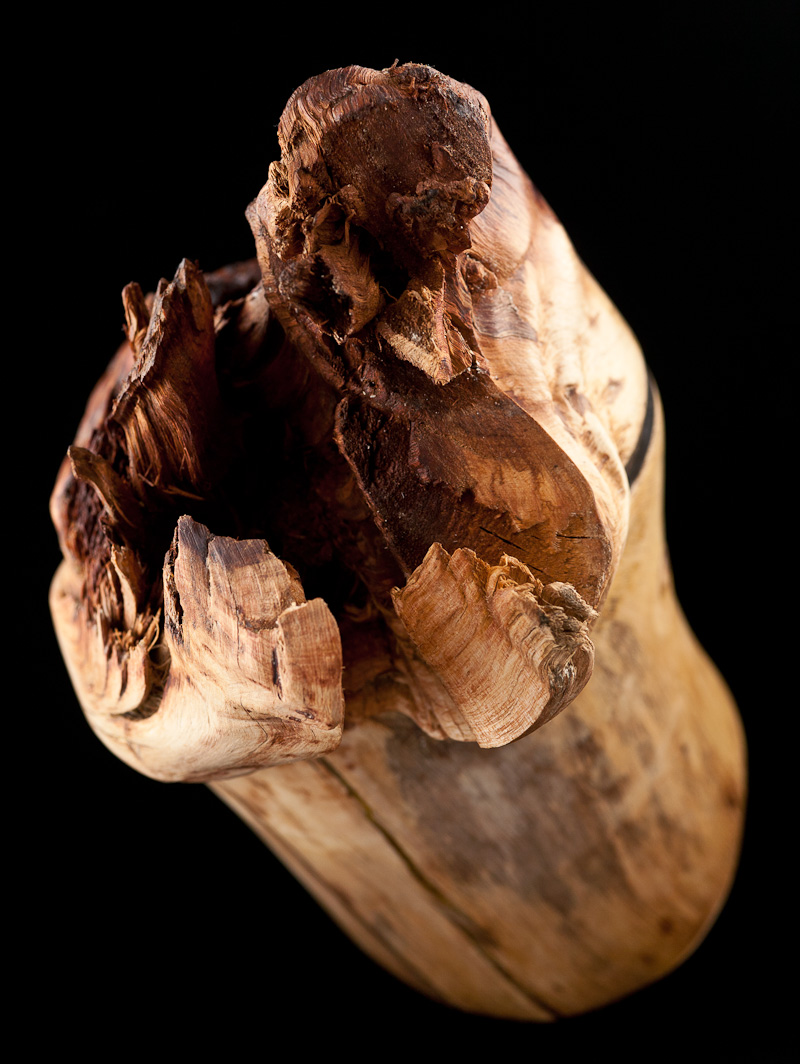
A woman with a pit-bull greeted me at the dock, and pointed out several smaller burls she’d cut, but they were all still easily as large as a torso. After wandering around for a few minutes I noticed a small piece about the side of a basketball sitting in what looked like a cast-off pile of sawdust and chips. The piece was deeply-wounded by a chainsaw cut that apparently had been rethought mid-slice, but in addition to the size I found the shape of the piece really fascinating. It had an internal cavity that looked like a well.

This dish (and a few others in the book) are served at Alinea out of a beautiful small black porcelain piece called an “inkwell”. It has a receptacle to hold a dipping sauce, and the base is wide and flat and thrusts upwards in the center, practically throwing the pencil-shaped dishes they tend to serve out of it at you. I wrote Martin Kastner asking if he ever had plans to sell this piece and he declined, which bummed me out because it’s jut so rad. The shape of this piece of wood, despite being quite a bit larger than Martin’s piece, still brought to mind this dish immediately. I asked the woman about it and she said she thought it was acacia, and sold it to me for $10. I bought it and brought it home, having no idea how to deal with finishing it really.

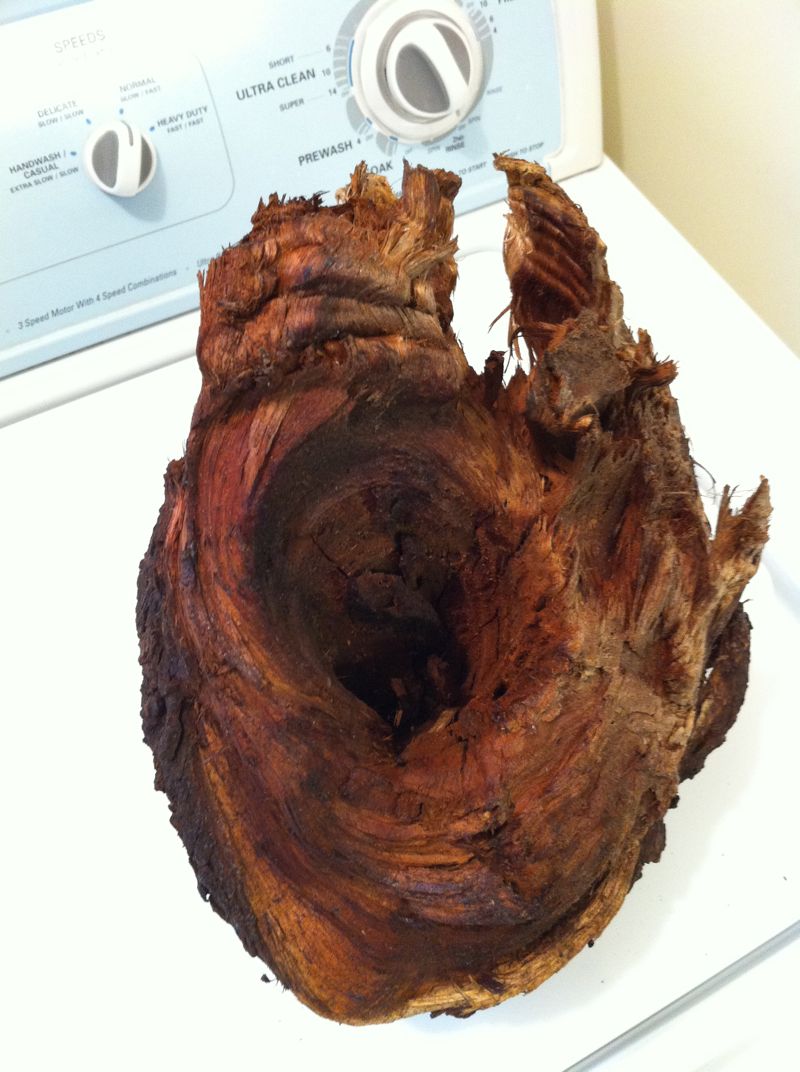
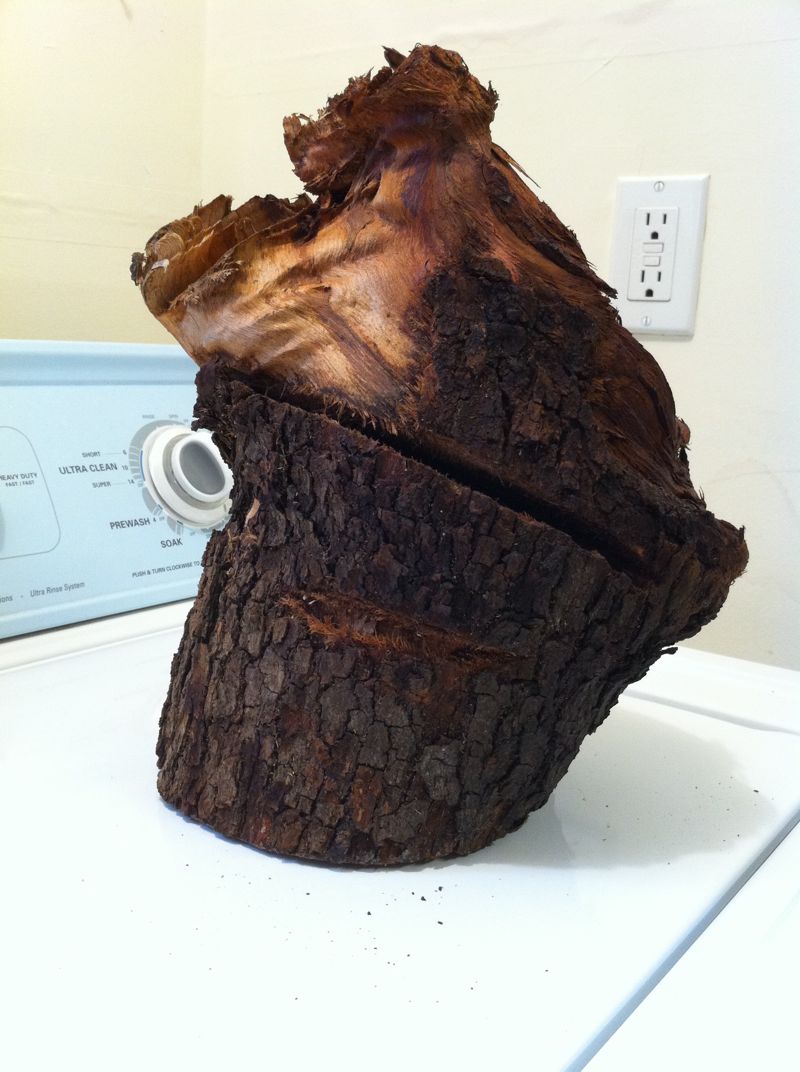
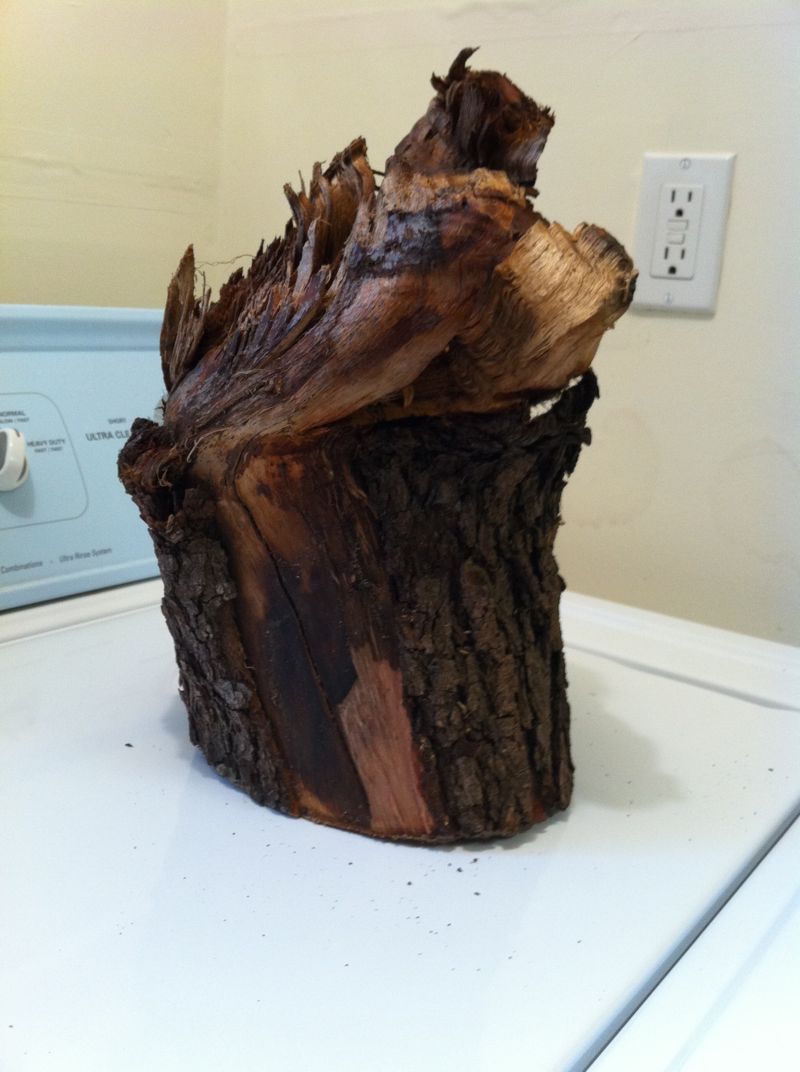
I spent a few days just looking at the thing. I picked at the bark a little, and it fell right off in most areas. There were two chainsaw marks, one shallow and another very deep. The cavity in the center tapered inwards like an inverted cone; I couldn’t quite imagine what this chunk looked like as part of a larger tree. I read a few websites about finishing live-edge wood (like the tables you see in overpriced swanky uber-hip furniture shops…those slabs of wood cost about $50 at a lumber yard, if you ever wondered), there were some helpful hints but no one seemed to be trying to do what I was doing (and even I didn’t really know what I was doing). I knew I wanted to preserve as much of the character of the wood as I could. After lots of deliberation, I took some chisels and carefully peeled off the bark. This took a few hours, and it was half deliberate and half me exploring the space.

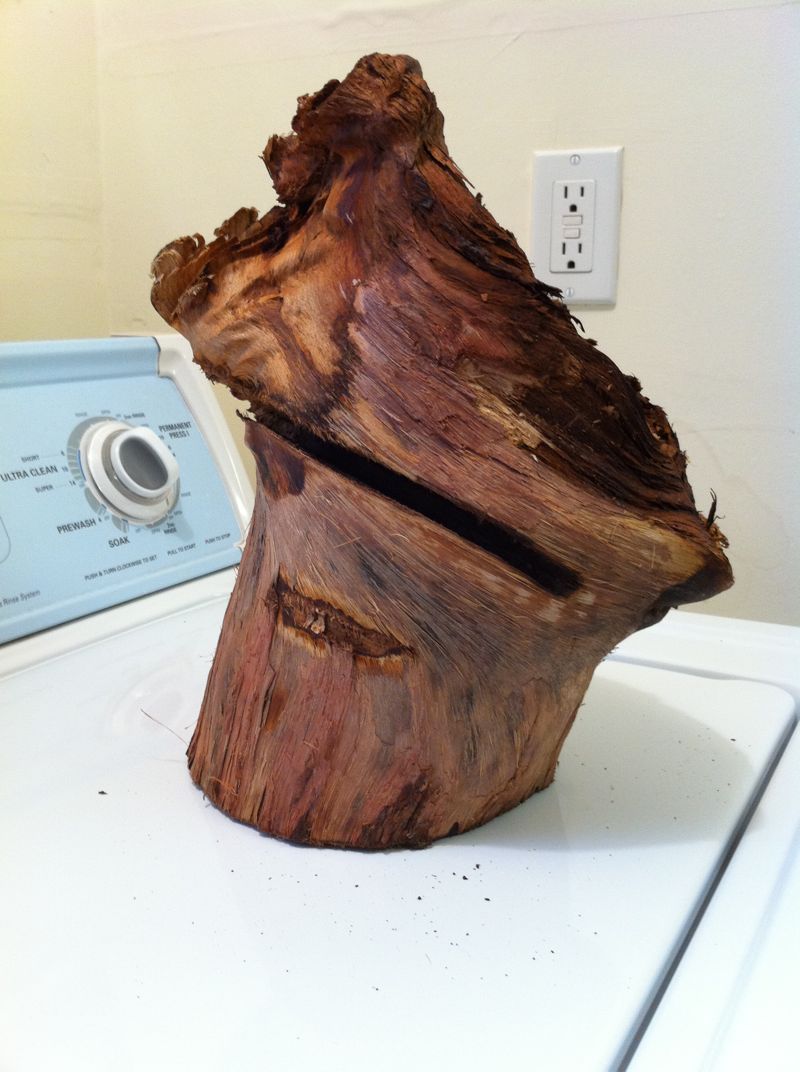

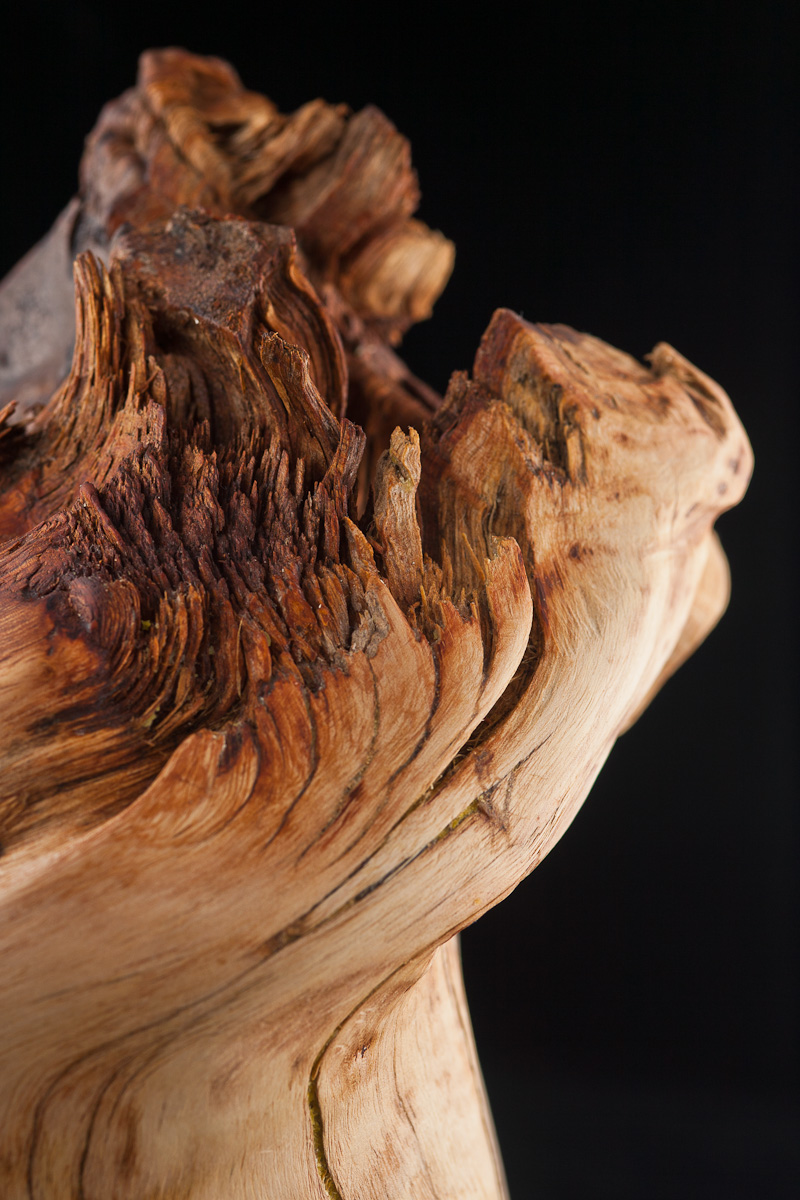
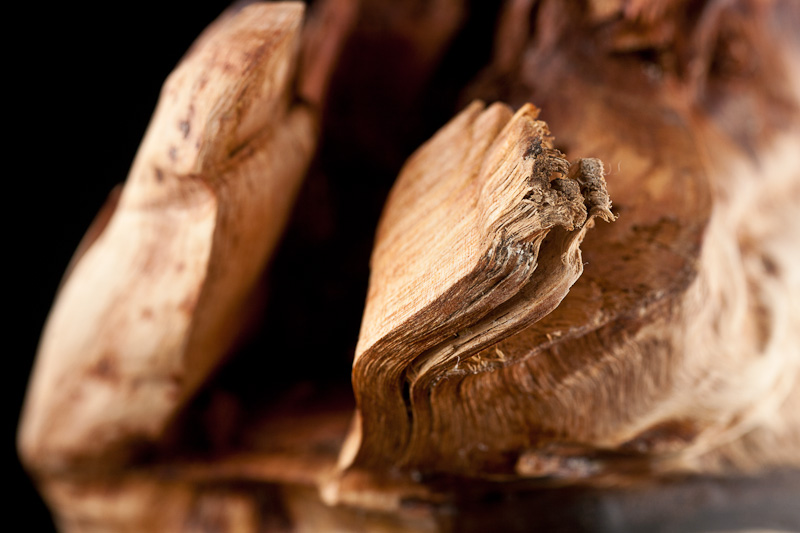
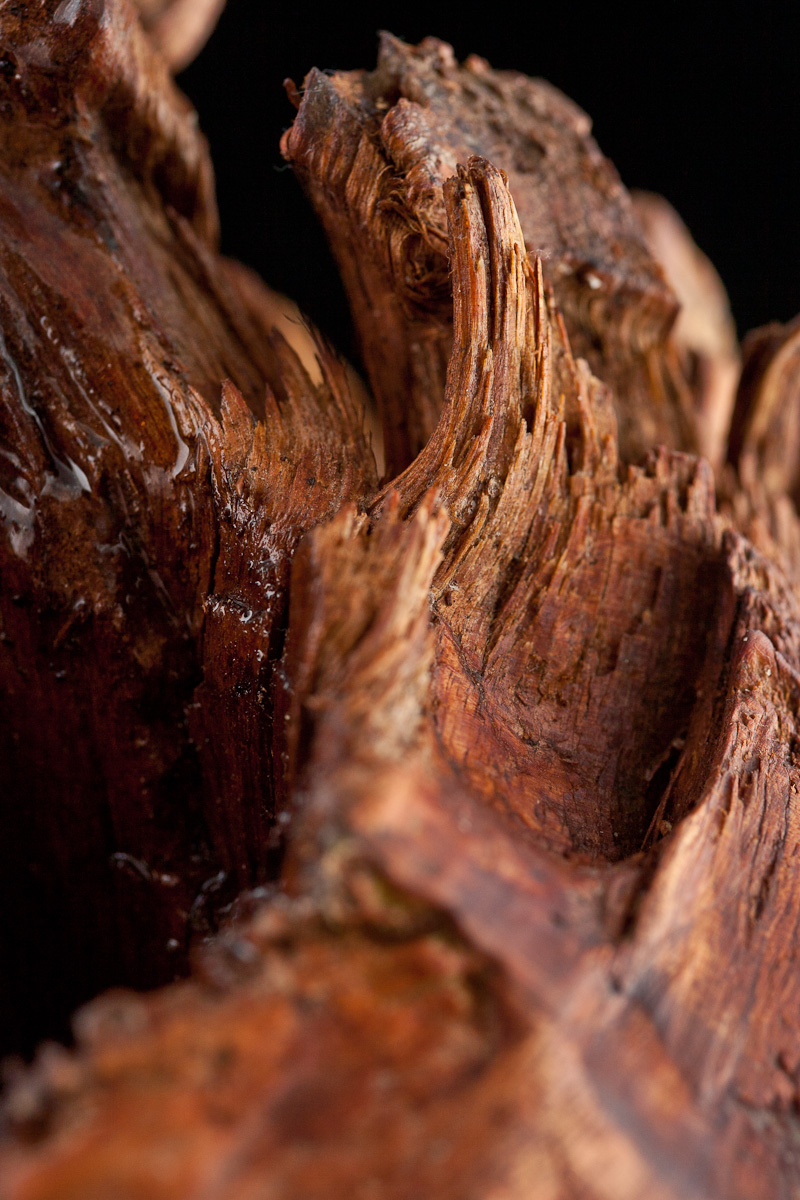
Taking the bark off revealed some completely bad-ass wood grain. I don’t think it’s exactly a burl, more like a ‘joint’ or something. I really loved the colors and visibility of the grain, but it was ‘flaky’ and very brittle. I figured I needed to sand more aggressively until I got down to something more robust. Doing this lose some of the visual impact, but there was no ‘undo’ so I had to go with it. I used a Dremel to hone out as much of the internal cavity as I could, but realized I’d never be able to smooth it completely. As I was working, I realized I could hit the whole thing really aggressively with the sanding, but I’d end up with a ‘melted-butter’ look that would kill a lot of the visual interest this thing had. I mean, there was the natural beauty of the wood, but I also found the jagged, violent edges really interesting as well. I decided to try to smooth out the visually-smooth parts as much as I could, while preserving the more violent details.
I can’t stress enough at this point how little I knew about what I was doing.
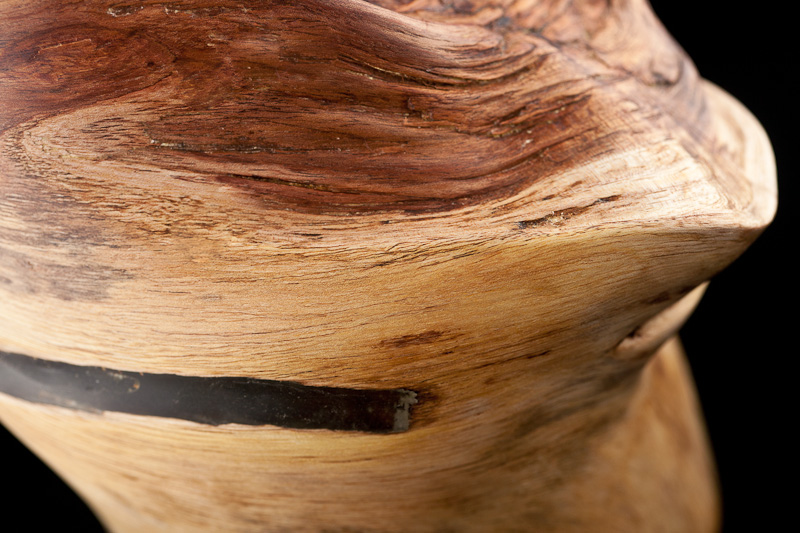
I didn’t really know what to do about the chainsaw gash; I couldn’t get rid of it, and sanding it would be a nightmare. I decided to fill it with clear epoxy; using some painter’s tape I taped up a little channel, then filled the cavity with the epoxy and let it dry, then sanded it down.
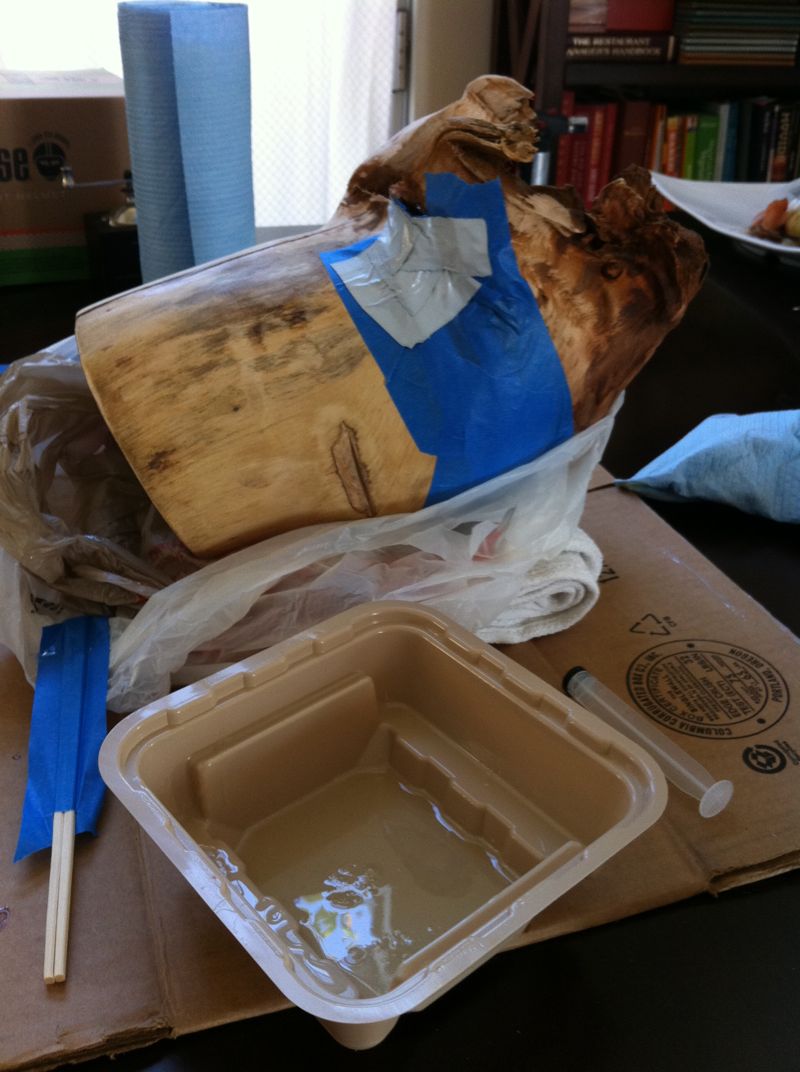
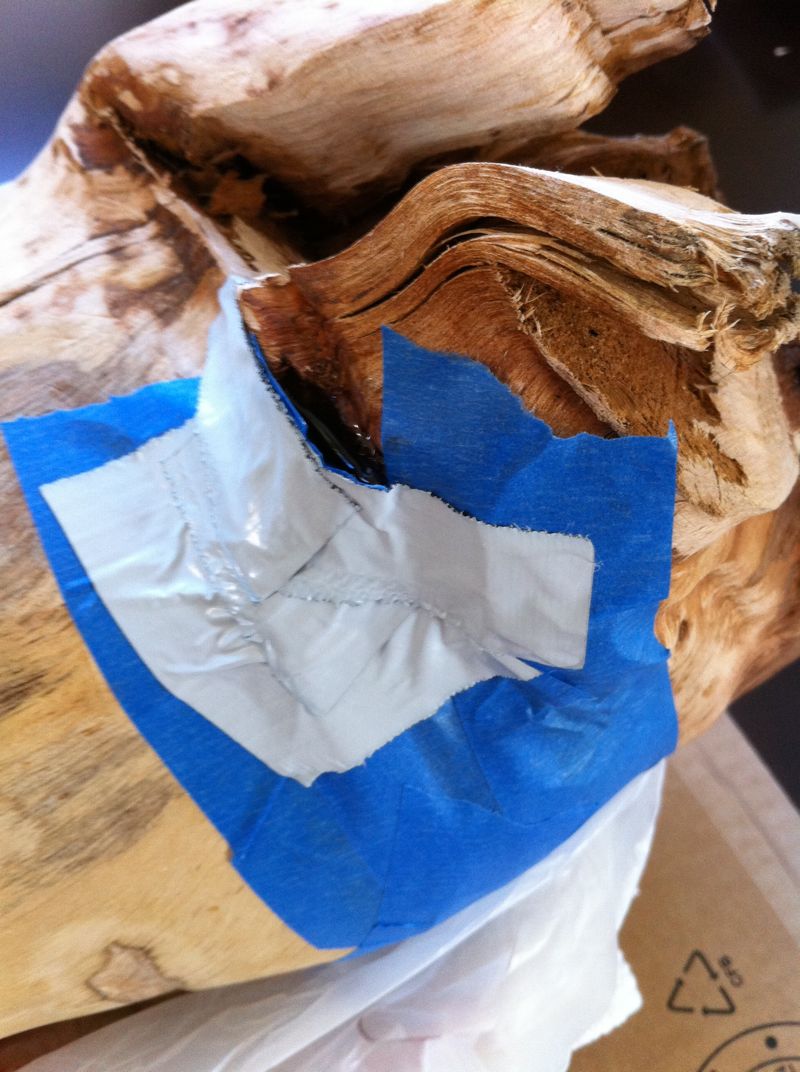
Knowing I intended to put food in the interior cavity, I knew I needed to seal it in some way. I ended up filling it with the clear epoxy as well; the stuff is waterproof and very durable, so I thought it’d make it easier to rinse it out gently. I’m not sure how foodsafe it is; I’m sure ‘not very’. It’s not meant to be subjected to temperatures above 200F, so sanitizing it with boiling water was out of the question, as was heat-treating the wood in any way. But, whatever…experimentation and all.
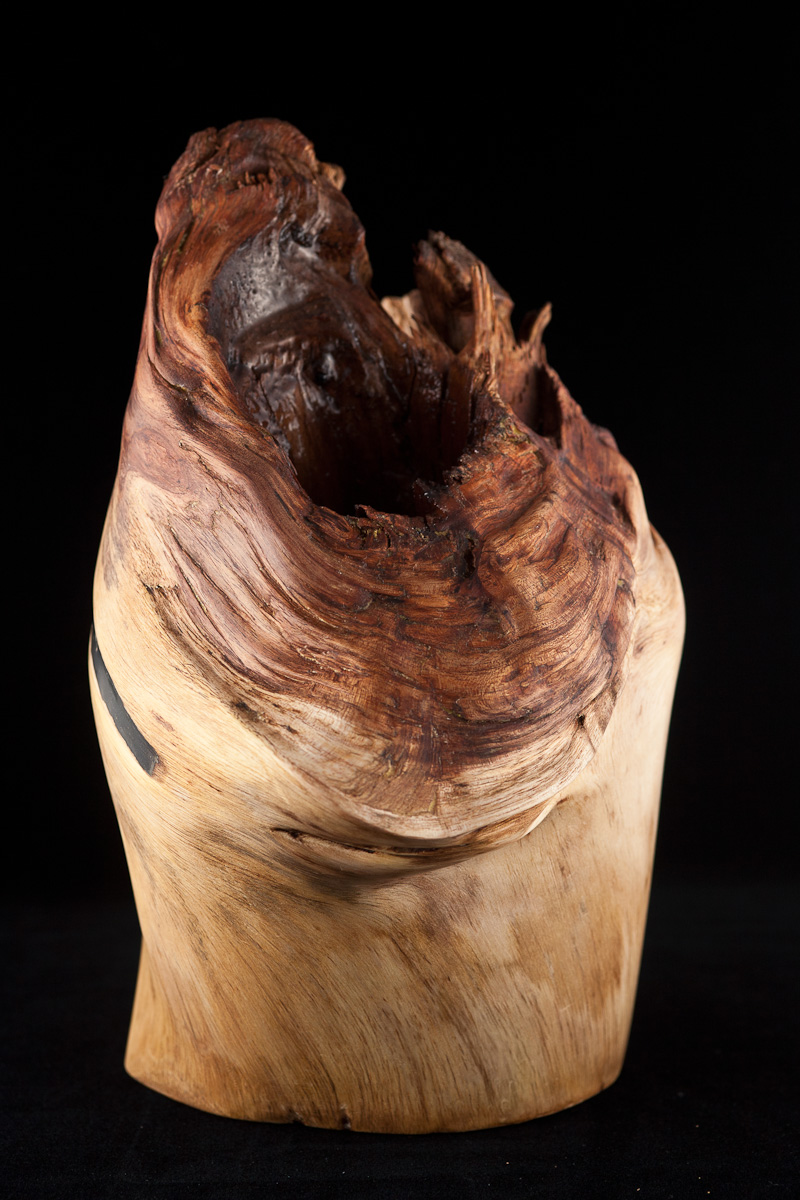
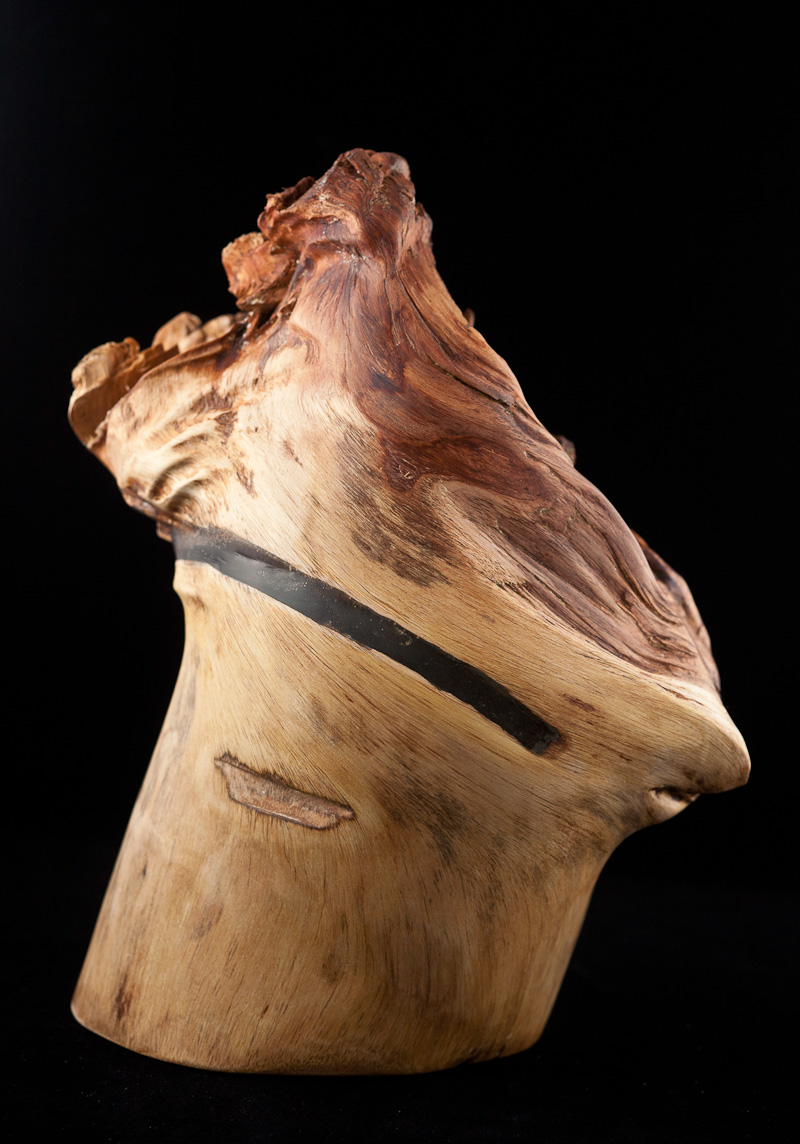
But here’s where I felt pretty proud of myself: remembering the wooden air freshener I sent Sarah, I wanted to try something similar here. To hit two birds with one proverbial stone, I sealed the wood with a mixture of orange oil and beeswax. The wood soaked up the oil, and the wax sealed it in, so the whole piece smells brightly of oranges. It turned out reasonably ok; the smooth areas are very touchable, and when you run your hands over it your fingers immediately pick up the scent so that your hands smell like orange as well. That part is pretty cool. The harsh features are pretty dramatic and visually-interesting. The epoxy covering the interior cavity is very shiny, which makes it look wet. I find this a little odd and not all the way awesome. I’d also hoped dripping thick epoxy into the interior would help give the effect of smoothing it out, but this didn’t really work. And I had no idea how it’d look with food stuck in it. In the visual effects world, we’d say something like this has fallen into the “Uncanny Valley”. It’s not really all the way awesome as an art piece, and probably not all the way awesome as a servicepiece. It’s features aren’t all the way natural and aren’t all the way manmade…it’s a big mishmash of aesthetics, none of which are very gracefully-done.
But hey, this isn’t a woodworking journal, so let’s talk about some food. This food was particularly fascinating to me.
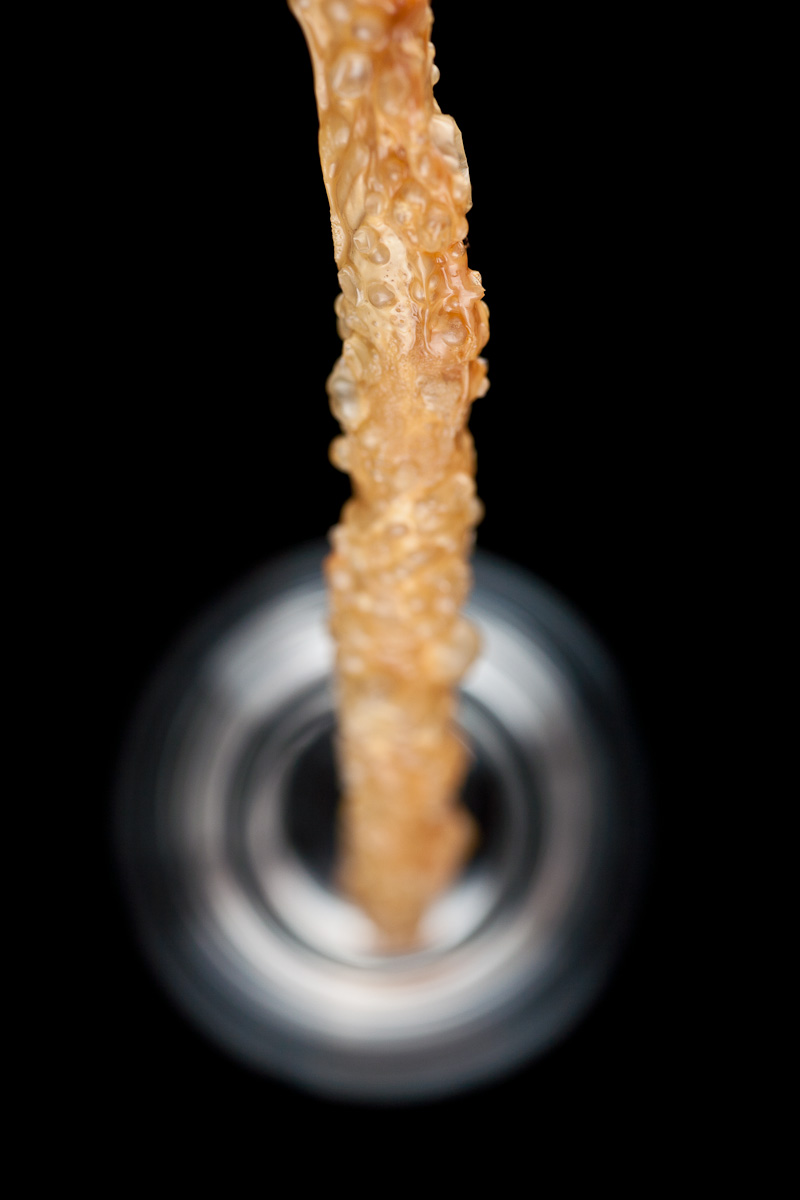
I’d never heard of “Yuba” before, so I looked it up on wikipedia. Sometimes called “dried bean curd” or “tofu skin”, yuba is the skin that forms when one simmers soy milk (not unlike the skin that forms when simmering dairy milk). I started this process by soaking some dried soybeans overnight in a pan of water.

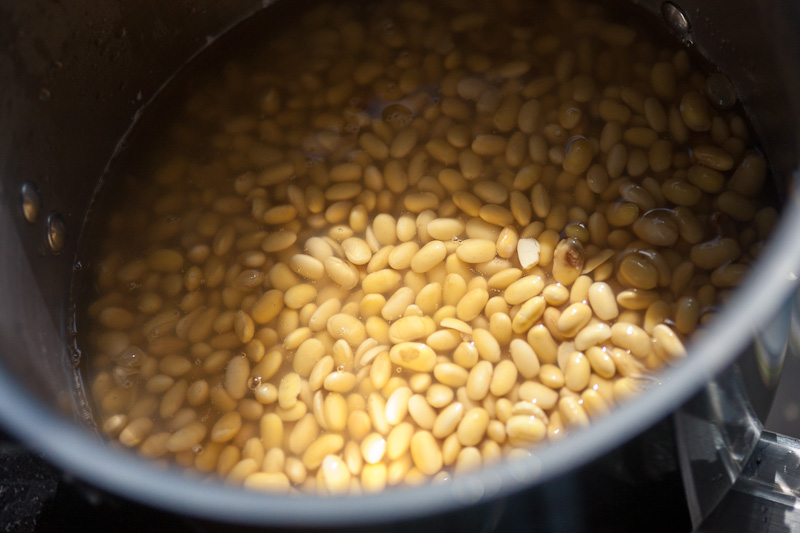
I measured out 250g of the beans and put them in my blender along with some water.
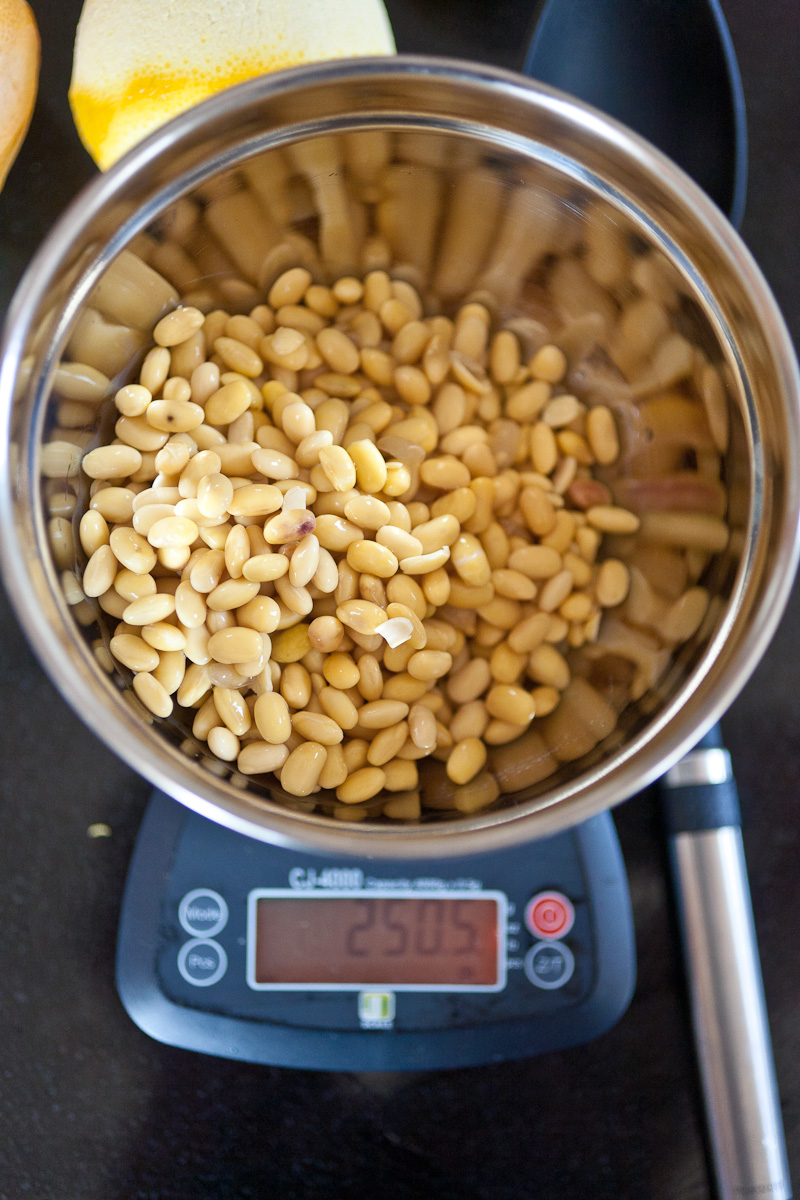
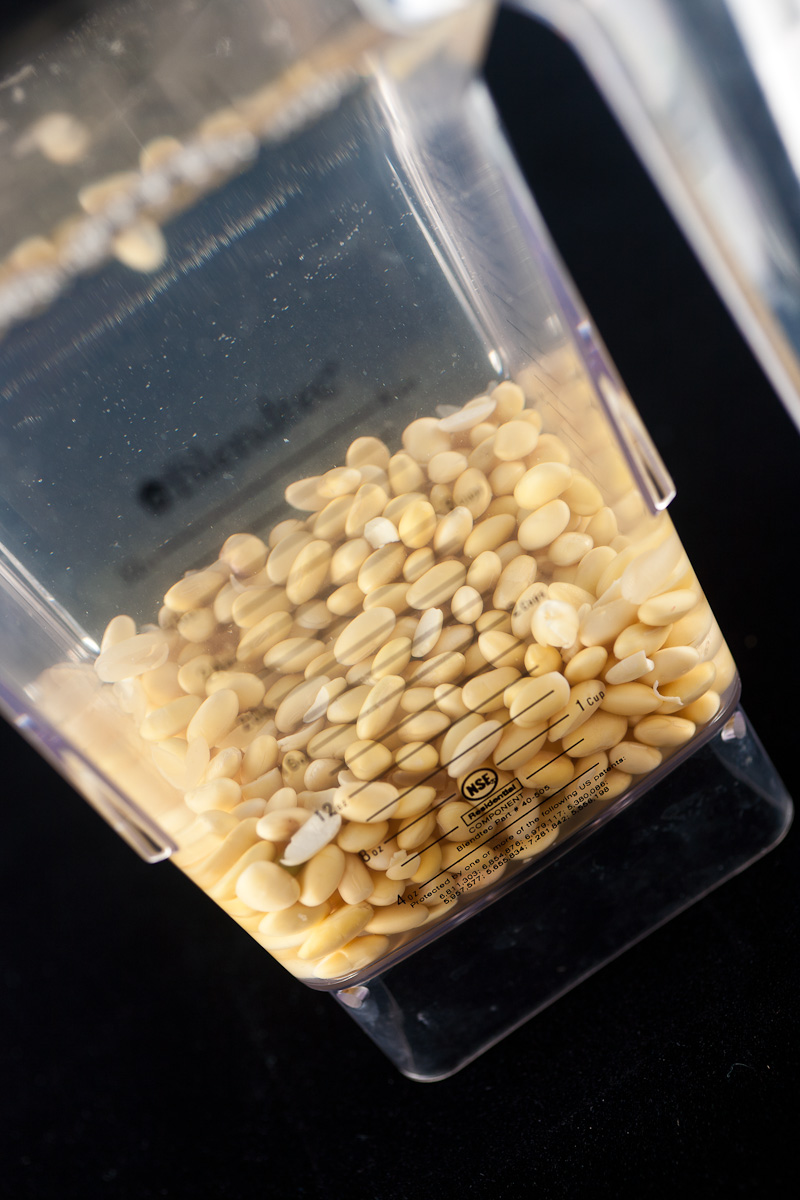
After a minute of blending, I ended up with a pitcher of soy milk. (Side note: keep your hand on the lid. This dish has the dubious honor of causing the most amazing, massive mess I’ve made during this project so far. The recipe fills the blender pitcher to capacity, and if I’d been thinking, I would have split it in two. I didn’t, and took my hand off the lid for a second while it was running to adjust my glasses; the lid flew off and bean juice covered half my kitchen (myself included), from ceiling to floor. I stood for a moment before bursting into laughter. It took me about 2 hours to clean everything up. Keep your hand on the lid).
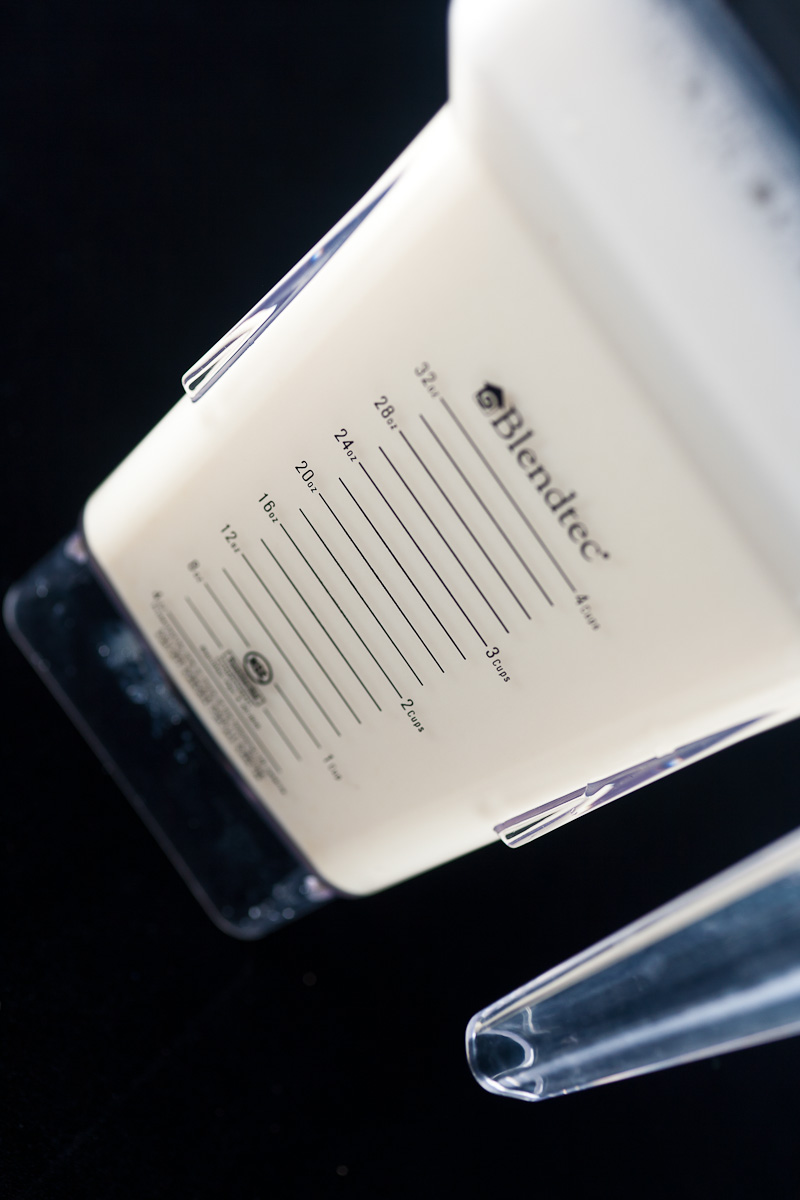
Next I boiled the bean cruft in a big pot; this works a little like boiling mash when making beer, in that there’s a heavy sediment that forms on top that causes the pot to boil over if you’re not careful. Keep one hand on the burner knob and watch very carefully.
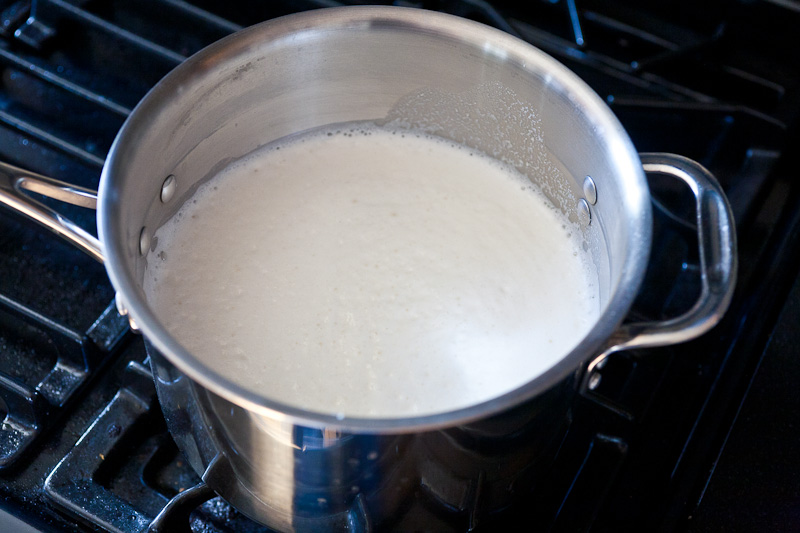
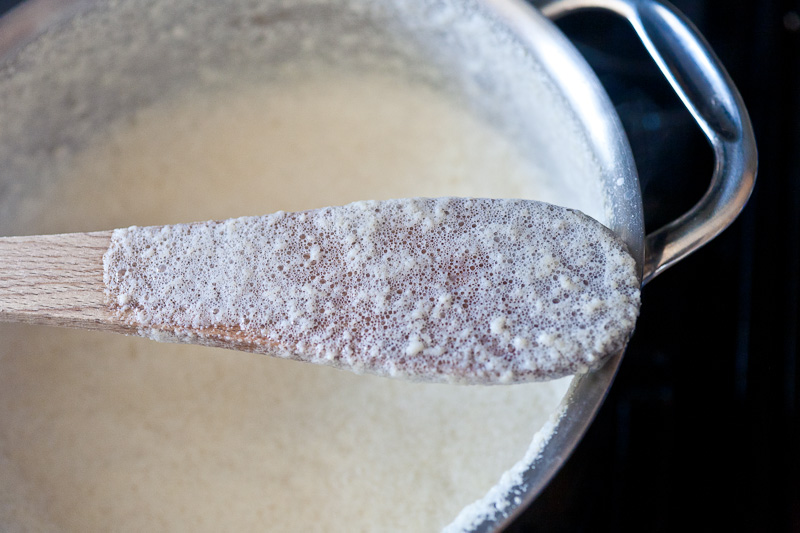
After straining this mixture, I have a fresh batch of homemade soy milk. I poured this into a skillet (the book says to use a pot, but I found a skillet makes getting a spoon under the skin way easier. I’m sure they’re doing enough of this in the restaurant though to warrant using a big pot).
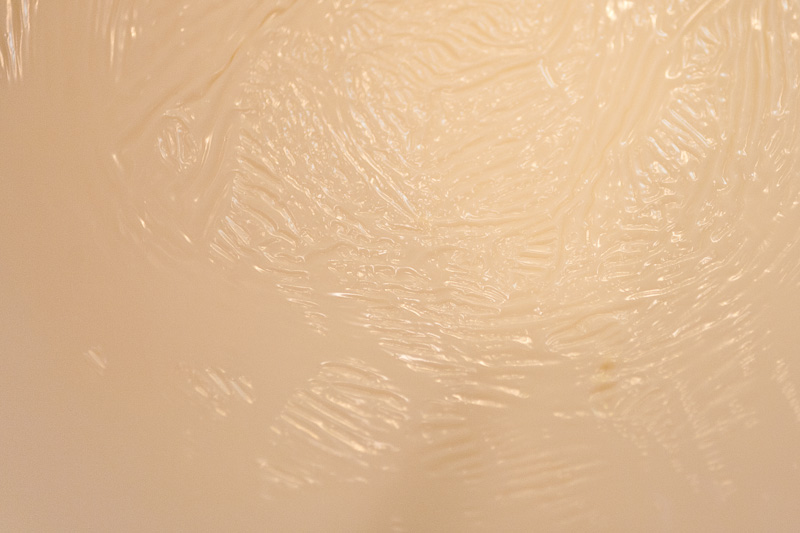
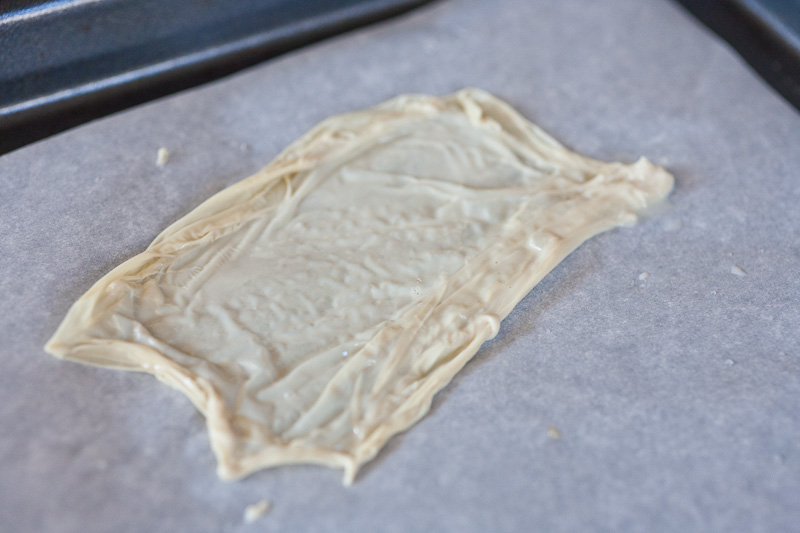
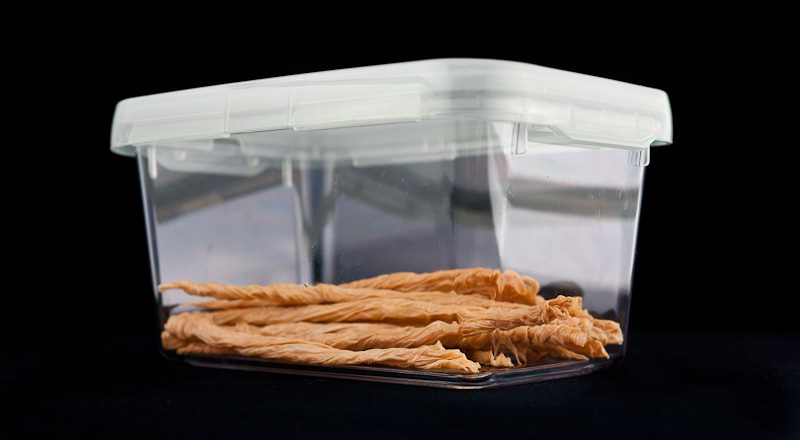
It took me a few tries to get the hang of pulling off the skins and laying them flat. They stick to themselves easily and are very hot, so it takes some dexterity. After a while, though, I was managing to peel off bigger and bigger sections and lay them out broadly. Each skin takes about 10-15 minutes to form, then dries for another 15 minutes before being rolled into a thin pencil-like tube.
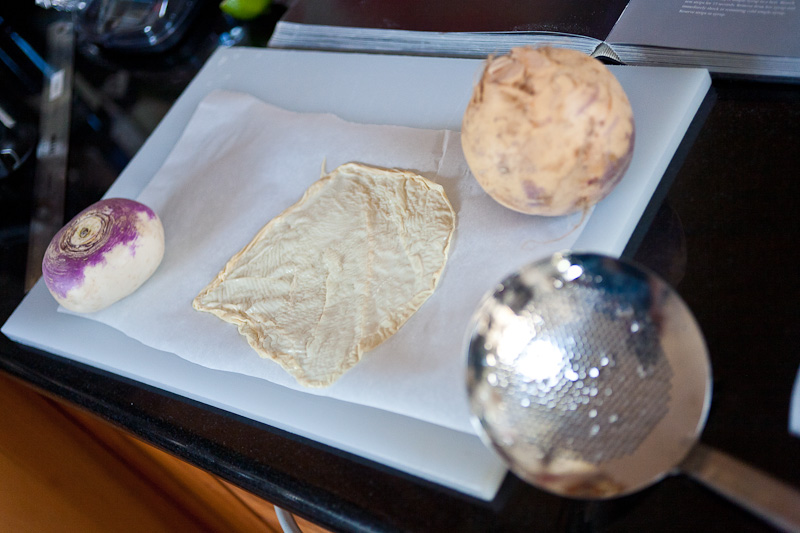
After this, I dehydrate the tubes until they’re ‘dry but pliable’. I overdid the dehydration (usually this is pretty hard to do, but in this case you want a little moisture in these things so that they’ll puff when you deep-fry them later).
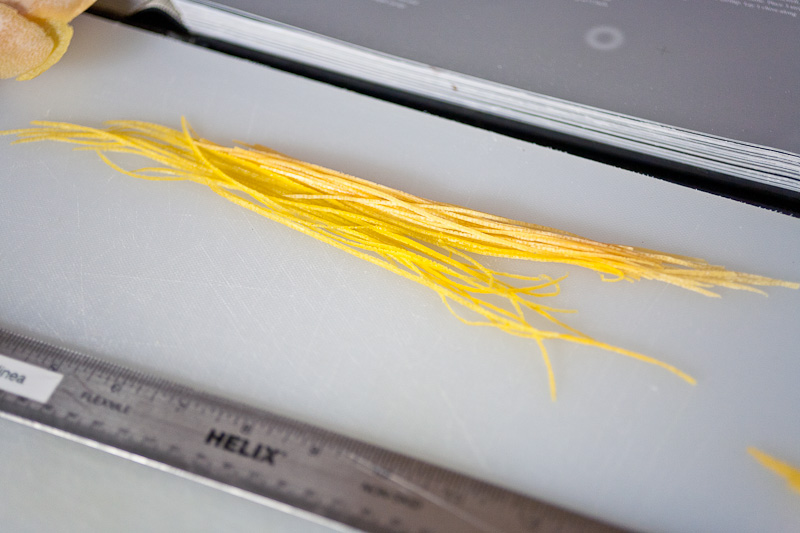
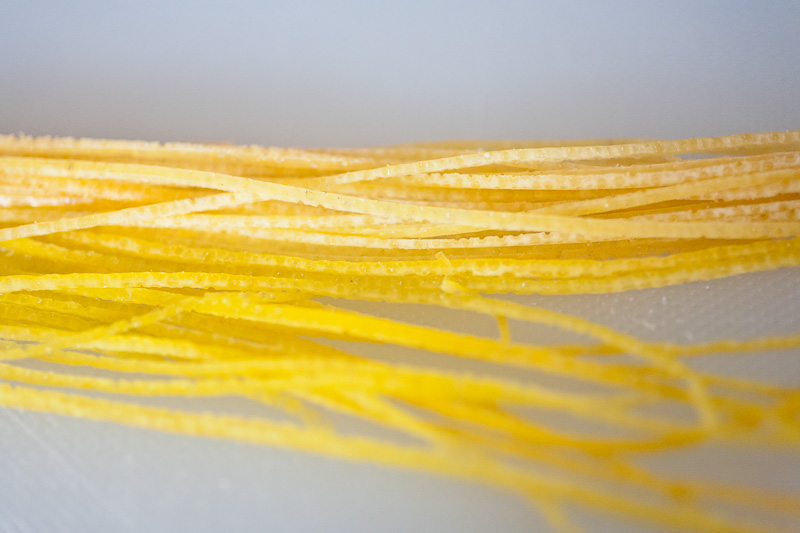
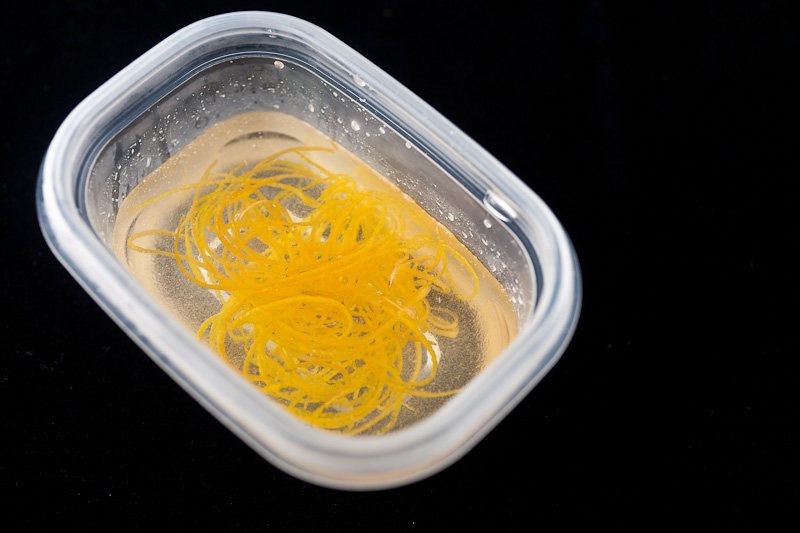
Next I made some orange peel laces. This is a simple idea that’s a little tedious in practice; I zested an orange (and a grapefruit, ’cause why not?) and sliced the zest strips into long, thin laces using a ruler as a cutting guide. Then I blanched the laces in simple syrup and shocked them in more simple syrup.
Lastly I made some mayonnaise with miso, lime juice, and a bit of cayenne in it; this would be my ‘dipping sauce’ for the final dish.
I heated some oil, and fried a few of the yuba sticks. I was worried I’d over-dehydrated them, but they did puff up a bit nevertheless.
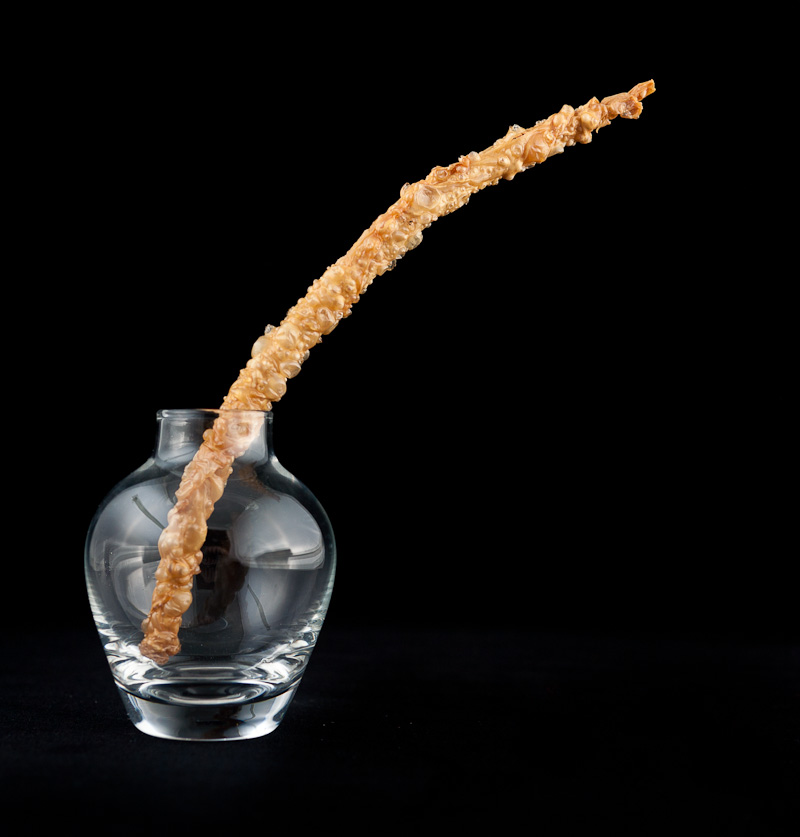
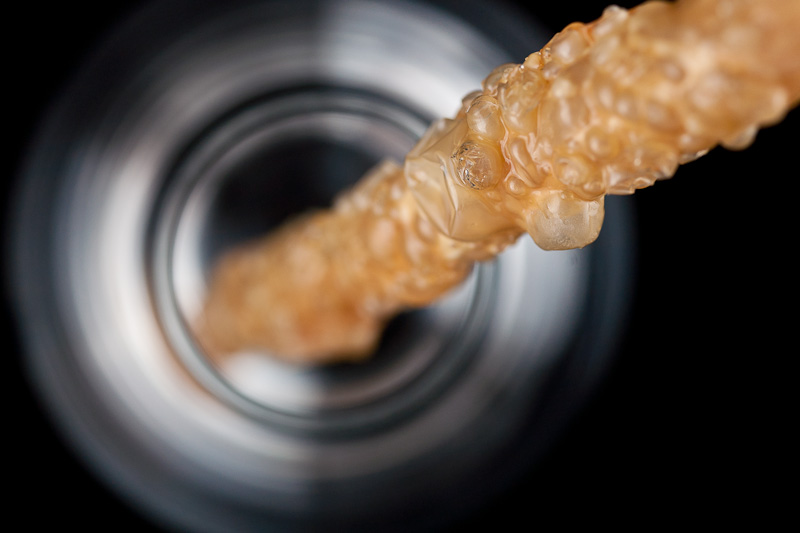
While the yuba sticks drained, I prepared some raw shrimp. I peeled them, then did some tricky cutting to remove a section 1/3 their thickness from the middle of the body. This let me ‘unfold’ the shrimp from the head, creating a long, thin curve of shrimp meat.
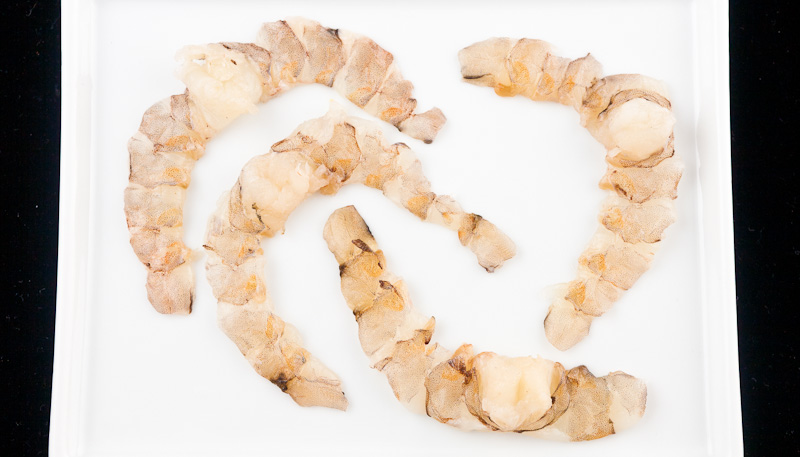
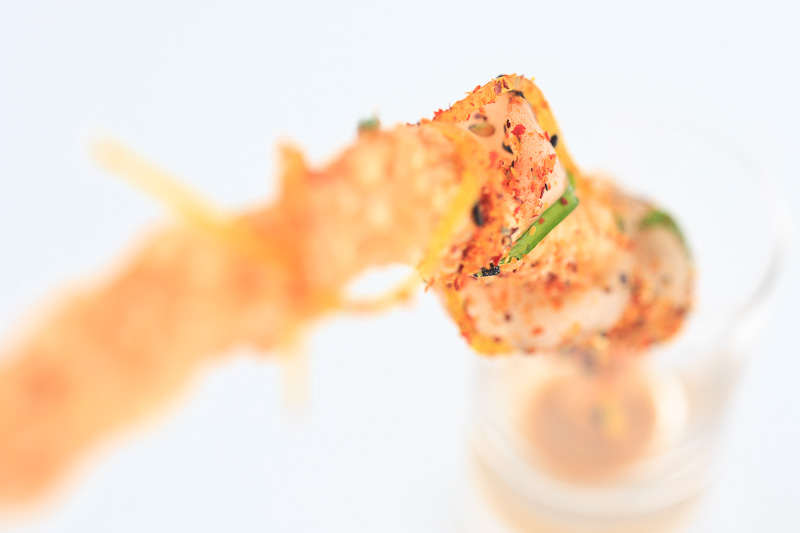
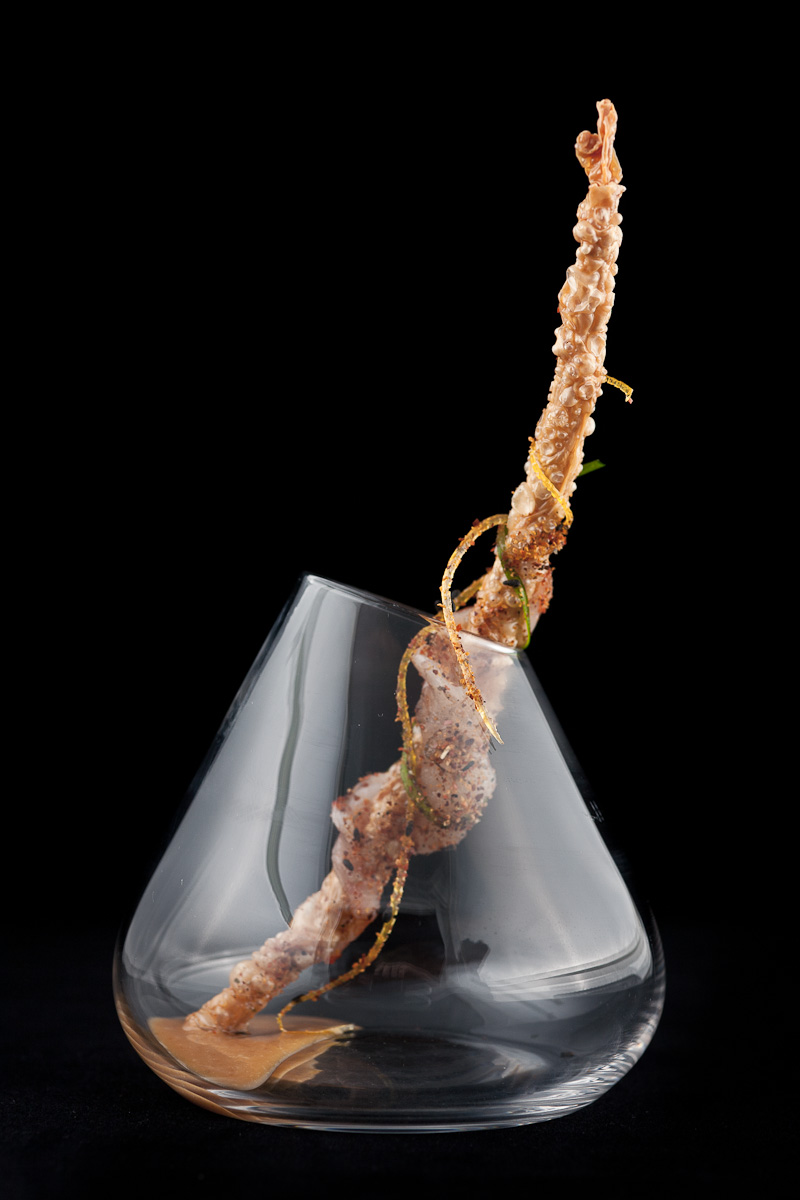
I wrapped each shrimp around a stick of yuba, brushed them with oil, and broiled them until the shrimp were cooked through. Then I wrapped the resulting shrimp stick with orange laces and chives, and seasoned with togarishi. I tried plating a portion in my orange-scented acacia servicepiece.
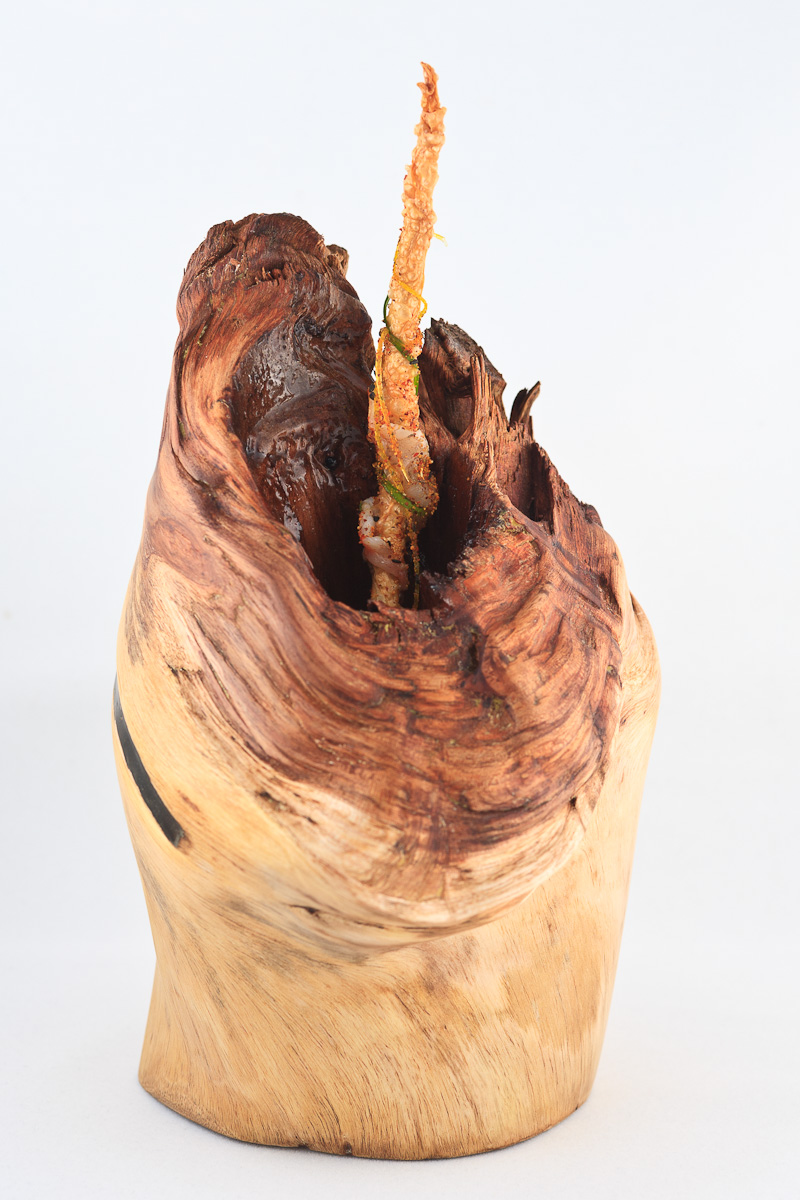
It looked a little weird.
Sarah noted as I was working on the wood that it was too big for this, and I think she’s right. I hadn’t really considered the similarity of colors when planning this; there’s not a lot of contrast, which I guess might be a little cool but also means the eye doesn’t really know exactly where to go first. The focal point isn’t very strong. And the juxtaposition of a shrimp and a log is a little jarring. I guess a kind way of describing this thing is “enigmatic”.
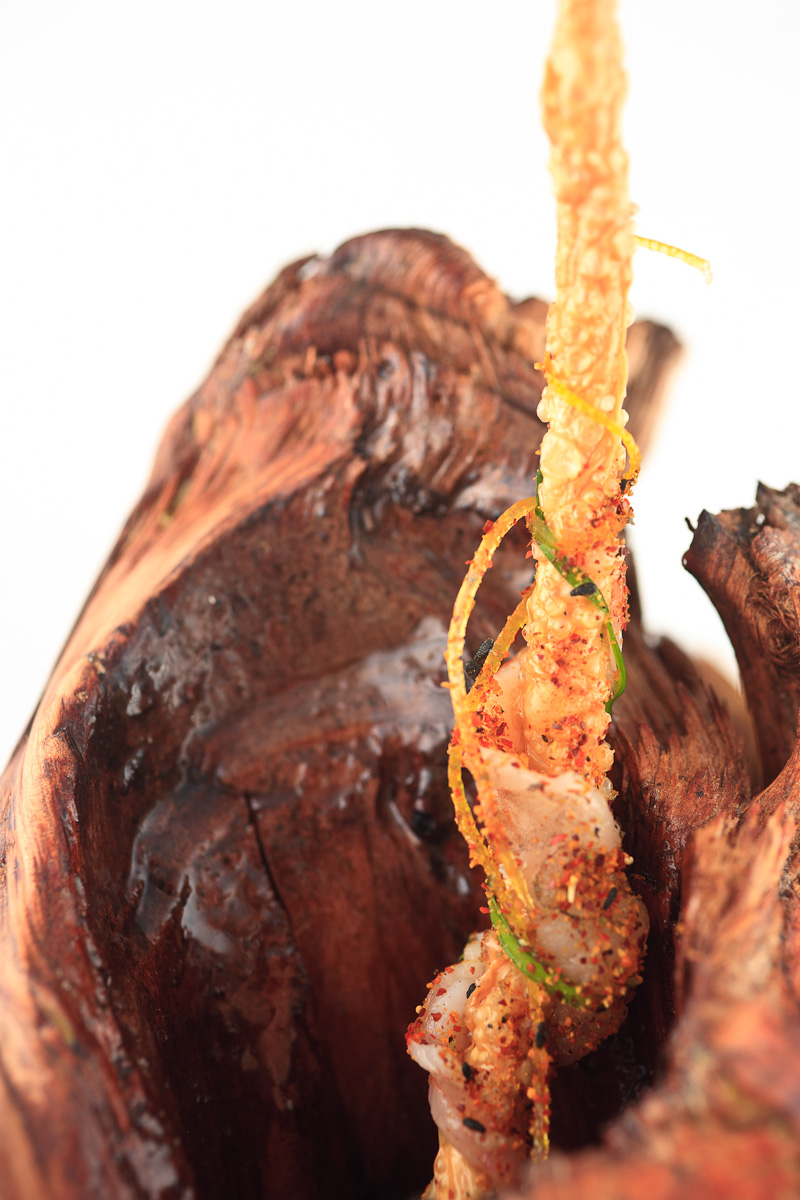
But, at least the food itself was nice. The yuba is like a crispy chee-toe-kind of texture, very light and airy but ‘sharper’ in crunch than a potato chip. And it has a taste, though it was new to me so I can’t describe it very well. I don’t typically eat a ton of soybean/milk products, so that might explain my limited vocabulary. The miso mayonaise is a nice compliment to the yuba and shrimp–tasty without being overpowering. Most of all, I enjoyed the orange. I loved the scent from the wood, and loved the bite of the zest wrapped around the yuba stick itself.
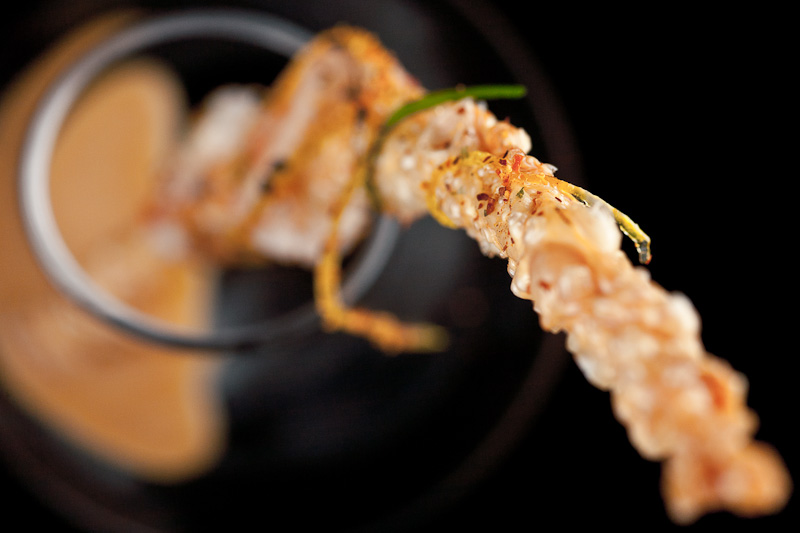
Of the two ‘long sticklike thing’ dishes in the book, I think I preferred the tuna one more, but making this one was totally fascinating and very tasty. Visually it’s not quite as arresting to me as the tuna one, and I’m not sure that’s at all helped by my attempt at clever serviceware. I’ll keep trying though.
