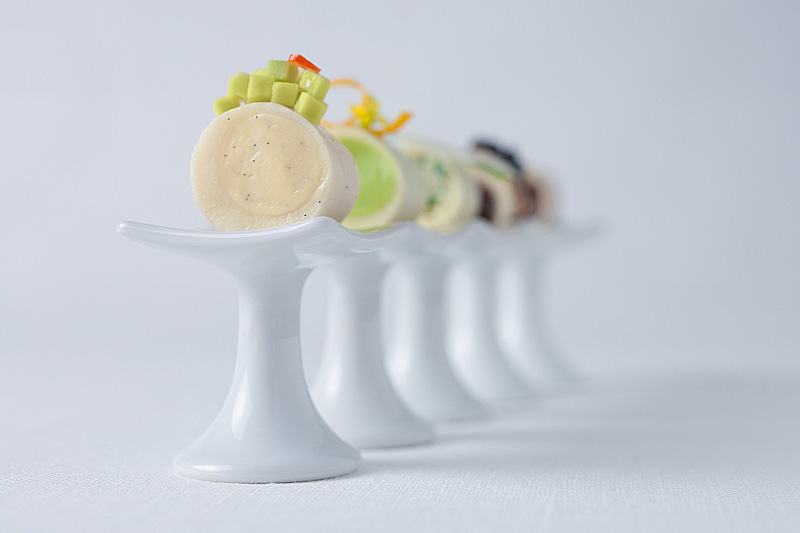
A few people have mentioned curiosity about the photography side of this project, so rather than detail the production of the dish itself (I cooked a bunch of shit, then plated it. It was hard.), I thought I might talk a little about the other side of things for me. Since moving to the Bay Area (with a little less dedicated photography space) I’ve made quite a bit of use of a light tent, which I expound on a bit in this post. For this dish I wanted to get out some of my other gear and play with it a bit. Specifically, I wanted to work with my softbox. I have this model:

A softbox is nice for representing a large area of light, rather like a window or a skylight. My softbox is small enough to be ‘portable’ but big enough to be a pain in the ass to set up in our small dining area, which is why I don’t use it a ton. It’s great for portraiture, but it splashes light around everywhere so can be a little tough to use in small spaces.
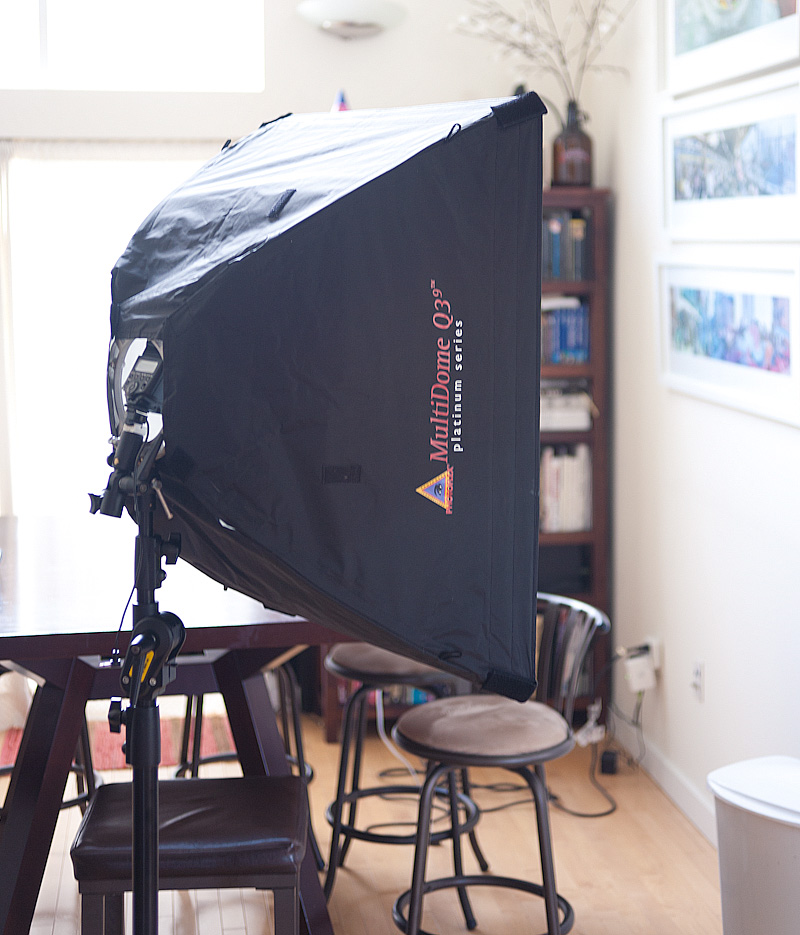
A good softbox is nicer than my light tent because of the very lovely quality of light it provides. I use my softbox with a small, portable flash usually mounted on a camera (these are called “strobes”, not because they oscillate on and off like a 70’s disco but because they ‘flash’, rather than staying on all the time. Think high school senior portrait rather than super-hot garage work light). I tuck the strobe into a small opening at the rear of the softbox, like so:
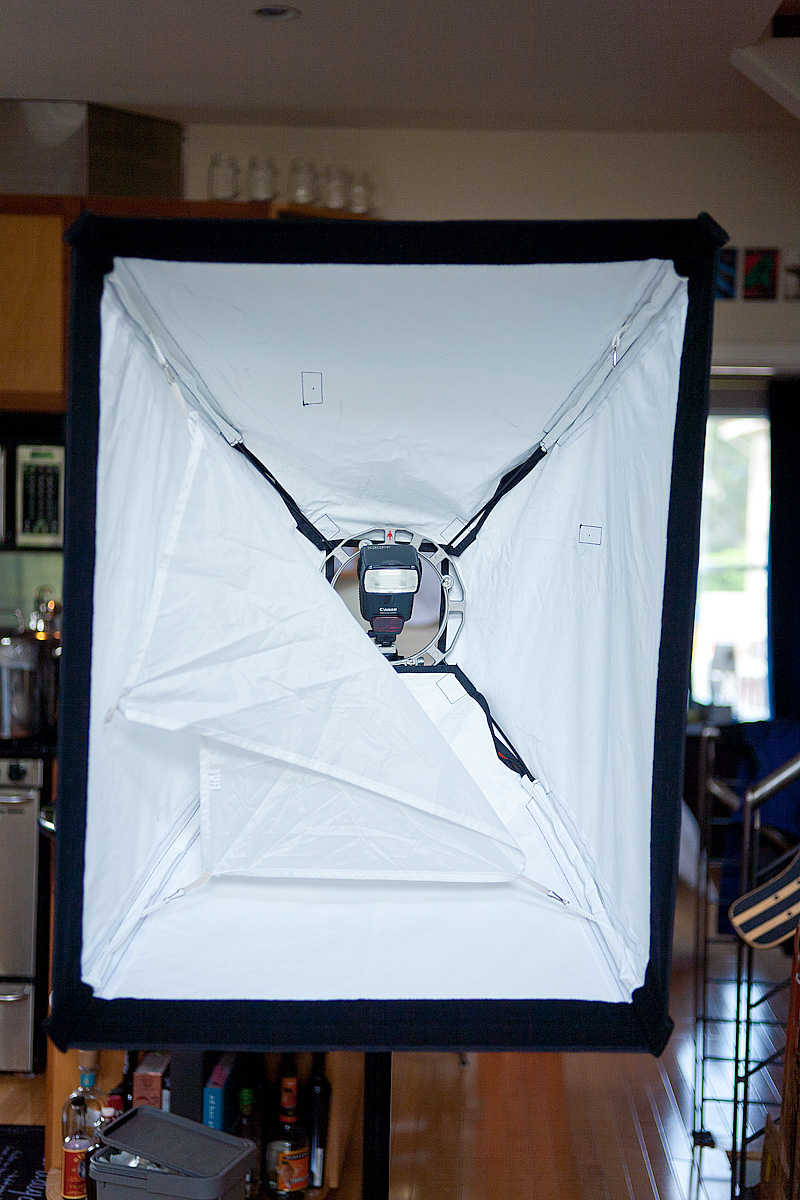
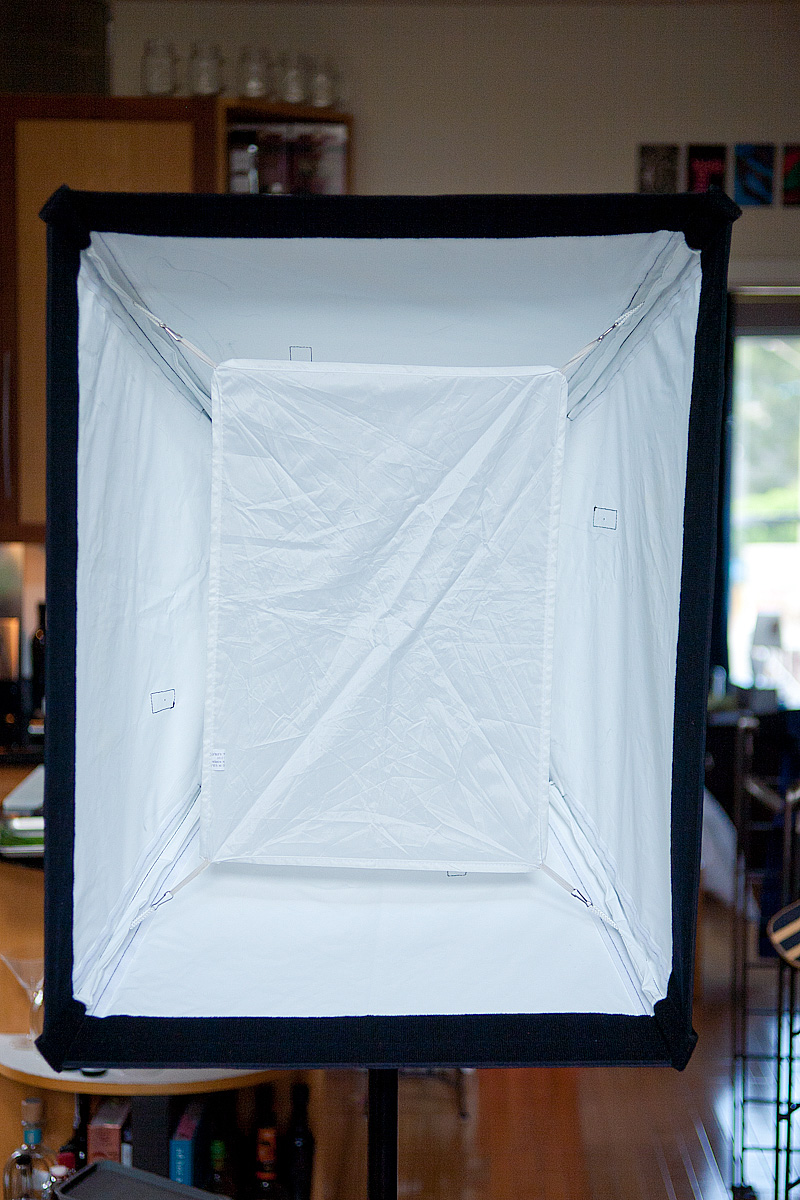
I like this particular softbox because as you can see it’s got an inner sheet that obfuscates the light, in addition to another outer sheet (not pictured, I attach it later); this offers very soft, broad lighting. This comes at a cost of a slight loss of light intensity, but that’s easily-correctable. My light tent is much smaller and easier to set up/break down, but it only offers one diffusion layer between my subject and the light, so the light isn’t quite as soft.
For my shot setup, I laid out two layers of fine linen on the table. I spent about 30 minutes ironing the linen so that it was very flat and smooth. I have a black tri-fold backdrop I made with black tape and foam core that I set up as a background; it’s built sort of like how you built your science fair project posters back in the day (you can see it sitting near the table in the lower right of frame there):
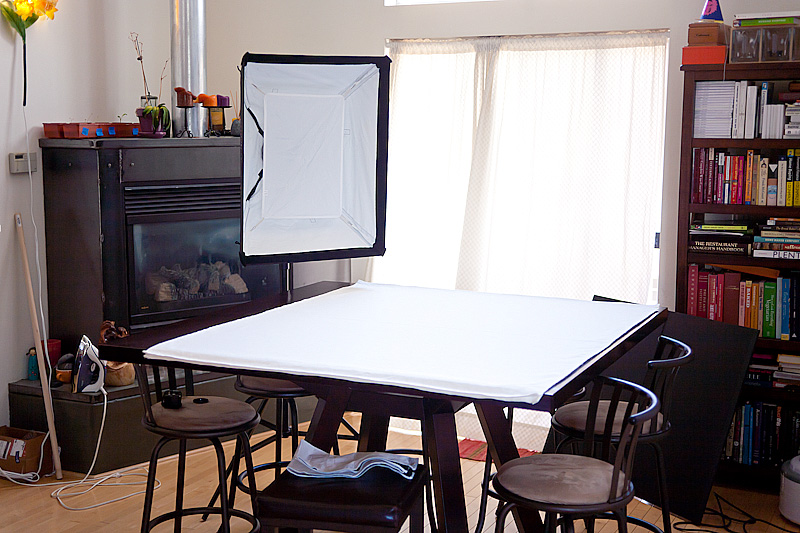
Here’s an early test shot on my linen with the foam core backdrop and a bare strobe light. Note that the strobe when used on its own sort of looks like a really harsh spotlight. It offers very crisp, sharp shadows, which look garish and make clear where the light is coming from. This kind of lighting is ok if I wanted something really dramatic, but I don’t really love its harshness in this context, so I generally try to avoid it for this particular project.
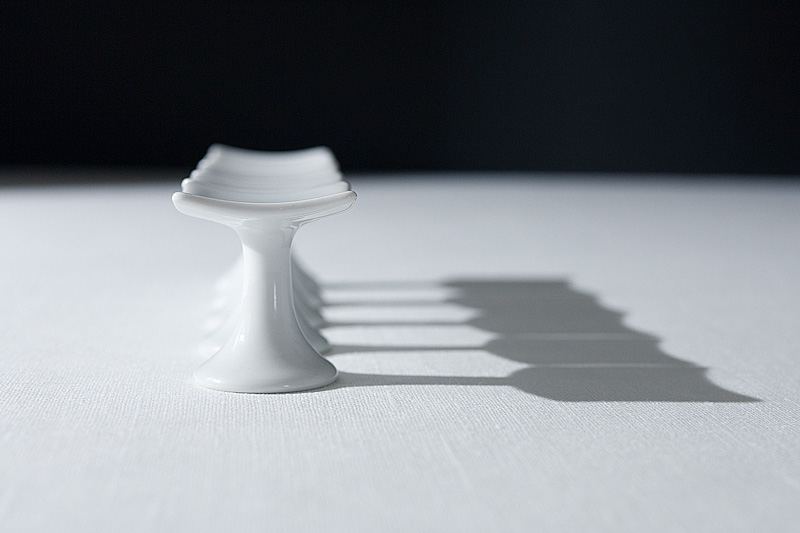
Here’s the same setup, except I’m using the softbox. Note how the shadows now become very soft and the light has a bit more of a ‘wash’ quality to it. It feels more natural and also more sensual, which is what I’m after. Things look a little more delicate. One can simulate the same thing by plating something near a large window; a window offers soft shadows like this, and there’s a slight blue tint from the daylight that I’m capturing a bit here with my lights. Note how the texture in the linen looks a little softer…more touchable.
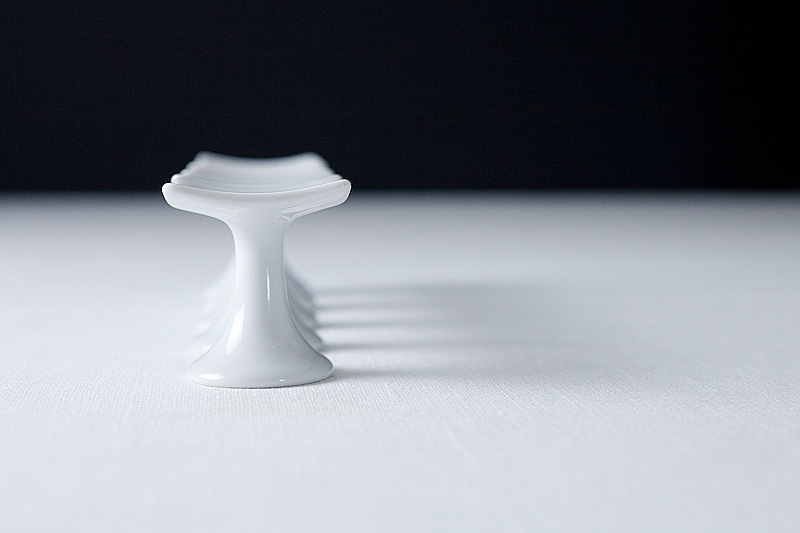
I decide to add a piece of white foamcore to the right side of the table, outside the right of frame. When the light coming in from the left hits this, it bounces off of it back into my scene, which fills in darker areas. If I used something more reflective (like, say, a mirror or a cookie tin), I’d get more of a focused bounce; the white foam core diffuses the light again, which makes things even softer. This is a matter of preference; I like very soft light, so I choose to go this route. Here’s what the foam core offers; notice the right side of the pedestal bases is a bit brighter, and the shadows they cast have been a bit faded towards the right side of frame.
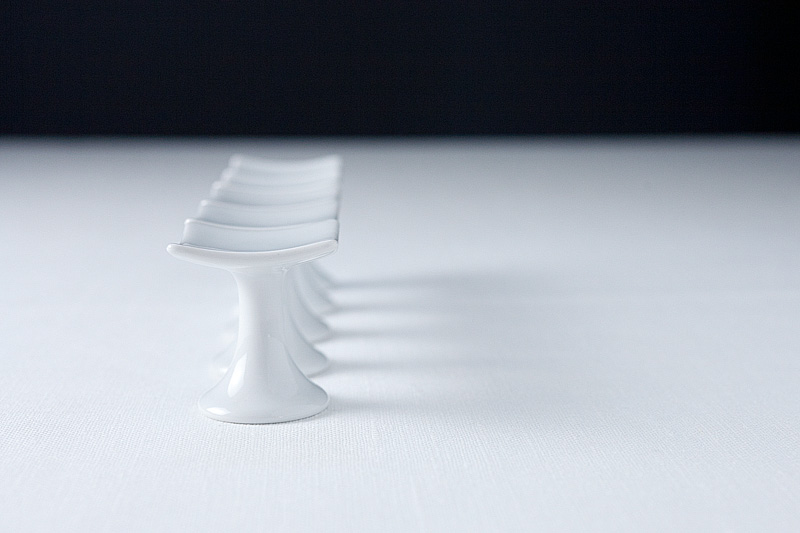
I like the quality of my light, but the white linen against the black foamcore background is giving me a horizon line. This is distracting to me; if I don’t carefully-place that horizon line (by shifting the camera up or down) it can cause a sense of tension, which undoes the nice softness my light is giving me. I try replacing the black foamcore with a piece of white foamcore:
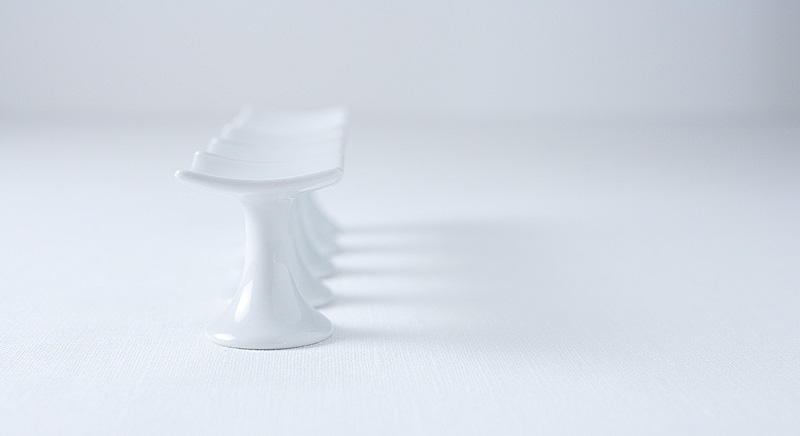
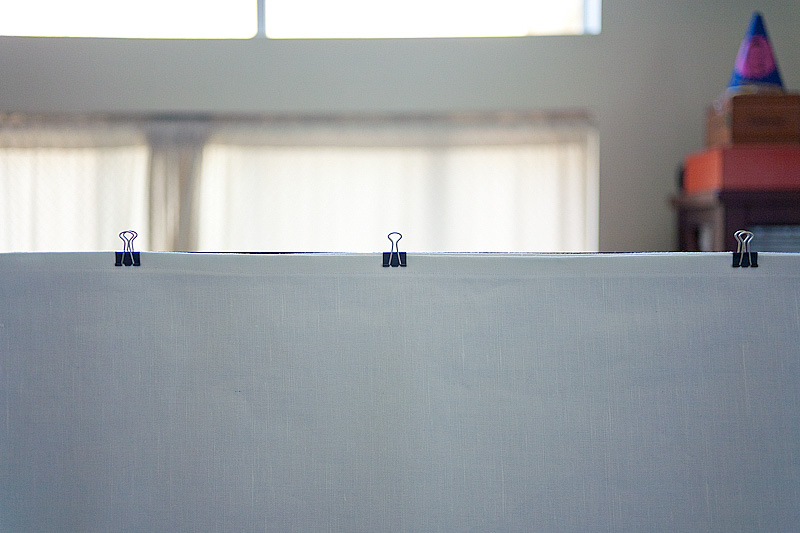
This is better, but I still have a line there. It’s very soft, but to me it’s distracting. I opt to make what’s called a “seamless backdrop”; this is where the ‘floor’ of a scene bends up to become the background of the scene, which eliminates harsh horizon lines like the ones we see here. Sometimes you see these referred to as “infinity backgrounds”; the idea is to create the illusion that the floor of the scene extends back into infinity. I made this by using some bulldog clips to clip the back edge of my linen to the black foamcore backdrop:
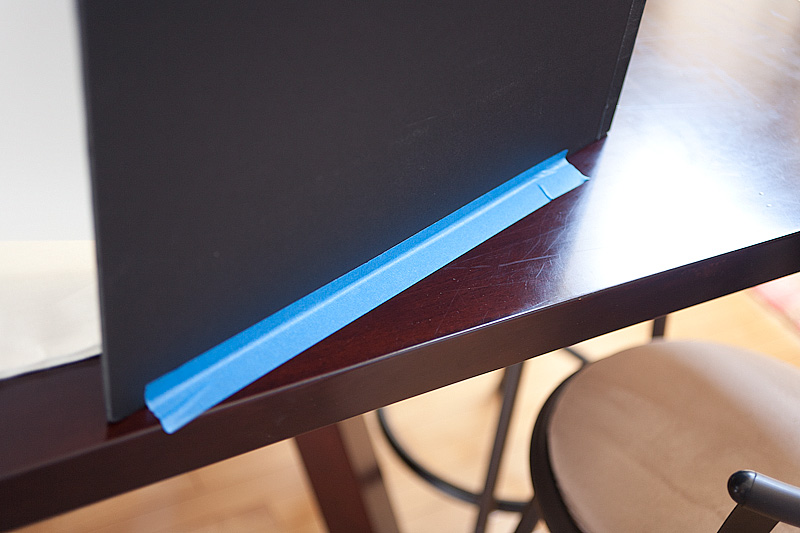
I also use some painter’s tape to hold the foam core in place, so that the weight of the linen doesn’t pull it around. Painter’s tape is rad because it comes off very cleanly, without tearing up my foamcore.
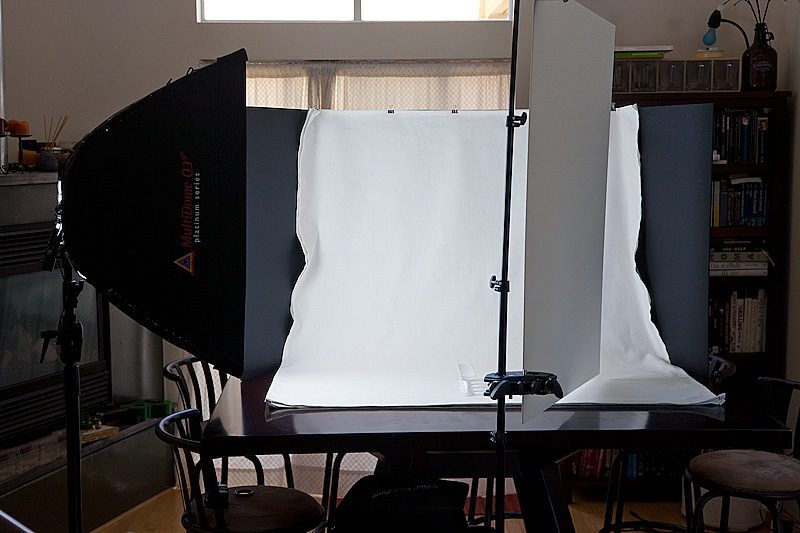
Here’s the final setup I arrive at. Note the actual size of the pedestals, as well as the placement of the white bounce card. It’s extremely frequently that I end up with a setup like this–one that requires me to contort myself around a light stand or something to actually get the camera where I need it to be.
A side note: you can see I’m building up a very white environment for these shots; the softbox works well in this case because it scatters so much light everywhere. If I wanted a solid black environment, the softbox becomes way harder to control. I’d want light on the pedestals but not on the foamcore background. Usually this means I need more space, to move the foamcore away from the light. This is why I don’t shoot many darker environments with this lighting setup in our current apartment…I need sort of a long, deep room to get that working well.
Now that I think I’m happy with the lighting, I try a few test shots that more-closely approximate the final composition I want. I like shooting the food the way one might shoot either landscapes or architecture. Usually for either of these we’re looking either eye-level or up at things; there’s a sense of awe and beauty that photographers usually try to convey with landscape or architecture photography, and I think it suits this food nicely. Compositionally, this means I want to get my camera low and as close to the food as possible; I want the composition to be immersive.
Because I’m shooting tiny things with a macro lens (a Canon 50mm macro, as well as a Canon 100mm macro…I switch back and forth a lot but usually stick to just those two lenses), I get a very shallow depth of field (e.g. lots of ‘blur’). This is a product of being very, very close to the subject I’m shooting. Usually with landscapes or architecture, you’re not very close to the subject, so everything’s in focus. I kinda like the unexpected juxtaposition of these two things here.
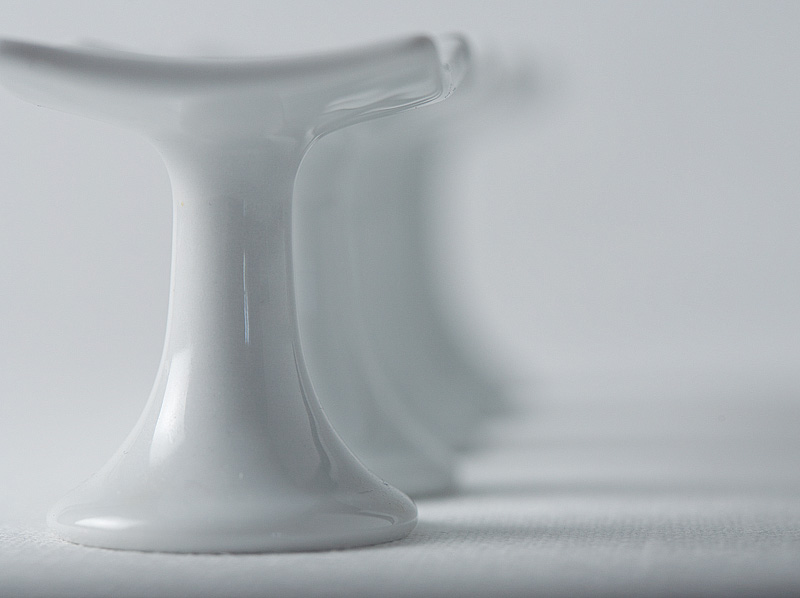
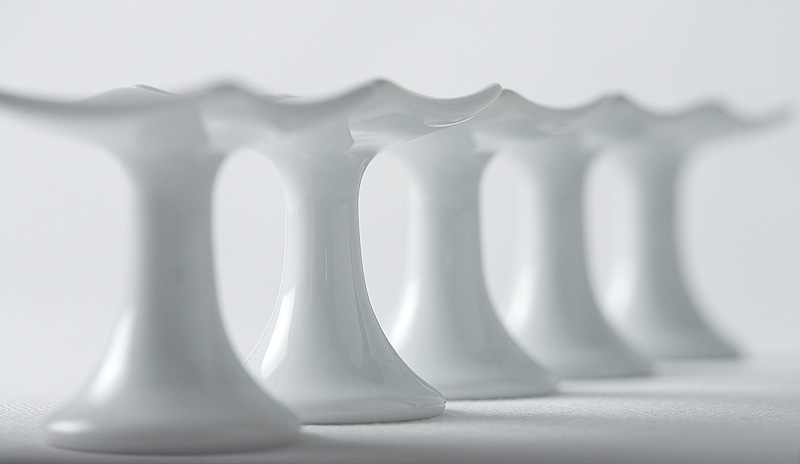
Now, how about some actual photos of food?
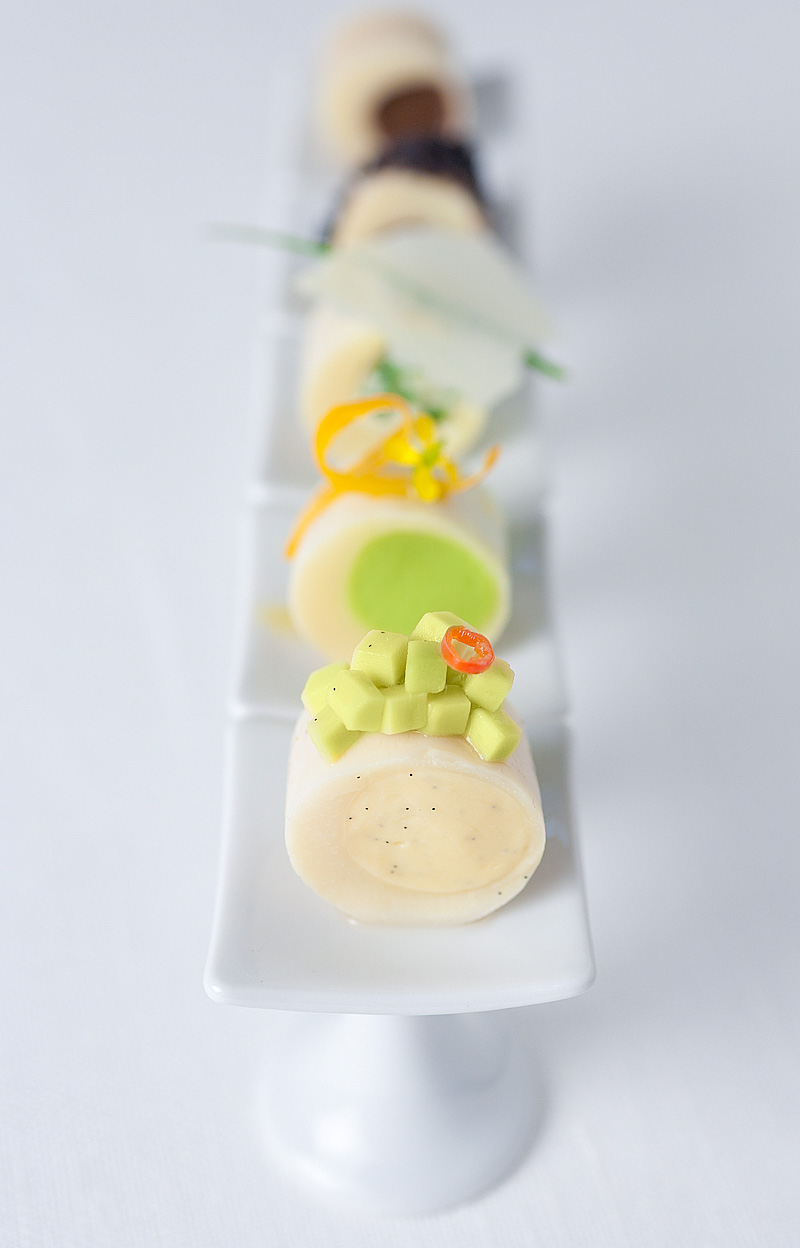
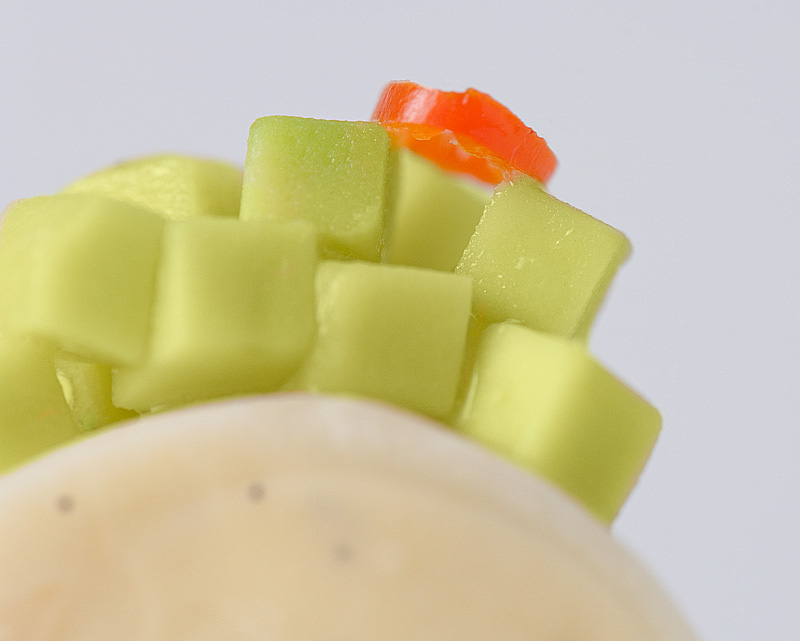
These 5 bites are lined up in the order in which they’re eaten. I simmered fresh hearts of palm in water seasoned with sugar and salt, then cut them into small cylinders and used a chopstick to help poke out the central sections, leaving just the outer ring. I filled the first of these rings with a ‘vanilla pudding’; this stuff is totally amazing. Basically I made vanilla ice cream–i.e. vanilla, egg, cream, milk, sugar, cooked into a custard. The custard was augmented with agar, which helps the texture remain stable at room temperature. It’s wild; it tastes like room-temperature ice cream in both taste and texture. The ring is topped with avocado dice, a vanilla-lime vinaigrette, and a ring of Thai chili.
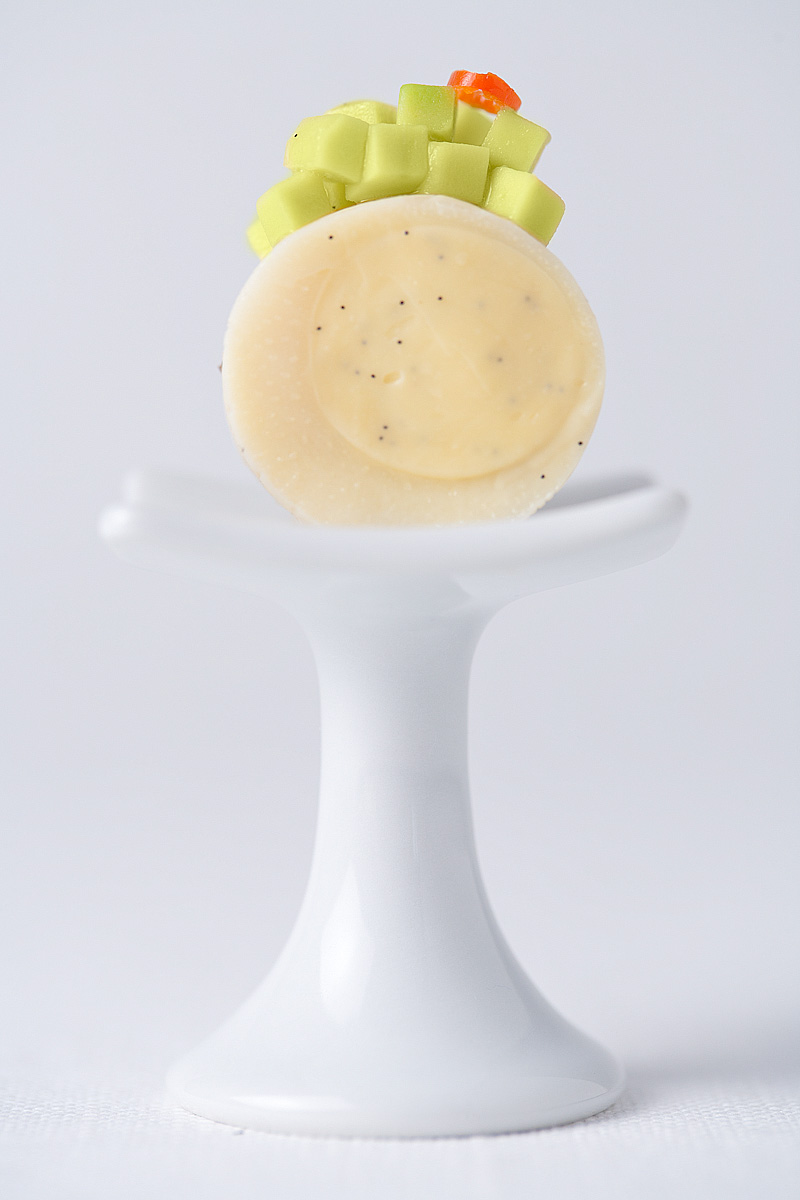
The taste of all of this together is drop-dead delicious. There’s a sweetness to Thai chili I never knew existed, but that shines brightly with the vanilla custard and compliments it well. It’s a slightly sweet bite; the heart of palm is crunchy and fresh, but most of what I taste is vanilla and chili. This one might be my favorite.
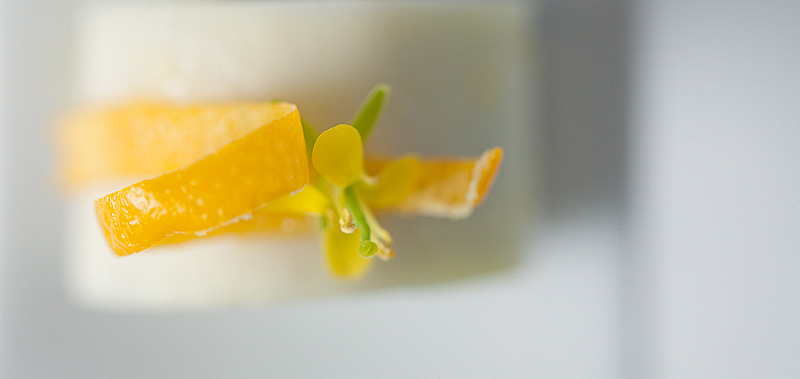
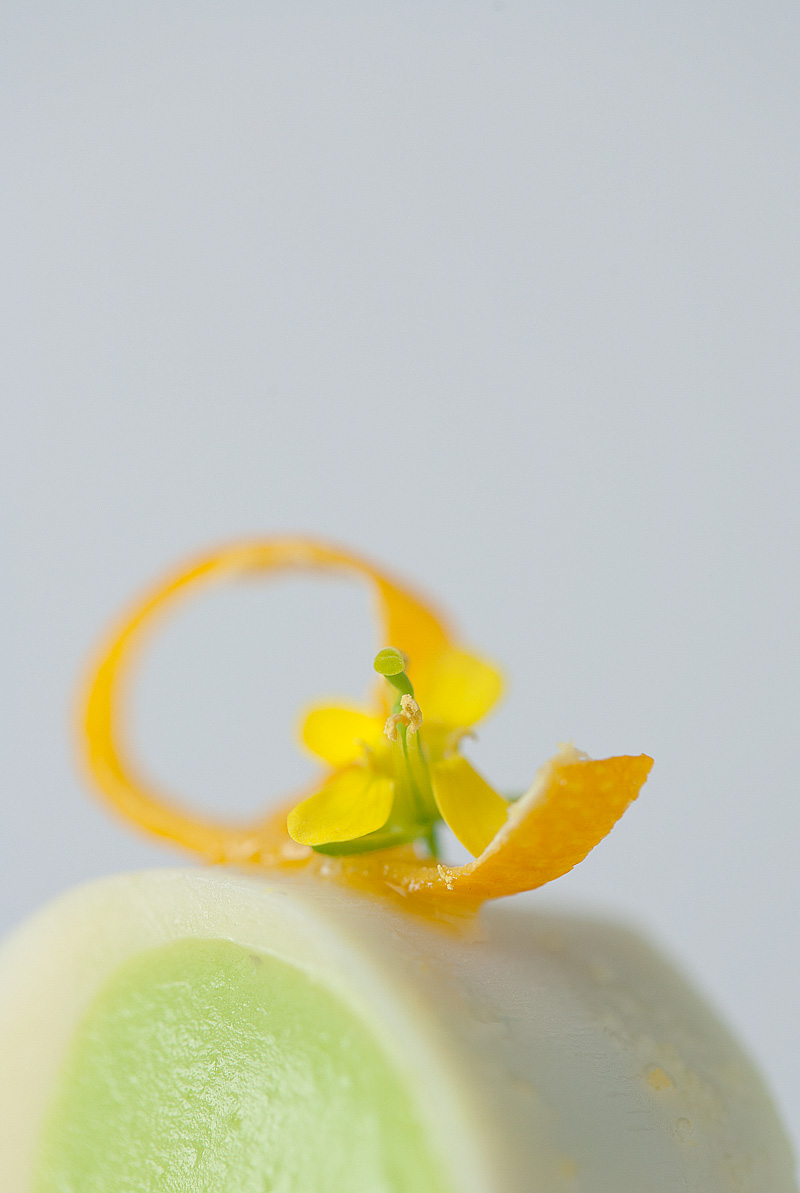
Next we have a palm ring filled with fava bean puree. Breaking and peeling 500g of fava beans for this recipe takes…no small amount of time. The beans are cooked and pureed with oil and seasoned with salt before filling the palm cylinder. The bite is topped with preserved meyer lemon skin (that little yellow loop there? That took 3 months to make), a meyer lemon vinaigrette, and I put a broccoli rabe blossom on there just for funsies.
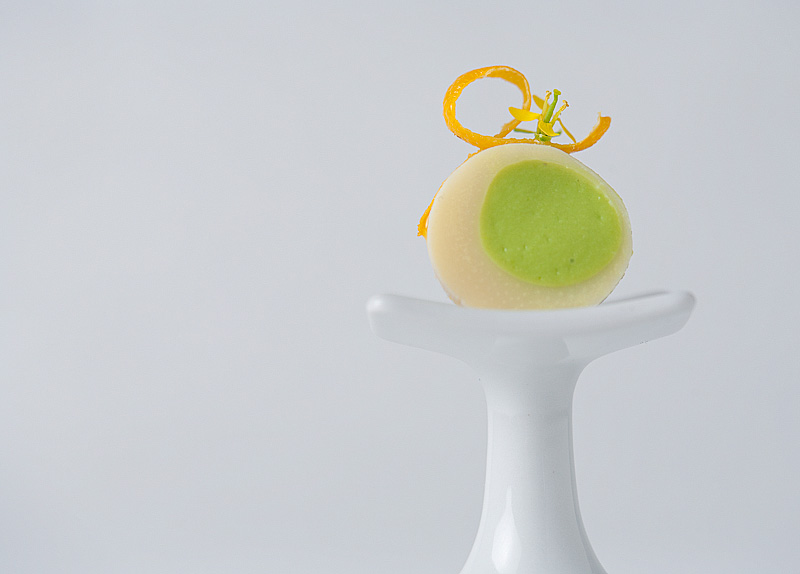
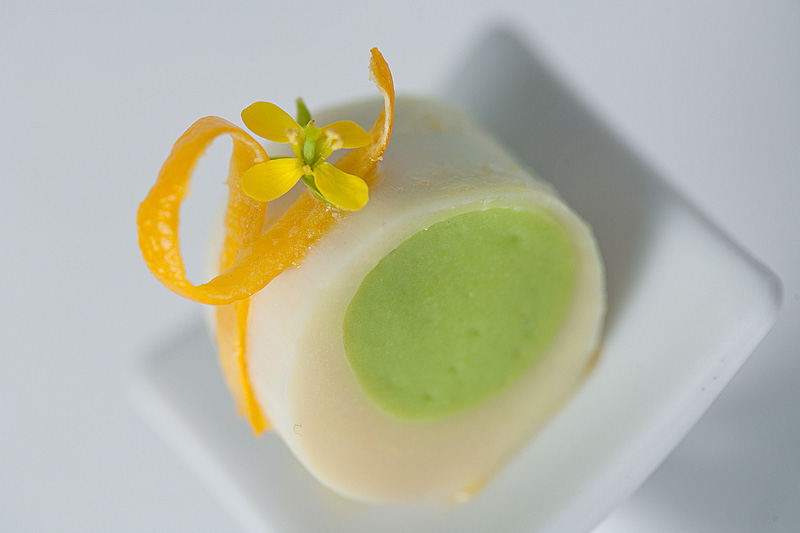
This bite tasted lovely, citrusy, springtime-y. The fava bean as a unique and definite flavor, though I can’t really articulate it. It tastes…’green’. And fresh.The Meyer lemon peel is tart, sweet-salty, tangy. This on might be my favorite.
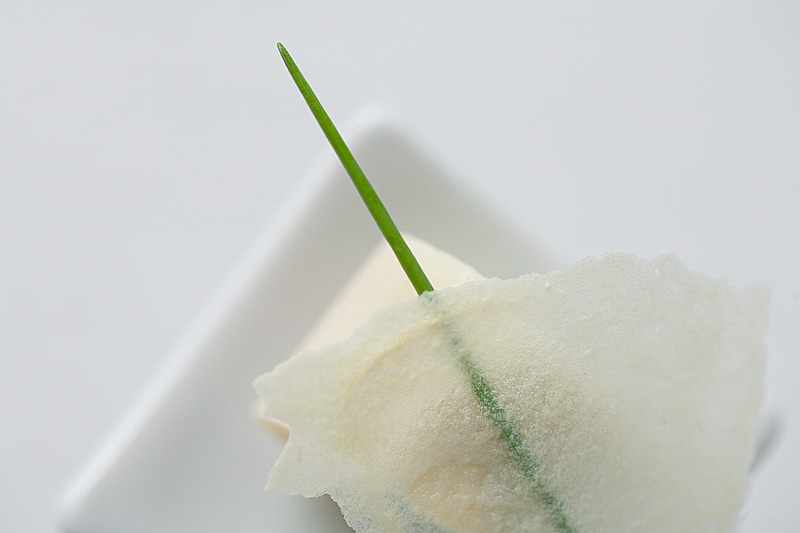
Next we have a bite filled with a bulgur salad, topped with a chive and a garlic chip. The bulgur salad is made from cooked bulgur wheat mixed with a freaking awesome roasted garlic mayonnaise (roast garlic, puree with some vinegar and a lot of grapeseed oil) and some chopped chives. The stuff is delicious.
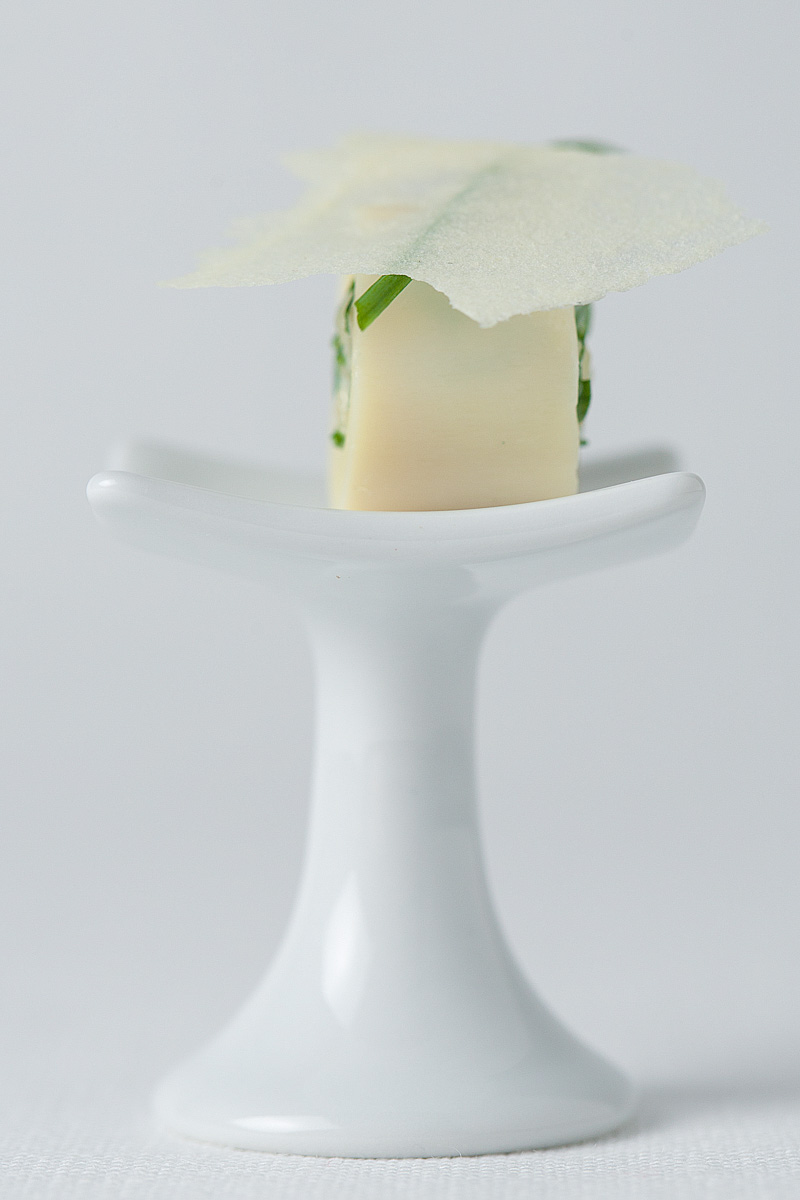
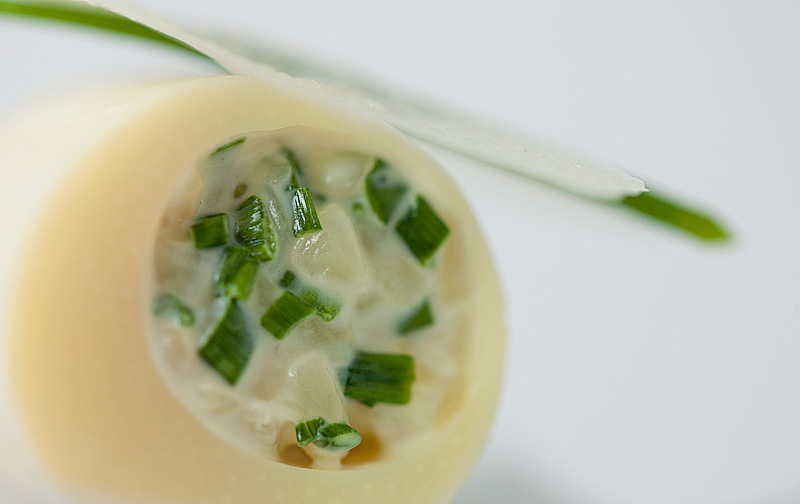
The garlic chip starts as several cloves of elephant garlic that get blanched in milk, pureed, smeared on a dehydrator tray and dehydrated for several hours, then broken into small, paper-thin crisps. They’re crunchy like a tiny little potato chip, but salty and season-y and compliment the bulgur salad perfectly. This one was definitely my favorite.
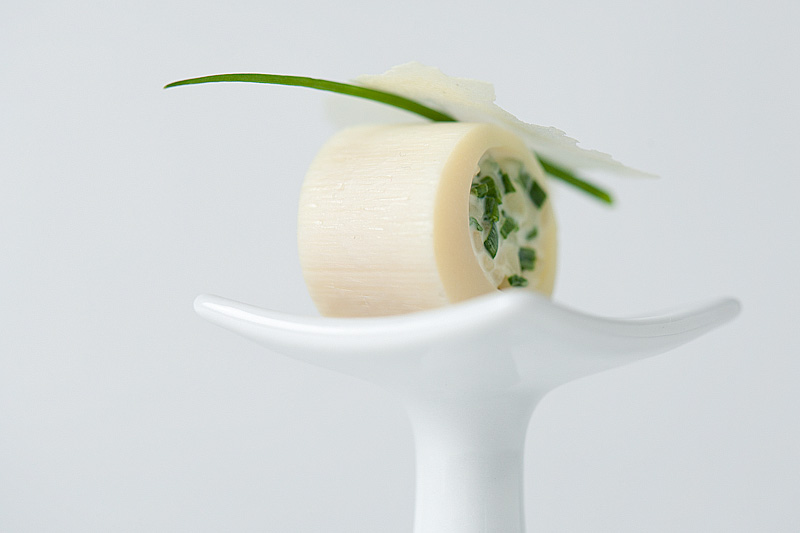
The 4th bite is a palm heart filled with prune puree. I boiled the prunes multiple times in water until very tender, then pureed with a tiny bit of vinegar until smooth and sturdy.
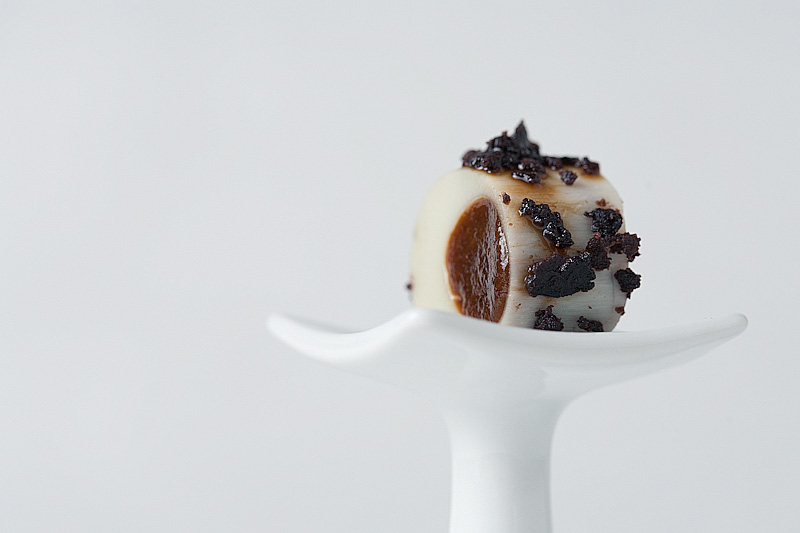
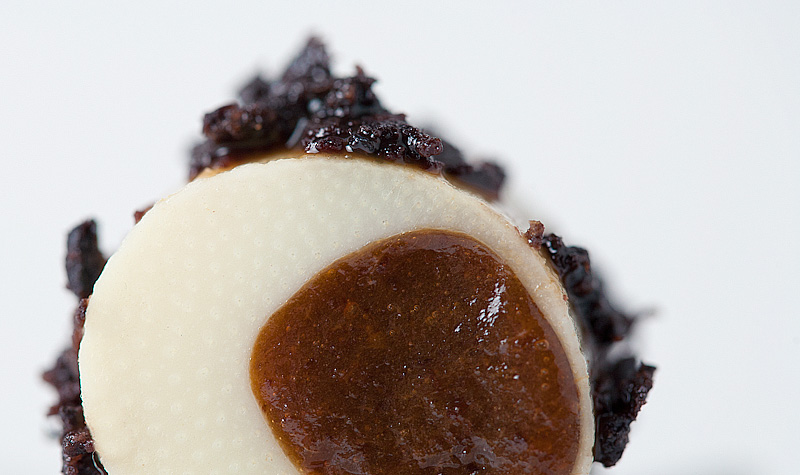
The bite is topped with minced dehydrated nicoise olive. The olive chunks are topped with a pretty-amazing coffee/sherry-vinegar syrup. This stuff is mind-blowing; it’s sweet and tangy and coffee-y…I need to remember these flavors for making a bbq sauce sometime later. Overall this bite is magic; the tang from the olive and syrup hit the tongue first, then give way to the sweetness of the prune and sugar in the coffee syrup. It’s sort of like listening to a person build a chord on the piano one note at a time; the flavors just keep adding up to a nice harmony. Hands-down my favorite one.
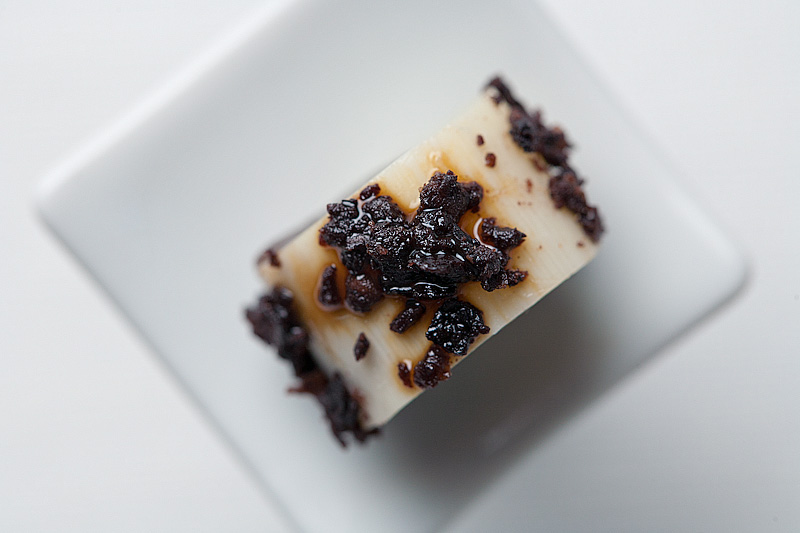
The final bite involves a black truffle and pumpernickel puree. This is made with black truffle juice warmed with pumpernickel bread and mixed with an immersion blender until the bread causes a paste to form. The bite is topped with a vinaigrette made with black truffle, sherry vinegar, and oil. I was meant to also garnish the bite with a thin slice of fresh Perigord black truffle, but given the expense of this past week I opted to skimp on it, replacing it with a dot of pudding made from more black truffle juice. My adoration of black truffle probably made this one my favorite.
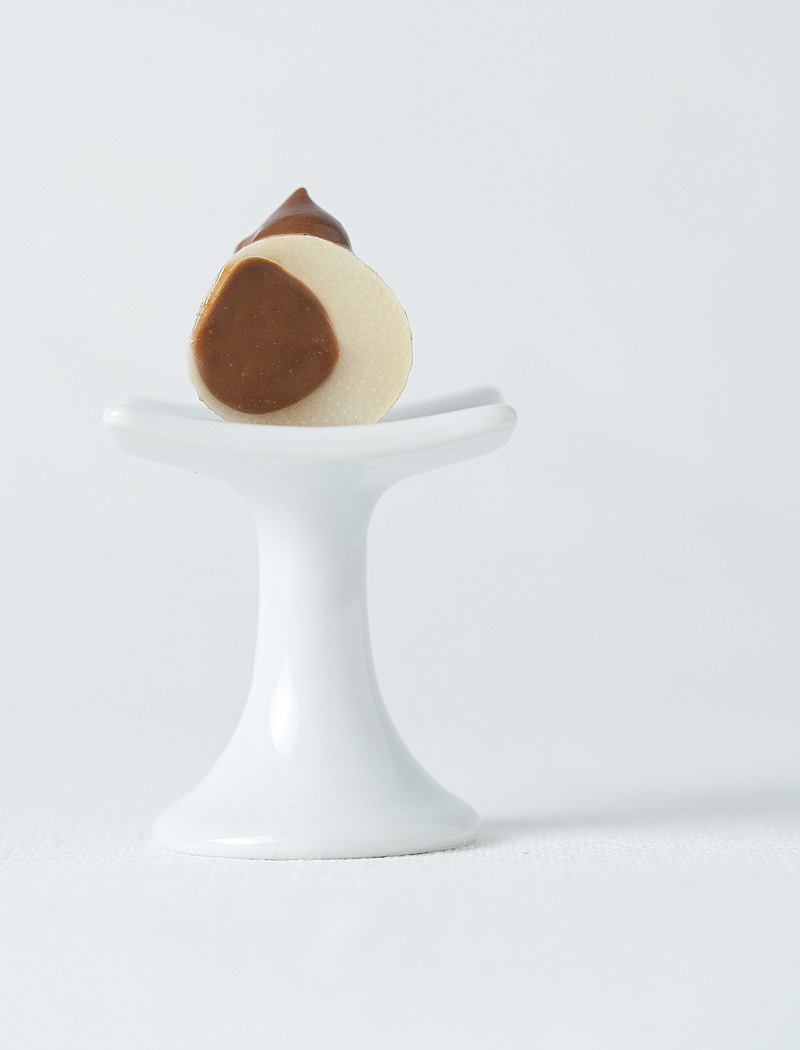
I love this dish! It’s so damn pretty, way less finicky to get working than I expected, and the flavor combinations were all a total surprise, even in the face of tasting everything copiously as I went. Almost everything turned out tasting bang-on the first try (I had to add way more pumpernickel bread to the truffle juice to get it to form a paste, and even then it had a tendency to want to ooze more easily than the others, but it still tasted great). This is a good way to start off the Spring menu.
Your dedication and attention to detail amazes me. Love your blog!
Hey thank you very much Liz! That’s so nice of you to say!
Many thanks for the photo settings details! This is really useful. I don’t have much space at home, so I’m going the strobist route too, and starting with a light tent with uses less space.
Wonderful combinations for the palm hearts, impressive work as usual.
Allen, this was a really cool post. It’s great getting to read about your photography process–especially about how deliberate and careful it is (oh how haphazard my photos are by comparison…).
The dish also looks amazing and, I mean this with the best intentions, sort of like cross-sections of beautifully garnished mutant chicken eggs from certain angles. Isn’t preserved lemon great?