
The ignition point of lavender is around 420F or so.
That’s not what I’m here to talk to you about today though. No, today we’re going to talk soybeans.
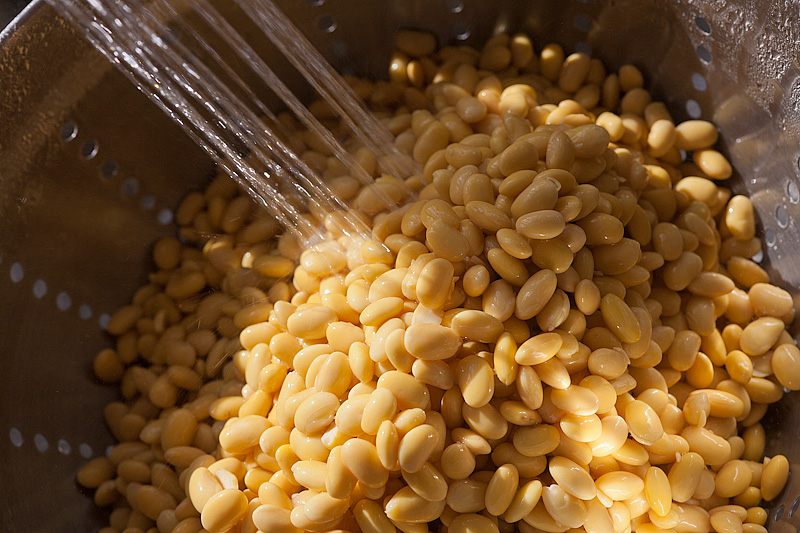
Specifically, we’re gonna talk about making soy milk, which in turn is used to make yuba and tofu. My first adventure with yuba was about a year and a half ago; just long enough for me to have forgotten most of what I learned about making it. Soy milk itself is a pretty straightforward beast: let some soybeans soak overnight in water until they plump and swell, then blend into a frothy puree. Simmer this mixture to sanitize it, skimming foam from it the whole while. What you’re left with is pure soy milk.
For me, the soy milk had a tendency to froth quite a bit; skimming this froth eliminated nearly half the volume yielded by the recipe, so I ended up doubling it (well, doubling it 6 times if you count all the misfires I had here, but I’ll get to that in a moment). Also, remembering that the first time I did this I had a massive mess in my kitchen from overfilling my blender, I blended the soybeans with water in small batches to keep things manageable.
For this dish, soy milk is used in three different ways. First, I simmered the soy milk very gently until a ‘skin’ formed on the surface of the liquid. This ‘skin’ is called a Yuba.

Once the skin is thick enough to be handled (about 8 minutes or so), it’s removed from the soy milk and laid as flat as possible on some parchment to dry. For my first several tries at this, I used a metal skimmer to lift the yuba from the milk. This sucks; the yuba wants to cling to the underside of the skimmer and freeing it results in lots of tearing of the curd and loud swears from me. I realized that I needed way less surface area touching the yuba when removing it; looking around my kitchen for a better tool, I almost smacked myself when I realized the best answer: chopsticks. A pair of chopsticks results in way less clinging and offers way more articulation than the fat bulky skimmer. Using Asian tools to make Yuba was obvious only in hindsight, I admit with no small sense of self-ridicule.
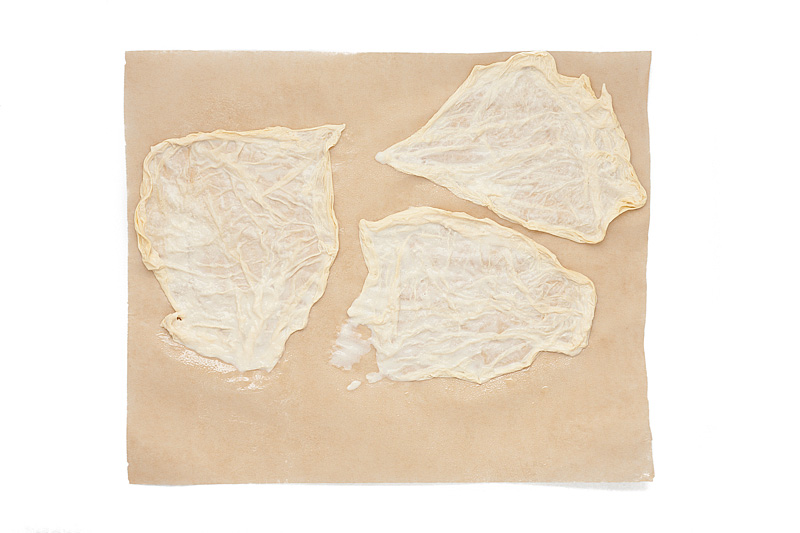
After a half hour or so, the yuba has dried enough to be collected into loose mounds; it’s sill quite delicate at this point and can fall apart easily if you’re not gentle. It’s left to dry for several more hours…
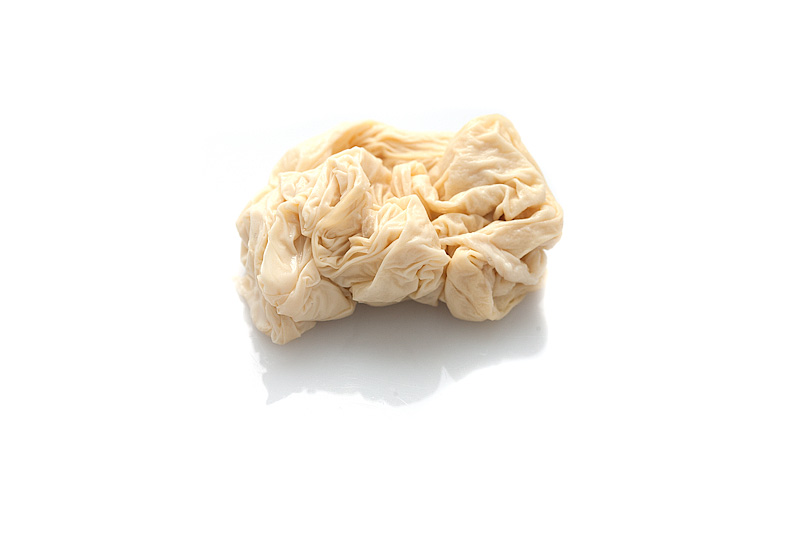
…where it looks more like a beige shrinky-dink, with a plastic-like feel and pliability. I left these to dry gently rather than dehydrating them because ultimately the yuba mounds will be deep-fried. The sudden immersion in 375F oil causes water trapped internally to turn quickly to steam, but the dried, elastic outer yuba skin prevents the steam from escaping. This makes the mounds puff and turn crispy on the outside, but (depending on thickness) the interior can remain chewy and omelette-like; an interesting juxtaposition of textures. Dehydrating them removes too much water, which causes them not to puff as readily.

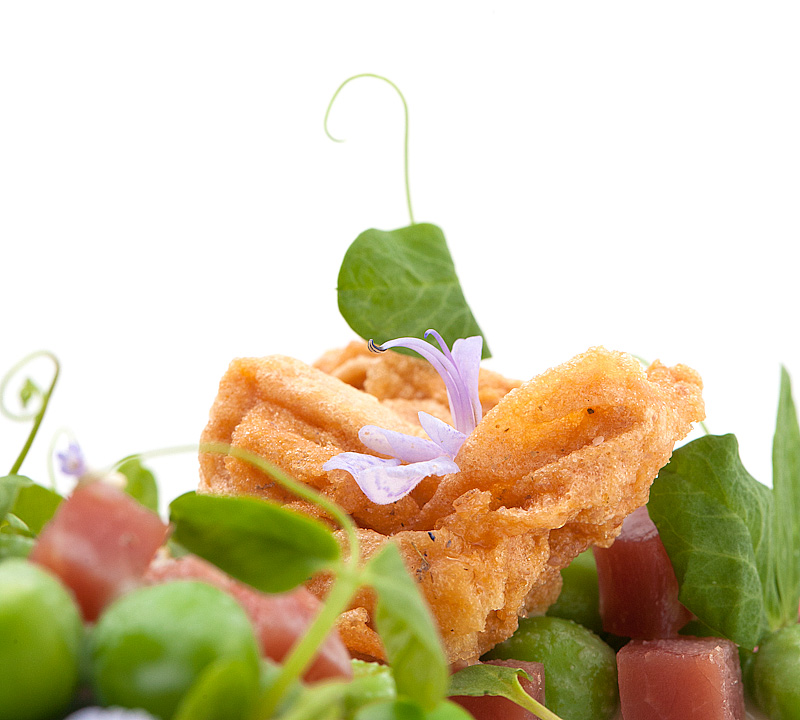
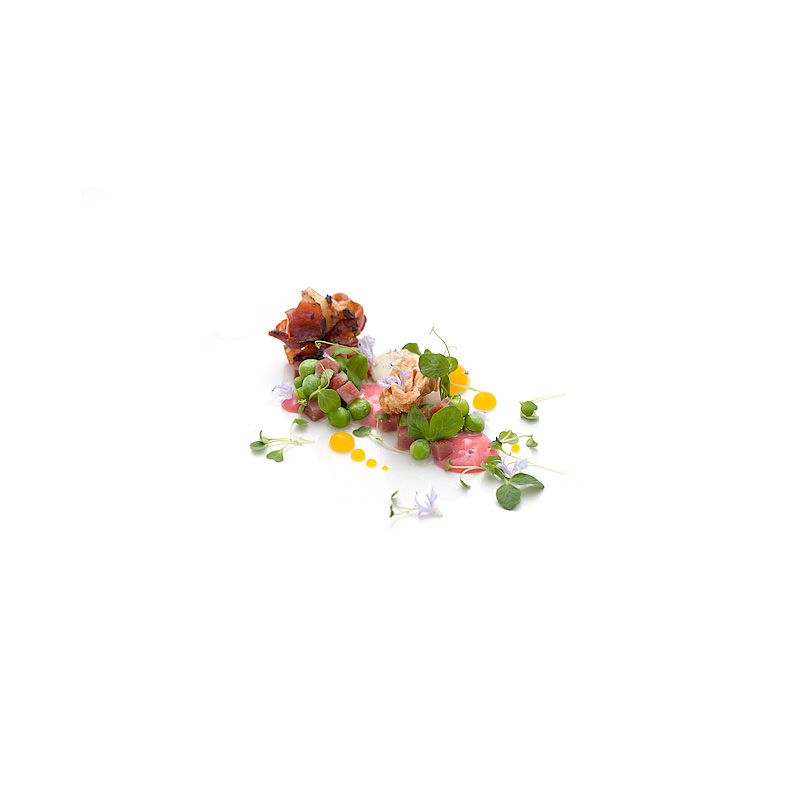
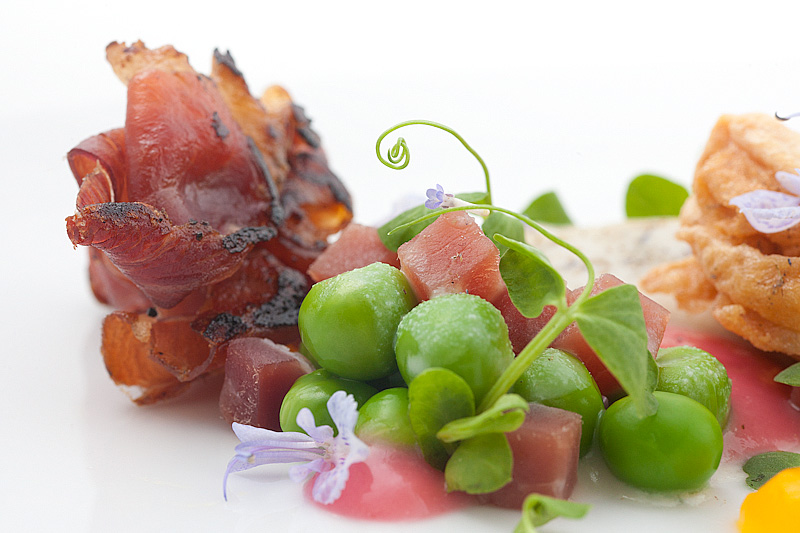
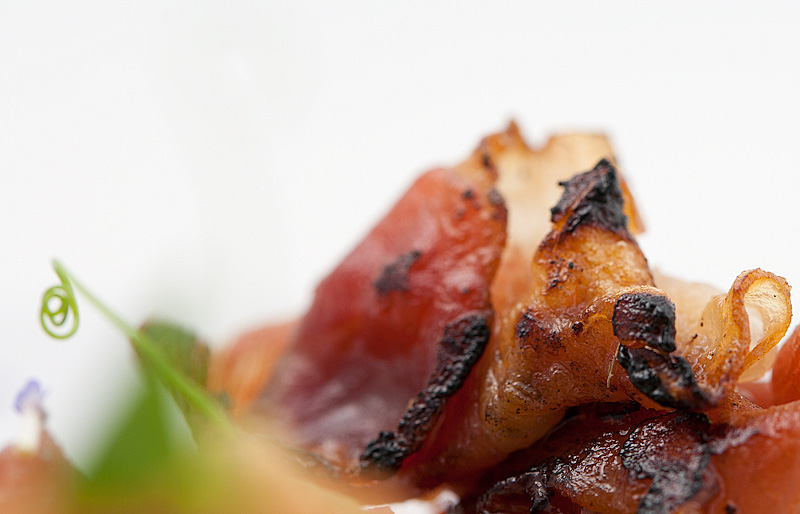
The Yubas (is that proper plural of yuba?) are paired with blanched peas and smoked ham. I’m meant to buy a full smoked ham, but it’s tough to find such a thing that hasn’t been processed for deli consumption, plus I’m really enamored with cured meats, so I decided to go with cured smoked ham, which is often known as “speck” in Italian delis. I diced some of the speck into cubes and cooked these briefly with the peas and some butter into a ragout. More speck was sliced very thinly, gathered into a similar-shaped mound as that of the Yuba, and fried over high heat to char a side of it. The scraps of ham were cooked with a bit of the (now-thickened) reserved soy milk from making Yuba to yield a Smoked Ham Nage.
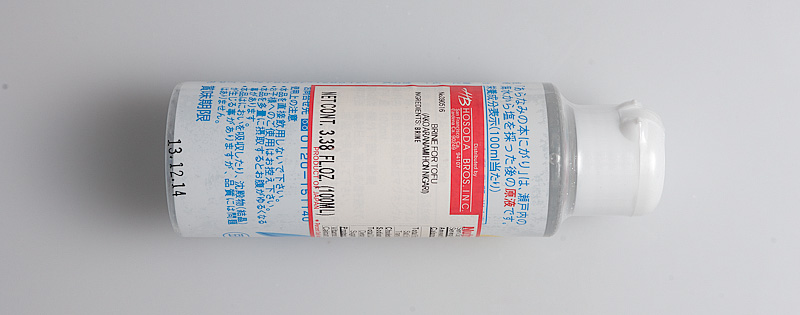
The third stage for the soy milk was the Big Adventure for this dish: lavender tofu. The recipe calls for an ingredient called “Nigari” for this; after doing some research, I learned that nigari is mostly magnesium chloride, and is derived from evaporated sea water. The magnesium chloride serves as a coagulant when mixed with soy milk; i.e. the solids in the milk clump together. Nigari can be found in dry (crystalline) form (hard to find) or pre-dissolved in water (more-easily found, but nearly impossible to discern concentration of solid nigari to water):
To make lavender tofu, I’m meant to infuse some thickened soy milk with a sachet of dried lavender flowers, then toss in some nigari and stir ‘until the soy milk turns to soft tofu’. Truth time: I’ve rarely eaten tofu. My only experience with it is a couple of times in stir-fry, where I tend to pick around it, suspicious of its odd halloumi-like squeaky/spongy texture and its frequent claim to be a meat substitute. So the flavor and texture of tofu are variables I don’t have a good control for in my head. On top of this, it turns out that the very brief instruction in the cookbook dances over a critical component of getting this right.
The book says to warm the soy milk and toss in the lavender sachet. In almost every case I’ve seen involving infusing something, ‘warming’ means ‘simmering’. I imagined I needed to get the milk hot enough to make a tea of sorts with the lavender, so that’s what I did. After a few minutes of simmering, the soy milk smelled lovely and floral, so it was time to throw in the nigari. A friend at work helpfully translated enough of a clue off this bottle to get me going: use 1% of liquid nigari in soy milk to yield tofu. I threw in the nigari and stirred, and this is what happened:
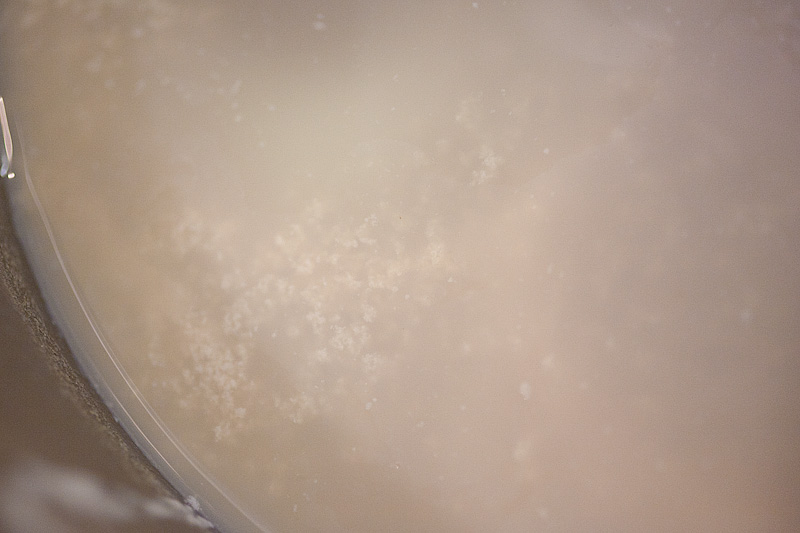
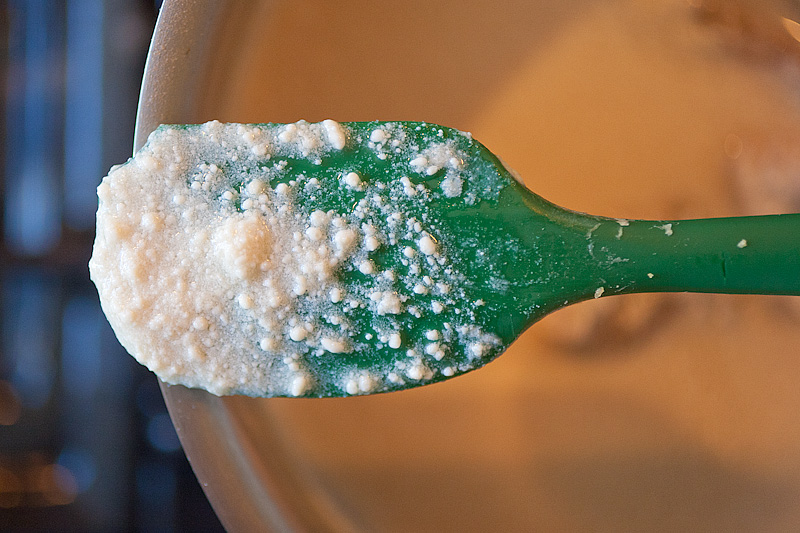
The mixture almost immediately separated into tiny curds and whey. Hm. The book doesn’t warn me about this. I stirred some more. I waited. I debated. Something about this didn’t seem quite right. I scooped out a spoonful of the curds and put them in a strainer to let them drain. They kinda-sorta fused into a crumbly, feta-like lump.
The photo in the cookbook clearly shows the tofu looking sort of like pudding or custard; there’s no graininess to it. I took briefly to google to see what I could find, searching for “grainy homemade tofu”. One comment mentions that graininess could be a product of using too much nigari. Ugh, I figured now I had to start doing test batches of this to try to figure out what the actual concentration of my nigari brine was.
The catch was, I was out of soy milk. I’d ruined a whole big batch of it, and trying again meant steeping another big batch overnight, and also throwing out most of the work I’d done for the other components for the day. I quickly ran out to the grocery to try buying a liter of store-bought soy milk, to see if I could shortcut this process.

Store-bought soy milk, I learned, is notably different than homemade soy milk. It’s usually sweetened (unless explicitly marked otherwise), and strained so finely that it’s thickened with things like carrageenan to restore its body. It also often has added nutrients to supplement diets that replace dairy milk with soy.
I came home with a box of the stuff; it tasted notably sweeter (despite being of the unsweetened variety) and quite a bit different from the stuff I’d made. I quickly brought some of it to a simmer with more lavender, switched off the heat once it smelled nice and fragrant, and started adding drops of nigari brine 5 at a time, keeping count as I went and stirring/waiting for a couple minutes between each addition. Nothing happened for a long time, but as I crept up to the 1% mark, the mixture started to clump again. So, the ‘adding too much nigari’ wasn’t the problem.
I knew I was switching around too may variables to be able to understand this, so I went out again and bought more soybeans (3x as many as I needed, just in case), and came home and soaked them overnight. The peas and ham that had been sitting warm in my oven for the past few hours wouldn’t hold up very well overnight, so I ate most of it and threw the rest out. Frustrating.

In moping around later that night and reading more about making tofu, I came across several articles explaining the differences between tofu textures and types.The separation thing I was experiencing isn’t a bad thing in and of itself; firm tofu is made this way, which is very similar to cheese-making (I kept having deja-vu back to the mozzarella balloon adventure a while back); the separated curds are removed from the whey, left to drain, and then pressed into a mold to yield firm tofu. But I suspected firm tofu wasn’t what I was after. I read a bit about about “silken” tofu, which seemed (from photos) more like the texture I was meant to be aiming for. I found several articles describing getting fresh-made silken tofu from nice restaurants in Japan, where it’s presented jiggling on a small plate like a delicate custard, topped simply with soy sauce or sesame oil. This type of tofu is (of course) considered more rare and delicate, and store-bought silken tofu doesn’t quite compare with the texture of fresh-made stuff.
Finally I stumbled across a recipe for making the stuff that mentioned one critical step that differed from what I’d been doing: the nigari is added to the tofu while it’s cool, THEN heated. When done this way, the tofu doesn’t separate into curds and whey, and instead coagulates into a smooth custard when heated gently (the recipe mentioned steaming it).
I woke up the next morning feeling confident about this. I’d soaked 3 batches’ worth of soy beans, and blended them in small batches before bringing the whole lot to a simmer again. I needed to simmer the mixture (skimming away the copious foam again) for around 20 minutes or so, to evaporate enough water such that the milk was at least 12% soy solids. After this time, I threw in my lavender and covered the milk to let it steep off the heat for another 20 minutes or so. Then I strained the mixture through a chinois into a bowl, and set the bowl in my sink, which I’d filled with ice water. I let the milk chill until it was around 70F or so. During this time I preheated my oven to its lowest setting: 170F.
I measured 0.5g of my nigari brine into a small ramekin, then measured in 50g of the cooled lavender soy milk. I stirred to combine the two, and noticed the mixture immediately thickened but didn’t break or separate. I placed it in the oven and waited 5 minutes, then gave it a tap; it jiggled gently. I took it out and scooped at it with a spoon; it looked almost exactly like a creme brulee custard!
I tried several more batches, varying things like the cooking time, stirring technique, and nigari amount; they almost all turned out the same. None of them broke (even adding up to 3% nigari didn’t cause any separation like I’d seen before), so it seems the magic bullet is adding the nigari while the soy milk is cool.
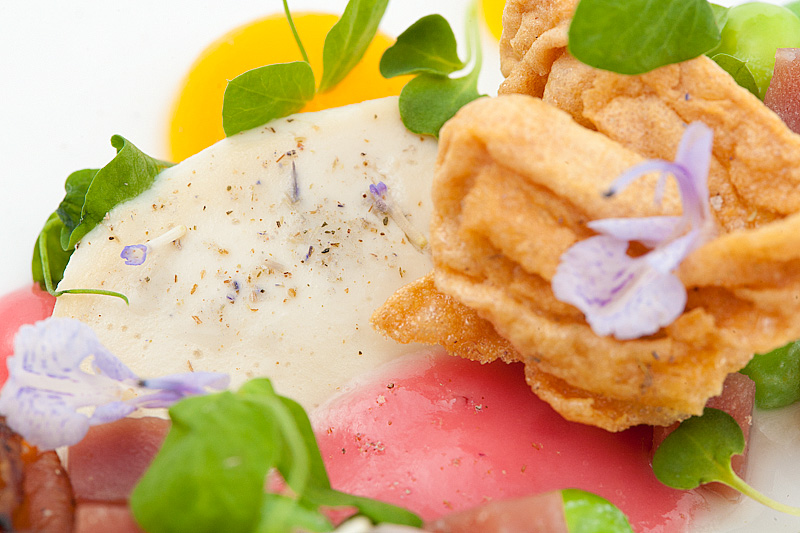
The lavender tofu is meant to be served warm, and is garnished with a sprinkle of lavender salt (made by processing lavender flowers in a spice grinder and mixing the resulting powder with sea salt).
Tofu achievement badge earned, I got to work on everything else. I made Yuzu Pudding by first simmering some saffron and lemon zest with some water and agar, and blending the resulting gel with yuzu juice to yield a smooth pudding. Yuzu juice on its own is nearly colorless, sort of like lemon juice. I like that Alinea uses natural means to color things at times, and the saffron used for the color here also offers a nice depth of flavor to the pudding.

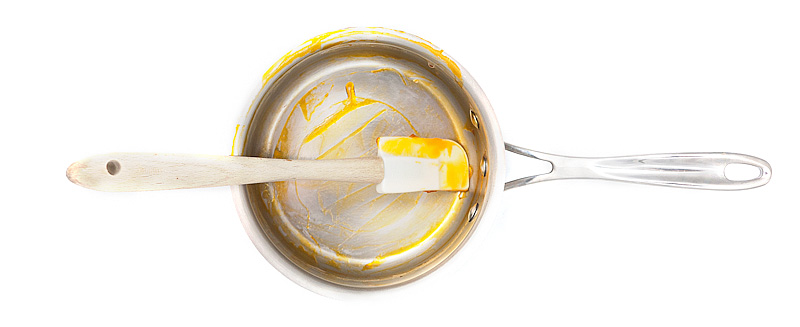
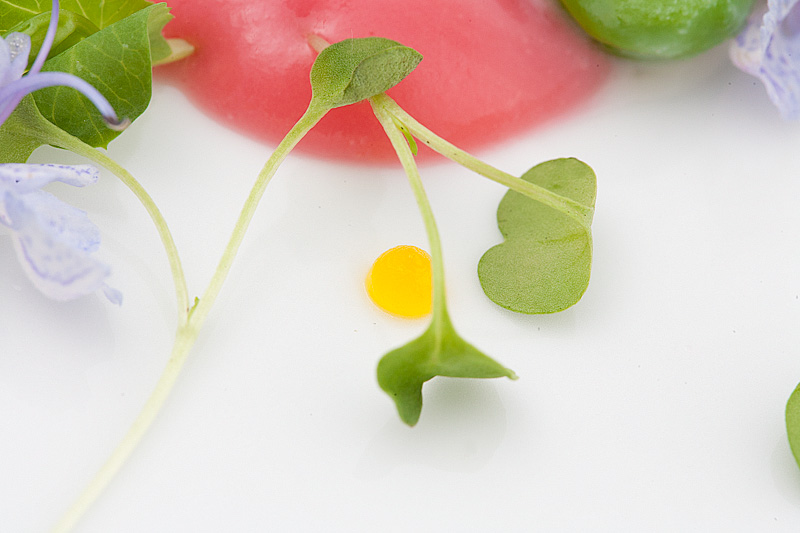
The recipe also calls for making a ‘gooseberry coulis’, which is a sauce made from pureed fruit. Cape gooseberries come into season here in the fall; they’re not readily available during the spring months, so I tried to think up a suitable substitute. I wanted something that had a bright tartness like gooseberries, and also something that might offer a nice visual component. I settled on rhubarb, which is looking really lovely at the moment.
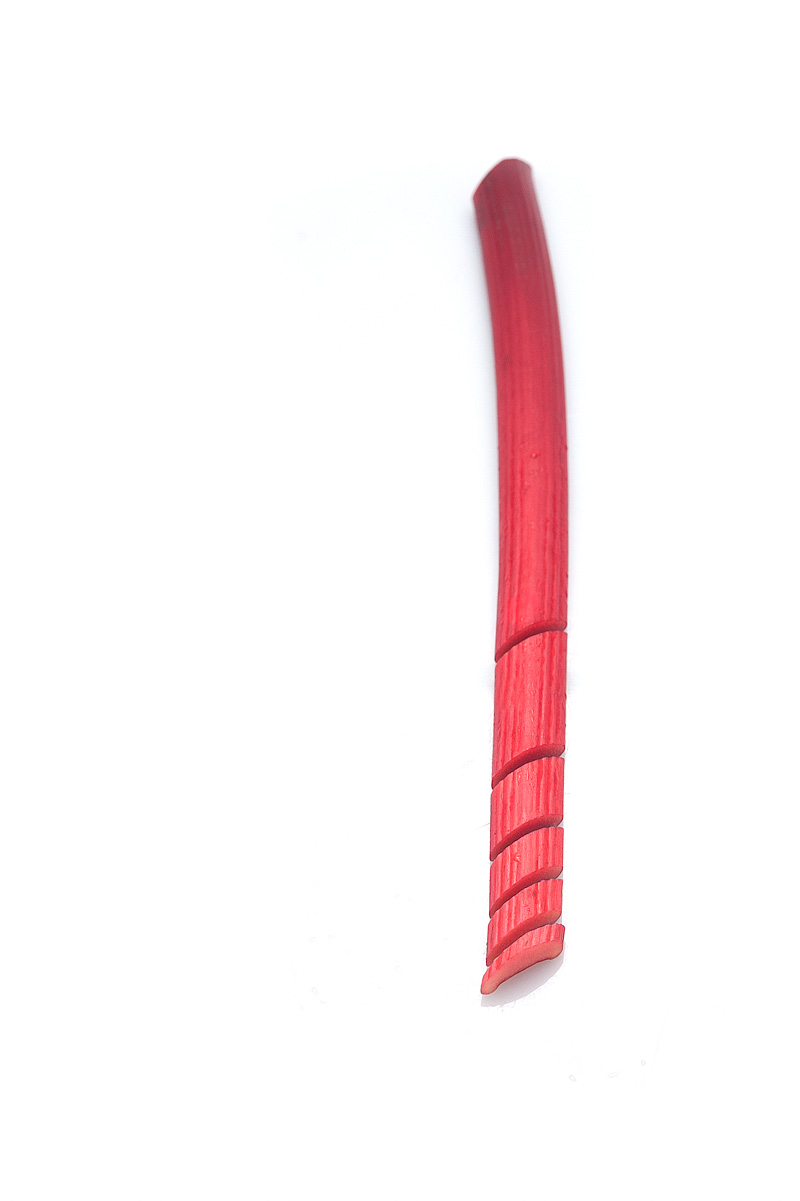
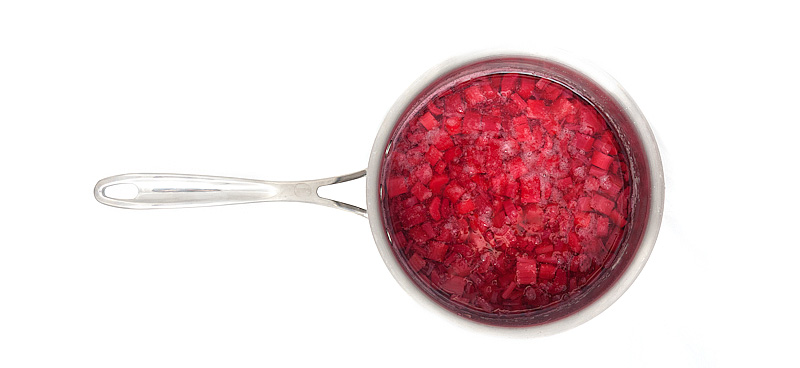
I simmered the rhubarb in simple syrup until it was tender, then pureed it in the blender with some grapeseed oil to form an emulsion. Rhubarb coulis.
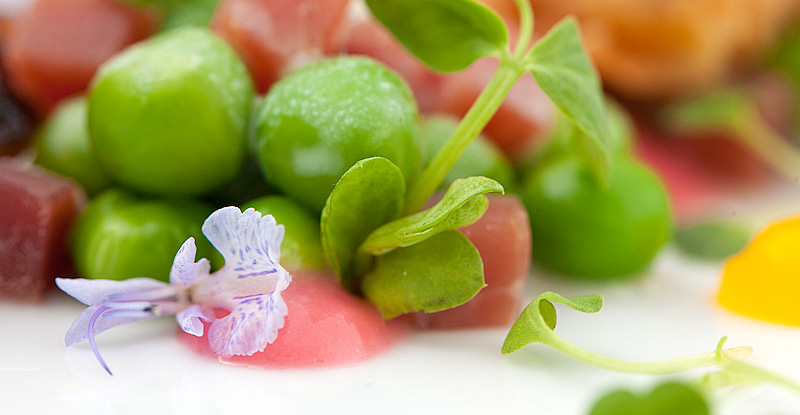
I blanched more peas, and remade the ragout with more ham dice. I also re-seared some ‘ham blossoms’ and yuba mounds, and kept all this warm in the oven.
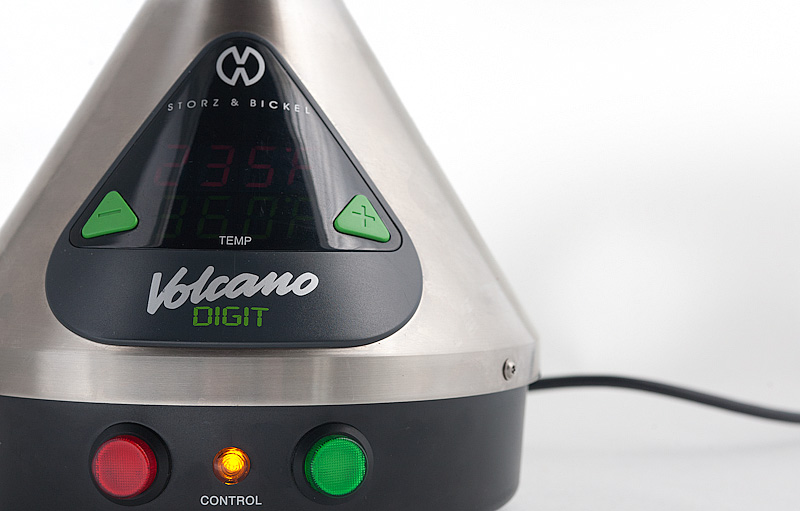
The final step is making a lavender pillow. I have some experience with the scented pillow thing from the White Bean dish a few years ago; I had borrowed a Volcano vaporizer from a friend to use for filling the bags inside the pillows. Volcanos are astronomically expensive; wanting to avoid provoking the ire of the Minister of Finance in our household, I haven’t been able to justify buying one of these. I feel like a cheaper solution is out there. I tried a few experiments this time around to see if I could sidestep using one:
–I tried loading some lavender into my Smoking Gun and holding a small kitchen torch juuuuuuuust the right distance away from the flowers to liberate their oils without toasting them. This is extremely difficult; I couldn’t get anything that didn’t have a smoky note to it. Not that that’s bad, it’s just not what I wanted here. There’s also an added problem where unscented air is being blown out of the device while the flowers are being heated; a ‘bell curve’ of scent forms, and capturing just the heart of it is really tough.
–I tried an experiment with a non-forced-air vaporizer. The advantage of an actual vaporizer is that heat is controlled independently of air movement. So, a heating element in a Hotbox vaporizer warms air inside it, and when that air is drawn through the chamber holding the flowers, the essential oils are instantly vaporized and drawn up through a hose leading away from the heating element. I wondered about using the principles that allow a spray gun to work: namely, capping the tube leading away from the heating element with a T-joint, then forcing air quickly through this to draw vapor up and away from the box. I used a blow-dryer for this, but I still had the problem where there’s a few seconds where air is rushing out (and inflating the pillow bag) but no scent is coming through, and control is again very difficult.
It’s clear why the Volcano is such an appealing option for this; it’s forced air and has very little waste. It’s also extremely controllable. There are other forced-air vaporizers available, and had I not found a Volcano to borrow again, I might have bought and tried one. As it stood though, a friend of a friend offered the use of theirs. This one was a digital version of the analog one I’d borrowed previously, with the ability to finely-control exit air temperature and a nice display telling me the current temperature of the device. Getting to use it again reminds me how badass and cool these things are.
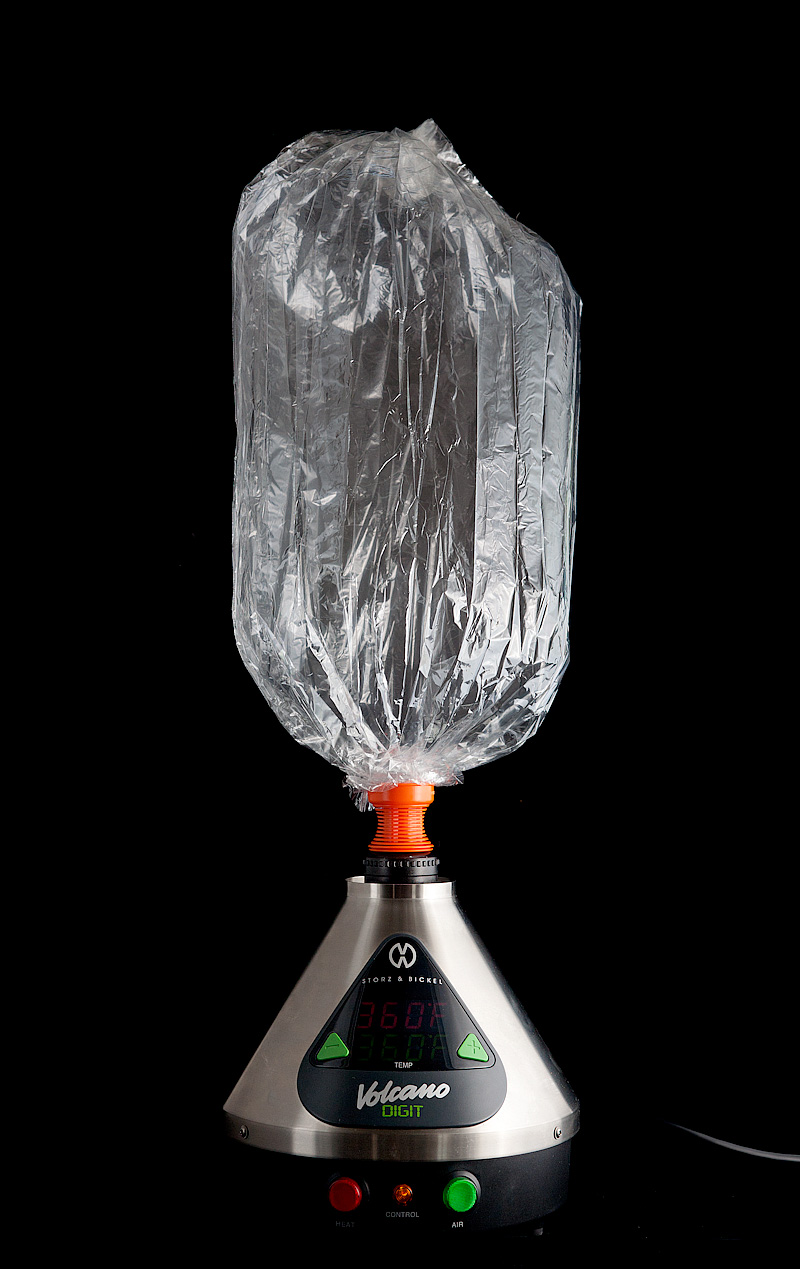
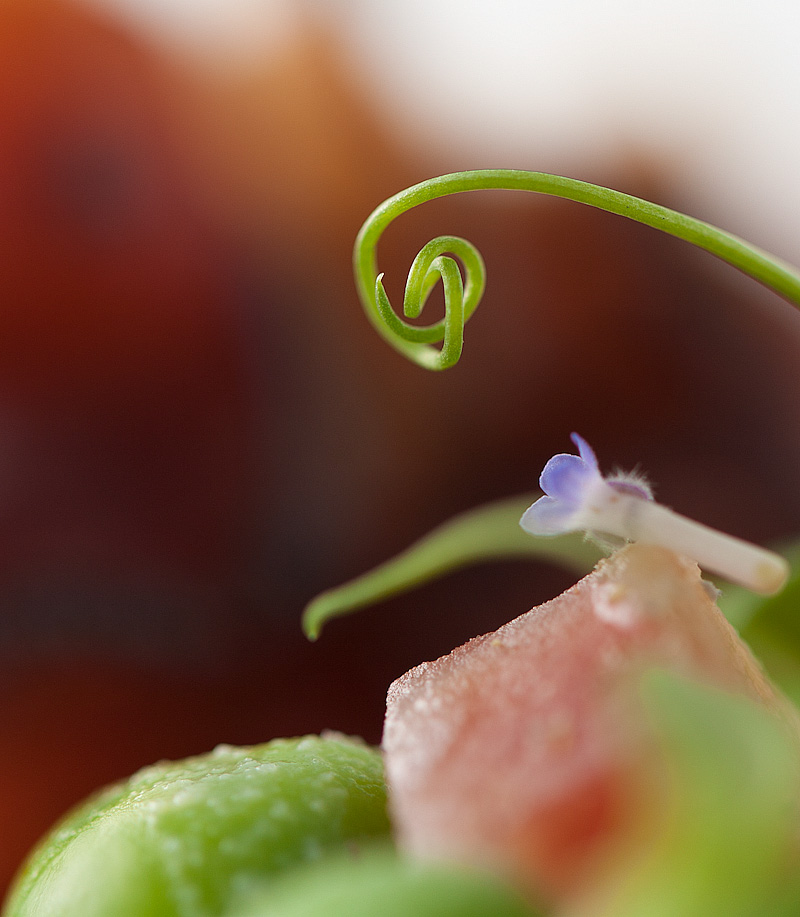
Pillows inflated, I plated everything and garnished the dish with fresh pea sprouts and shoots and several flowers from the garden. The dish was really delicious; peas and ham are a pretty obvious combination, but the brightness of the yuzu and rhubarb flavors added some levity that kept it from feeling overtly heavy. The creamy custardy lavender tofu and the crispy yuba puff offered a nice dimension to things; yuzu/rhubarb/lavender all in one bite is hela delicious. As a whole, this dish is super top-notch.
Completion of it also represents something I’m a little bit excited about: I have 10 dishes remaining in the cookbook. I suspect it’ll still take me the better part of a year to get through them all, but it’s going to feel good to get down into the single digits.
That description of Nigari was really excellent. Some tofu makers sell “Nigari tofu” to mean extra-firm but I never understood why. I just assumed nigari meant firm but knowing it’s a chemical in the process makes sense.
Also, fun fact about tofu: the chinese phrase for “eating tofu” is a delightful way for Westerners to embarrass themselves in China because it’s also slang for something else. I’d encourage googling it. The Chinese phrase is “che dou fu”
Is that green spatula above one of those GIR spatulas that everyone but me seems to have gotten? (Do you like it? Is it everything that it’s cracked up to be?)
With all of those shoots and blossoms, this dish looks especially delicate and pretty. I wish that I had access to local rhubarb already!
I just stumbled upon your awesome blog. I love it. Incredible photography. I am looking forward to reading your past entries and following you through the rest of the book. Good luck and enjoy shopping for the cool equipment.
Sorry for my delay in replying here, as well as in saying thanks so much for this lovely compliment! I’m so glad you dig it!