I’m finally, after so many years, in a unique position for this project: I’m done with the Summer menu, and can’t really push forward on the remaining dishes because of seasonal restraints. This is pretty nice…it means I can relax a little and do some exploring without feeling the need to pressure myself on keeping forward momentum with the Alinea cookbook.
There is one Fall dish I can do more or less at any time, but it features use of one of Martin Kastner’s awesome creations that he hasn’t yet made available for sale: a Honey Extractor. Details on the specifics of this thing are tough to find on the interwebz, and Martin noted when I asked him about it that he felt it needed a redesign before being made public. Rather than waiting around for that time to come, I’ve been thinking about how I might go about making one myself. I don’t know a ton about working with metal; my machining day with Drew, while rad, only taught me that there’s a LOT to learn about this. So, I’ve been (for several months) taking metalworking classes at The Crucible in Oakland.

I started with a machining class, then moved on to a series of welding classes. I’ve learned a ton in each of them, but it’s only been in completing several of them that I’ve come to understand how I might best make this thing (I like getting the full breadth of range in metalwork, so I understand what’s possible and can imagine how I might get there). You can imagine this has taken up a fair bit of time, which has kept me out of the kitchen and off this blog a bit more than I’d like, but it’s been cool. I even have a pretty neat side project to show for it: for one of my welding classes (MIG welding) I designed a shelf to hold our bourbon/wine collection. I’m inspired by the bourbon rickhouses in Kentucky, which carry bourbon barrels on ‘ricks’, or beams on which the barrels can roll. The metal is welded steel, while the wood is charred white oak (which is a key requirement for bourbon to be called bourbon–it has to be aged in a barrel made of 100% charred new white oak).
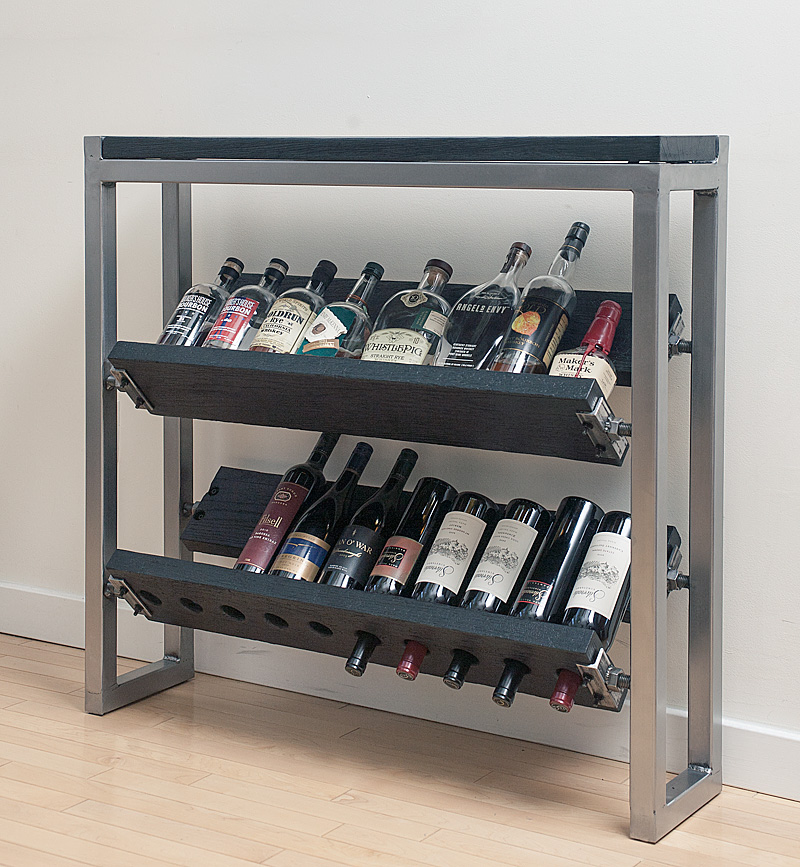
MIG welding, however, isn’t 100% awesome for use with stainless steel (the bourbon rick is mild steel, which can rust easily), and it’s not easy to do fine-detail work with a MIG setup (a MIG welder is a bit like a big hot glue gun).
Last weekend I took an intensive TIG welding class. TIG welding differs from MIG (and other forms of welding) in that it allows for very fine, precise work. It’s also extremely difficult; I spent most of the weekend burning holes through some stainless steel stock I’d brought in to work on and learning how to make a uniform bead of weld.

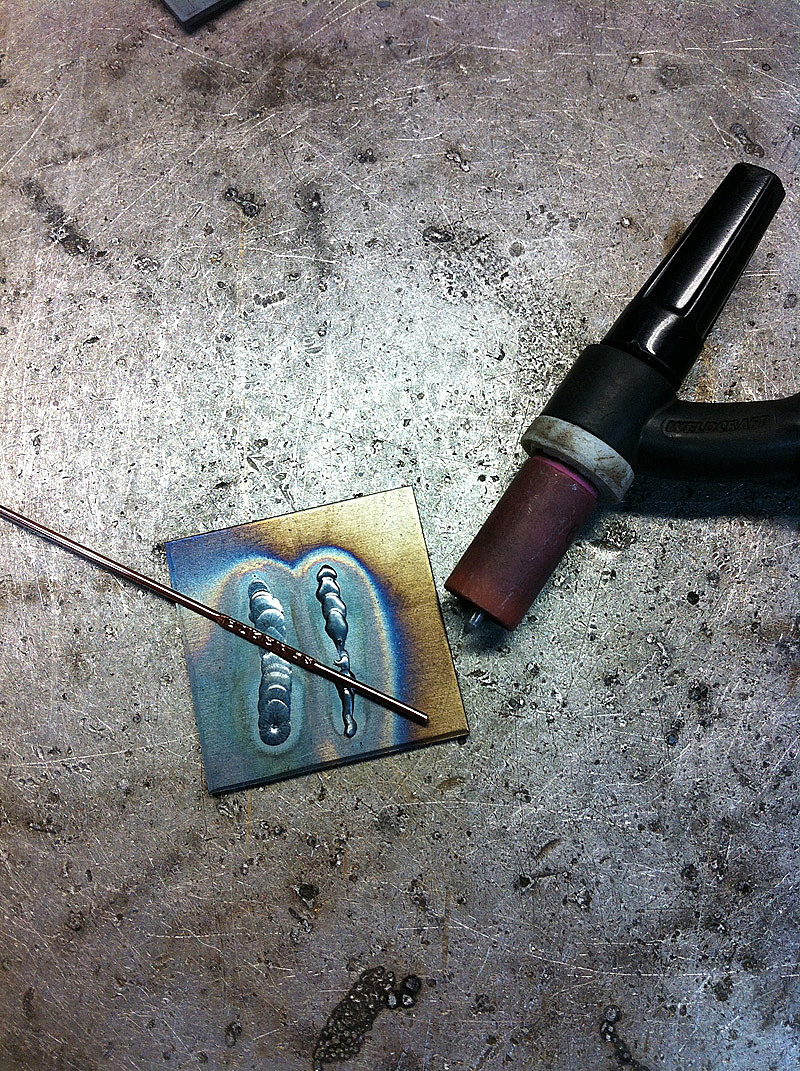
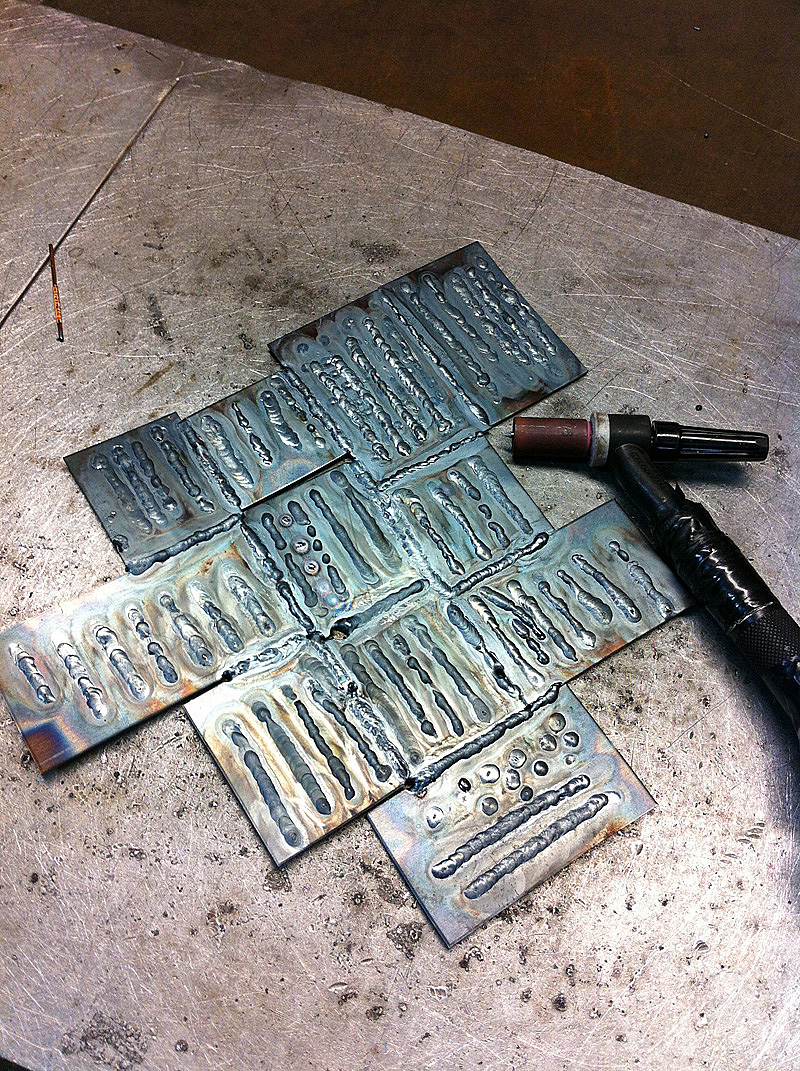
After 16 hours of trying to get the hang of it (and enough stainless stock to hypothetically make 8 Extractors), I walked away with a badly-sutured thumb and these two potential extractors.
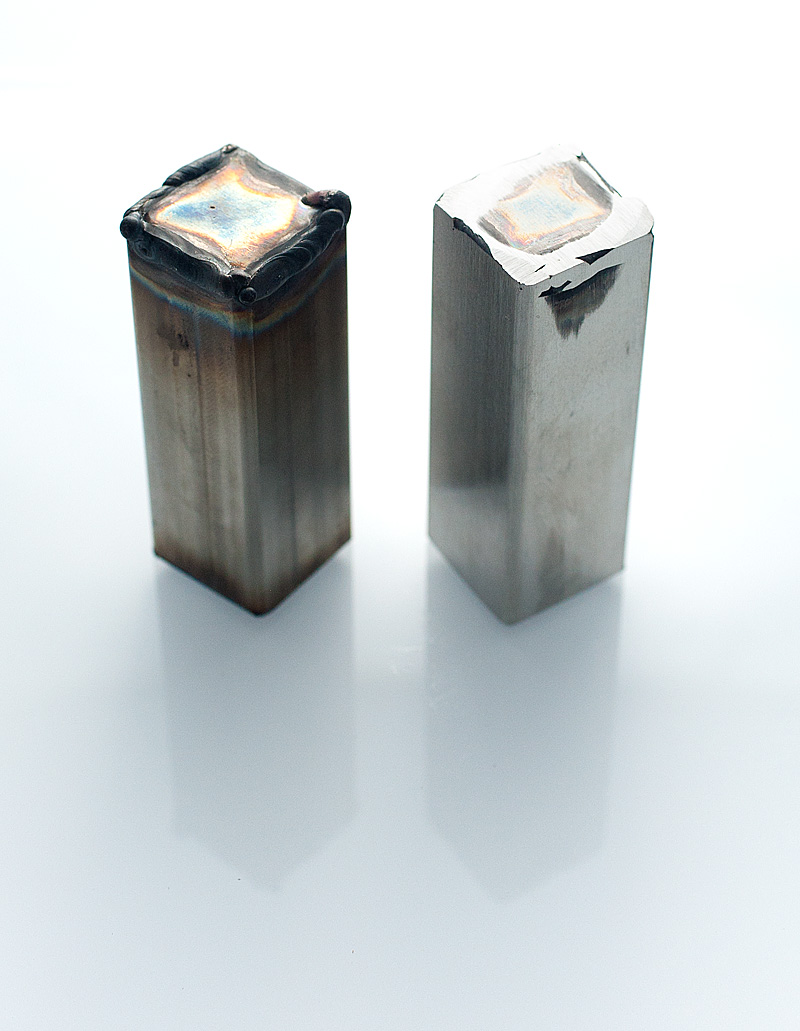
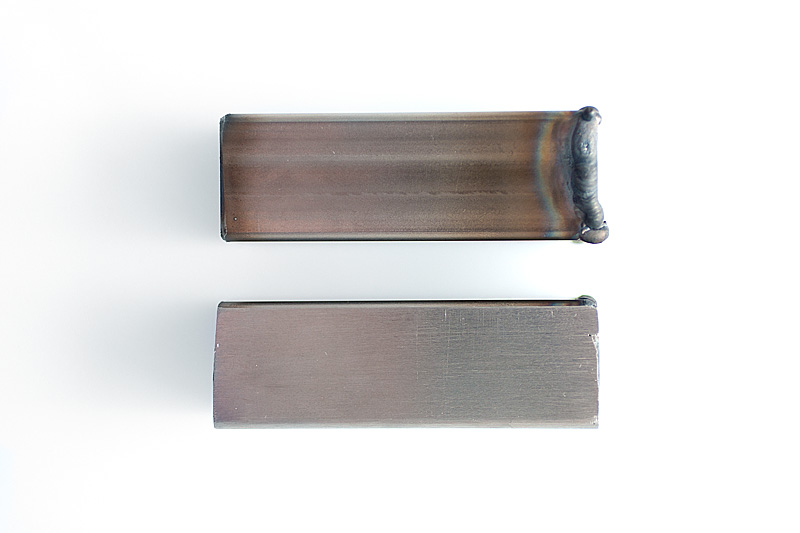
They look pretty sad, but some time spent with a sander/polisher will clean up the ugly welds; the one on the right has been partially-cleaned up with a belt sander. Then I’ll need to get time on a mill to cut slots to allow the honey to flow out, and figure out how to solder filters to the insides of the tubes to filter the honey as it’s extracted from the comb. It’s a notable amount of work left to do, but I feel like I’m at least on the right track with it.
But I have gotten to do some playing in the kitchen as well. A few weeks back, while flipping through Francisco Migoya’s awesome Elements of Dessert, one page caught my eye; it was so striking, and featured a neat technique I’ve wanted to learn more about: distilling.
“Distillation” usually hearkens images of moonshine pot stills for most people, and immediately sounds illegal. Distilling alcohol for personal use is illegal. But ‘distillation’ itself just means ‘purifying’, and distilling water-based materials is perfectly legal. One can buy a relatively inexpensive water distiller/purifier for the home on Amazon and use it to distill water quickly and easily. The way these things work is really simple: water is boiled in a chamber, the steam rises in the chamber and travels through a tube where it cools enough to condense, after which it drips out into a collection reservoir. Easy peasy, perfectly legal.
Distilling water is a pretty straightforward task. But what if, as is the case in this Migoya recipe, one wants to distill another liquid? In the case of the recipe here, Chef Migoya suggests using a home water purifier to distill fresh apple juice. The apple-flavored steam that one collects has a faint but unmistakable green apple flavor, and the process leaves behind sugars and other compounds that caramelize as the distillation process nears the end (the water having largely evaporated, the temperature of the residue jumps up suddenly and sharply) in the form of molasses. Apple molasses.
Sounds pretty neato, right?
I wanted to try this, but didn’t want to drop money on a water distiller right off the bat. The device is so simple that I thought it might be easy enough to make one myself. So, I rigged up this very ghetto/simple setup using a cheap angel food cake pan:
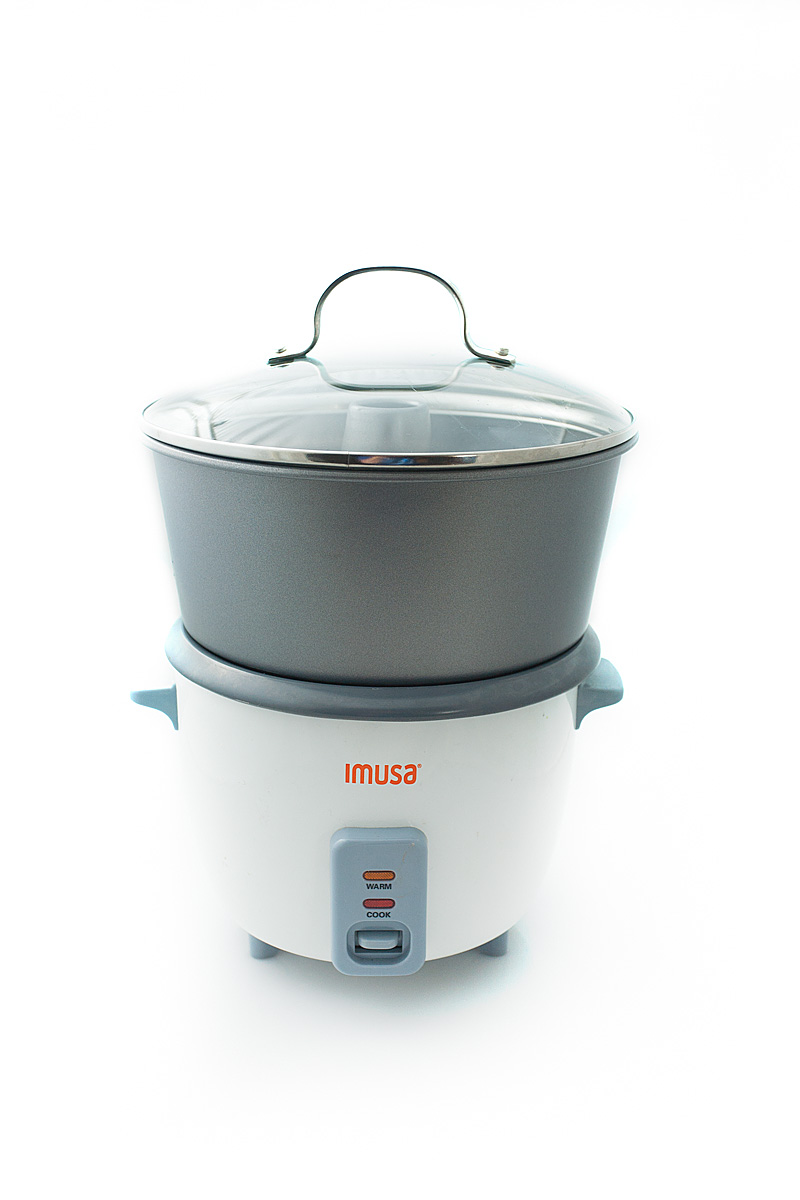
Steam rises from the bottom chamber into the top, collects on the glass lid, then runs down the lid and drips into the top chamber. To (try to) make things even more straightforward, I decided to try using my rice cooker as the heat source. The way rice cookers work is that they heat up something until it reaches a constant temperature (in the case of rice, the plateau is reached at 212F, the boiling point of water. The temperature can’t rise above this as long as there’s some water in the cooker). When the water has evaporated/been absorbed, the temperature of the pot starts to climb again, signalling the cooker to switch off (or into a ‘warming’ mode, which is a much lower temperature).
The experiment worked more or less like this: I put in some freshly-juiced green apple, turned on the cooker, and waited for it to click off. When I re-checked it, I had perfectly clear apple water in the top chamber, and a thick, incredibly-tasty apple molasses in the cooker. Rad.
Except there was a small problem. The apple water tasted…cooked. Because it HAS to rise to 212F to distill off, the apple juice steam takes on cooked flavors, and loses some of the delicate notes we associate with raw apple.
The way fancier/richer men than I get around this is with a fancier/more-expensive piece of equipment called a Rotary Evaporator, or a Rotovap. The magic thing these devices do is apply a vacuum to the chamber holding the item to be distilled. Lower atmospheric pressure means the product will evaporate more readily at a lower temperature. So the distilling process runs more cool, and cooked flavors are completely avoided.
The trouble is, Rotovaps cost around $10k+ new, and buying one on ebay takes a hefty bit of wherewithal, as buying a used one can be dangerous (you don’t know what hazardous chemicals have been run through it). Plus, they’re huge pieces of equipment. I’ve been poking around at how I might make my own vacuum distiller and it doesn’t seem terribly straightforward. I still am interested in exploring it, but also feel it’s worth asking the question: “Well, what DOES taste good when distilled using my ghetto method?” I.e. what is my method useful for?
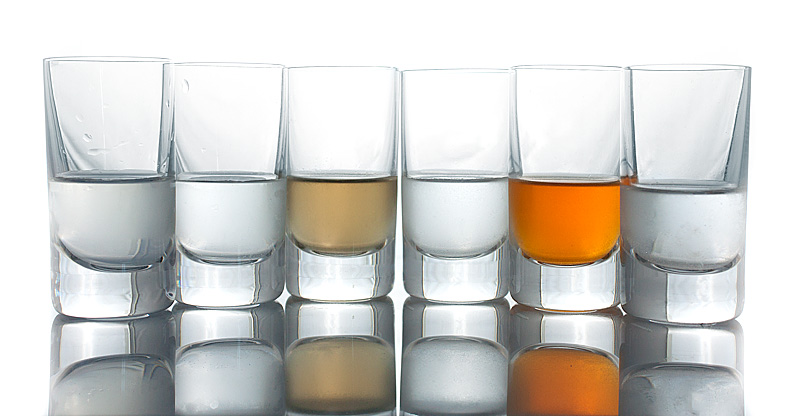
Curious about this, I went out and bought a bunch of vegetables and fruits, and tried distilling them all using this method. I tried:
- Green Apple: distillate tastes weak and cooked, molasses tastes awesome
- Pear: distillate tastes nice, molasses also tastes awesome
- Rhubarb: distillate tastes ok, molasses tastes like licking a battery. No bueno
- Peach: distillate and molasses just gross me out. Some people might like cooked peaches, I do not.
- Red Peppers: distillate and molasses taste like cooked red pepper. This is delicious, but I’ve made red pepper syrup for this project enough times for the flavor to not be particularly surprising for me. But again, the flavor is delicious.
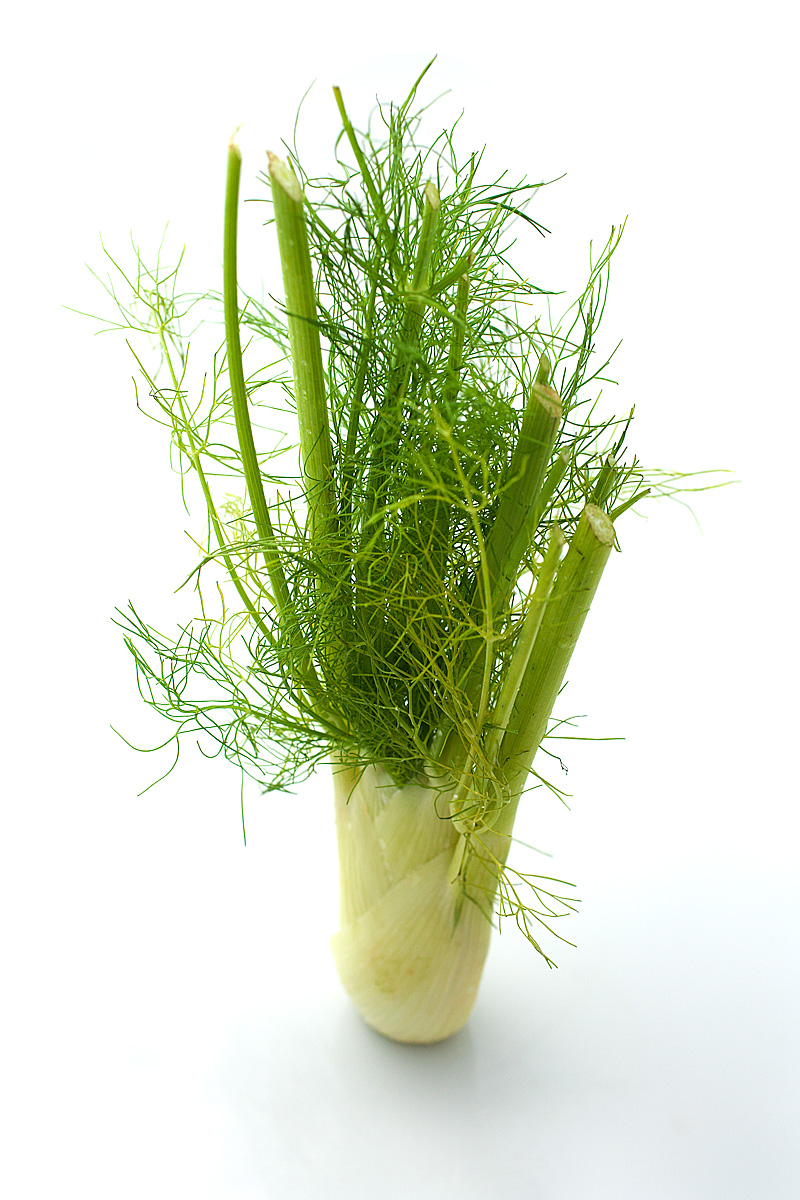
- Fennel: Ding ding ding. This one is a winner.
I noticed with several of the distillation tests, I ran into boil-over in my top chamber. The liquid in the bottom chamber would bubble too much to be contained, and would contaminate the top chamber, ruining the test. You can see above two obvious samples from tests where I ran into boil-over problems and the juice from below got into the distillate, coloring it severely. I should maybe point out that these two taste great, but the color kind of gives away a bit about the flavor, and for me that kills the magic of this approach. I like the idea of tasting something that looks like water but tastes surprisingly like something else. I tried researching what might cause boil-over, but couldn’t quite figure out a common thread. I compared starch and sugar content, but boil-over seemed less linked to that and more linked to how strained the juice was when I put it into the cooker…maybe?
Then I remembered something I think I read in a Harold McGee book once; water indeed evaporates at 212F, but if the steam isn’t allowed to escape easily, the heating chamber can climb to temperatures well over that. I wondered if my ghetto distiller wasn’t just too confined, and that the steam was causing the juice in the bottom chamber to superheat. I tried swapping out the rice cooker for a stovetop method; I added a silicon pie shield that Sarah has to my setup to help stabilize the cake pan and seal it a bit better, then tried cooking my fennel juice over a lower heat.
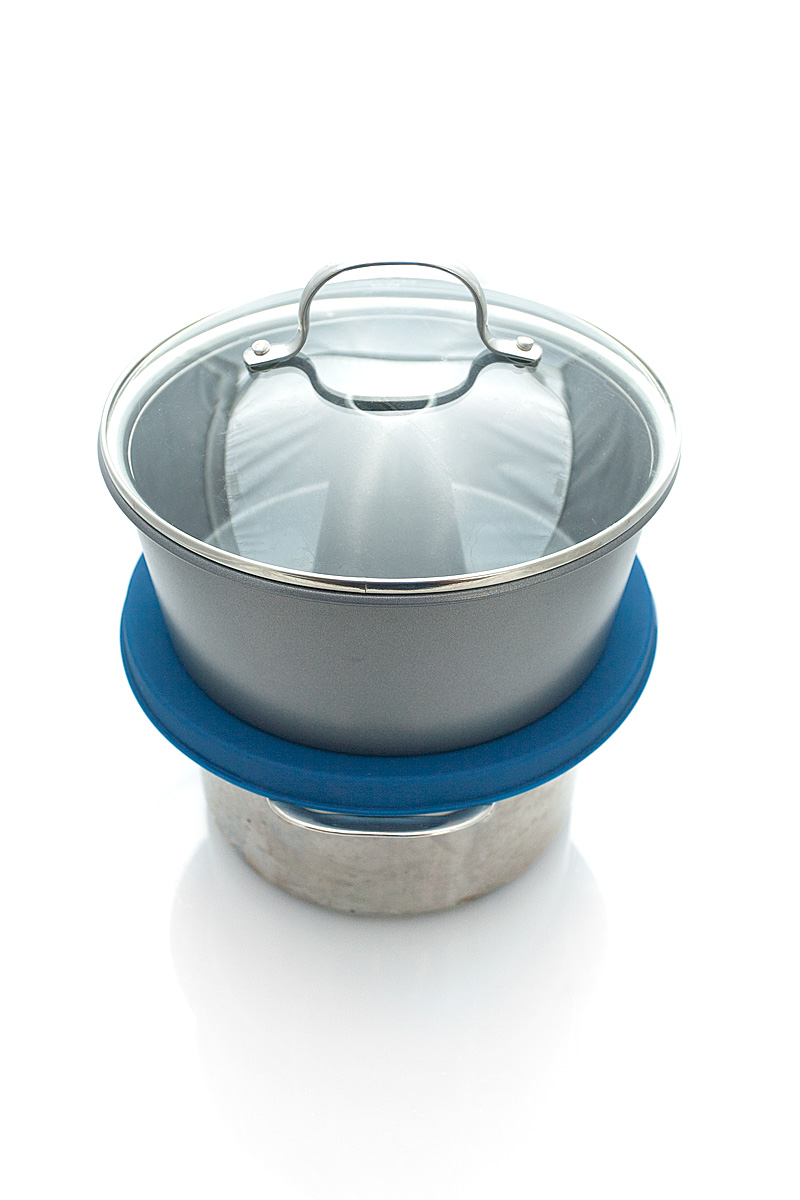
This ultimately worked; it took me about 4 tries before I got the temperature dialed in right. The lower the temperature, the less problems I had with boil-over (to the point that it became nonexistant) but the longer the distilling process took. In the end, the juice of 8 bulbs of fennel took about 6 hours to distill down to around 450g of perfectly clear distillate.
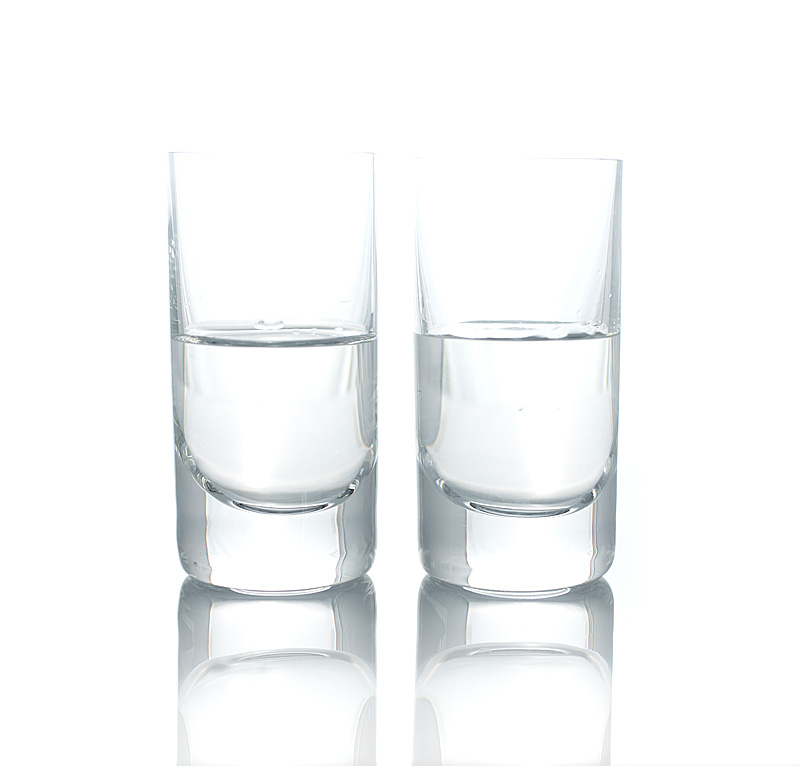
While researching all of this, I read through a primer about Rotary Evaporators on the Cooking Issues blog (which seems down at the time of this writing, sorry everyone). In it, Dave notes that leaving the distillate in the collection chamber causes its flavor to degrade, as it’s still being subjected to the evaporation environment. On a whim (and to avoid potential contamination issues from boil-over), I started interrupting the distilling process periodically to remove the fennel distillate as it formed. This opened my eyes to something really fascinating: the first sub-batches of the distillate tasted incredibly fresh and crisp, almost like uncooked fennel. As the process continued, the distillate took on more and more ‘cooked’ flavors, until by the end the distillate tasted nearly carbonized and ‘burnt’. I hadn’t thought to try this before the 4th time distilling the fennel; I’d just waited for all of the distillate to collect completely, so I was getting fresh and burnt flavors. This noting of how the flavor profile changes over the course of the process is what booze distillers call the “heads, hearts, and tails” of the distillate. Being sensitive to the tastes of the different phases of the process allows one to fine-tune the exact flavor you want to capture.
In the above image, the two fennel distillate samples look identical, but the one on the left tastes like fresh, uncooked fennel (the head of the distillate), while the one on the right tastes like burned caramel. Pretty amazing to me.
Finally, while I really love Migoya’s efficiency in using both the distillate and molasses yielded from one distillation run, I found it really hard to control the cutoff point (you can’t see how much liquid is in the bottom chamber unless you remove the top pan, so it’s hard to keep close tabs on it). So, I made fennel molasses separately, which allowed me to finely-tune how sweet/caramelized it got.
Anyway, the recipe I’m drawing inspiration from involves making a gelee of apple distillate, topped with dots of apple molasses and a big rock of fennel meringue. I inverted this, choosing to use the heads of my fennel distillate and my fennel molasses, and making a meringue of green apple juice.
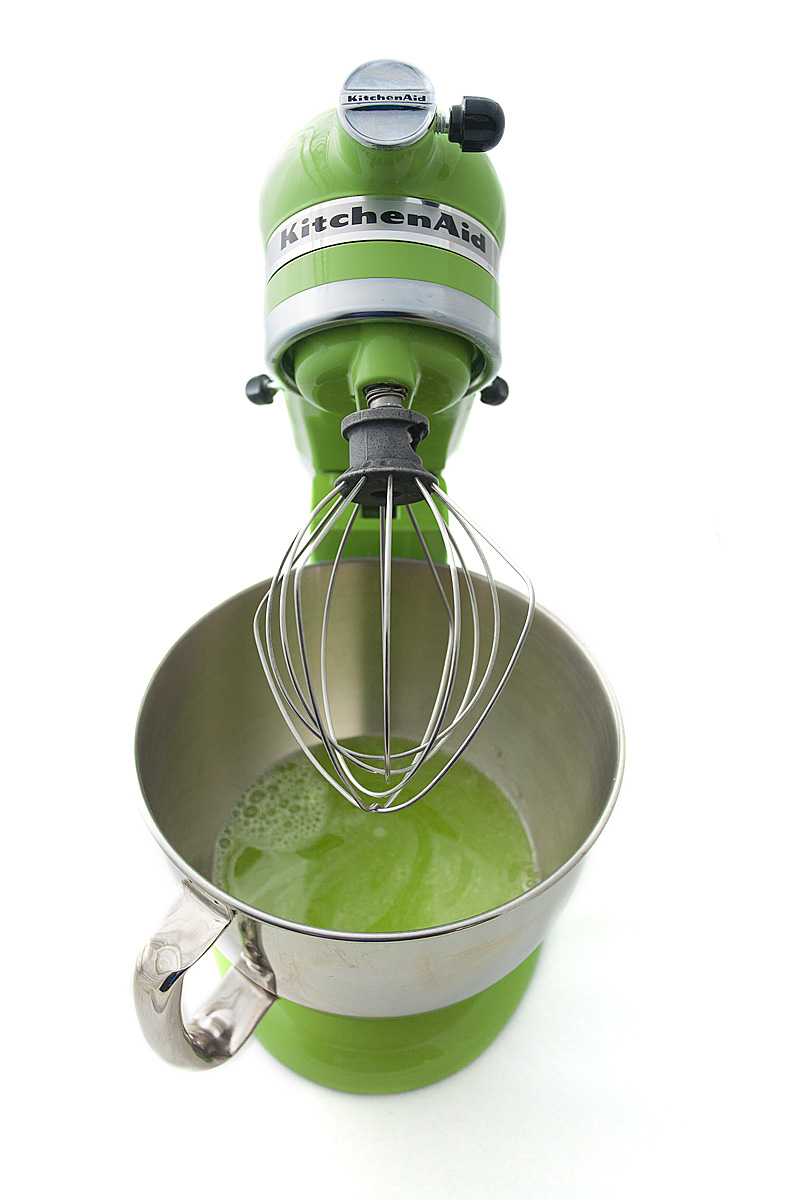
To make the frozen meringue, I juiced several green apples into a pan in which I’d put some malic acid and salt. The acid keeps the juice vibrant and prevents it from being oxidized. The juice is then mixed with egg white powder, demerara syrup, and some gelatin, then whisked to form a fluffy meringue. I spread it in a tray and froze it until it was solid. Migoya’s recipe uses fennel juice for this, which has way less pectin, so I found my meringue didn’t really get crispy, but stayed more like some sort of really fluffy cakelike texture. It was pretty interesting.
While at Berkeley Bowl a few days ago, I noticed something there I’d never seen before: finger limes. They’re expensive as hell (6 tiny finger limes were around 6 bucks), but I was so curious I got them anyway. These things are really neato:
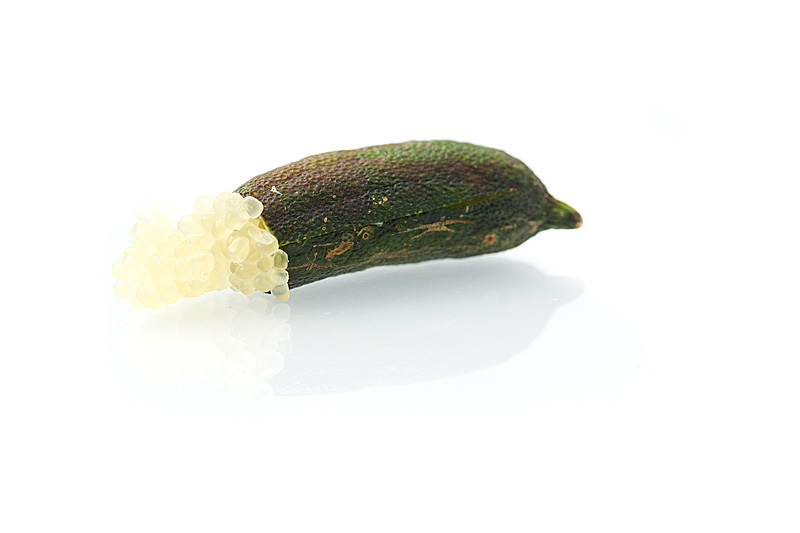
They’re maybe an inch long, and if you cut the tip off of them and squeeze them gently, the internal juice cells pop out. They’re very firm, and have a complex limey flavor. The cells are fun to eat; they’ve ‘snap-y’, like tobiko. Lime Caviar. I thought I’d try garnishing this dish with it.
The final component was making crystallized anise hyssop leaves. I have a few anise hyssop plants in our garden at the moment, so I pulled some small leaves, brushed them with egg white, then dredge them in superfine sugar and let them dry overnight. The result is a crispy candied leaf that tastes fennelly/black-licorice-y.
I set my fennel distillate with some gelatin, then (for my first try at plating), I thought what the hell…why not put all my molasses experiments on the plate.
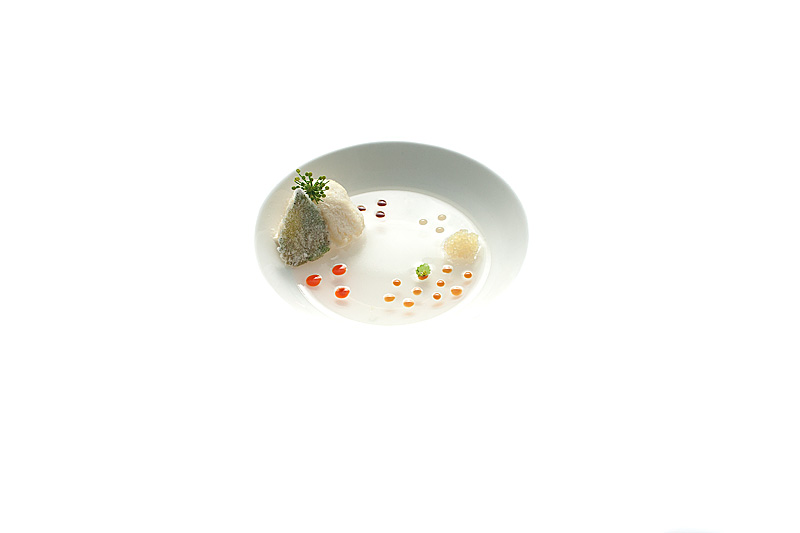
Pretty/interesting as it looks, it’s pretty noisy in flavor. It’s hard to really wrap your head around what’s going on, there are so many different flavors, and not all of them go together. Eh. Science.
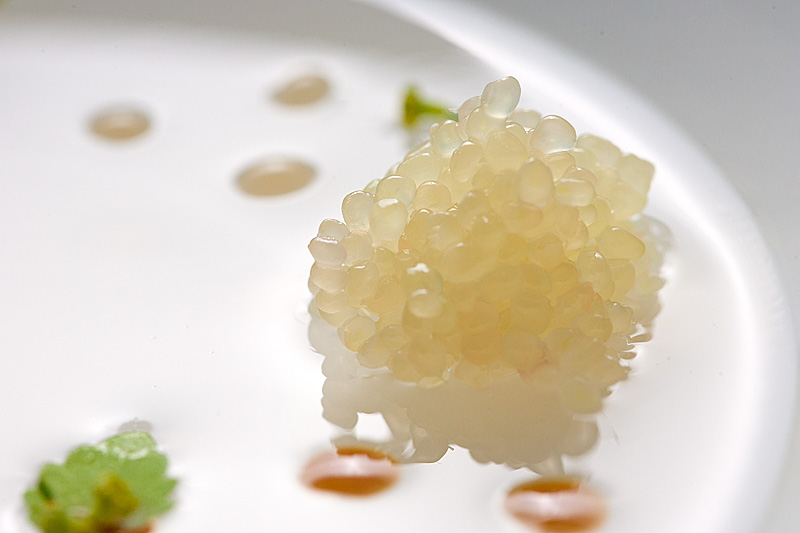
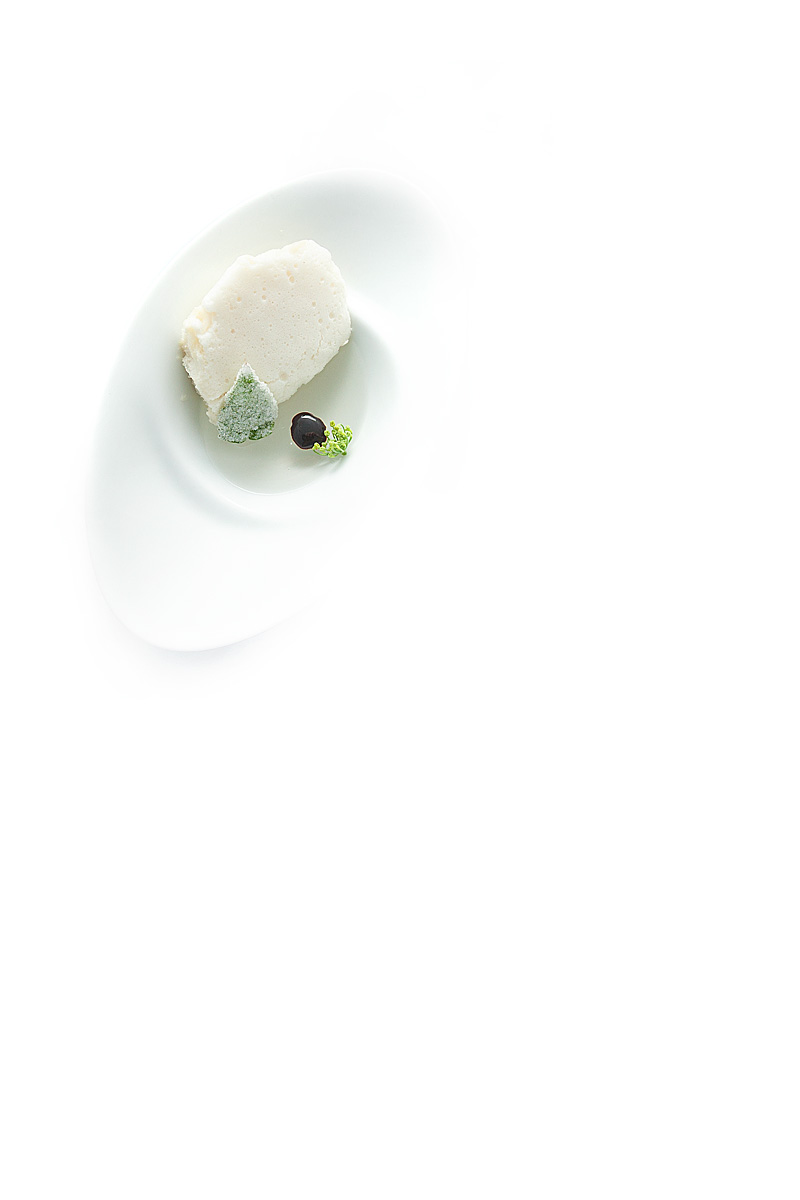
I tried another plating just with the fennel gel, fennel molasses, green apple meringue, and the anise hyssop leaf. This one makes a lot more sense. The flavors are nice and solid — the crisp freshness of the fennel gelee and the deep caramelized fennel flavor of the molasses are fun to get in one bite, and the meringue has a nice tartness that elevates things. I can’t say these textures are my favorite (I like crispy things, and aside from the one anise hyssop leaf, there’s not much to be found). But hey, I learned a hell of a lot, and that feels cool.
It was only while drinking coffee yesterday morning that it hit me that there’s no reason I couldn’t distill other liquids; I could try distilling coffee and cocoa powder to make mocha java distillate maybe? Or try experimenting with distilled teas or distilled spices…
Great job as usual man and I love the wine/bourbon rack.
Fascinating Allen. Thanks to your trial and error I might try some flavor distilling soon. You think I can maybe use my immersion circulator to better control the temperature? I’m thinking the pot of juice would sit in a larger basin of hot water controlled by the IC…
Allen, this is SO COOL. I have been resisting the idea of getting a juicer for a long time (Octavian wants one, but we don’t have a lot of space, and I just don’t think we’d get as much use out of it as we imagine ourselves getting), but I guess this would be one more consideration in a juicer’s favour. Do you think that this technique would work well with citrus juices? Maybe not lemon, but grapefruit or orange? Those I could do without a juicer…
Good luck with your metal work. You are badass.
Hey Katie!
By “this technique”, do you mean the distilling or the molasses-ing? If the former, I think you can certainly distill citrus juice, but citrus especially seems not to hold up well to temperatures, so I wouldn’t expect the distillate to taste like fresh orange or grapefruit. But, now that I say that, I’m not sure exactly what ‘cooked orange distillate’ would taste like! Seems like it’d be worth a try? You’d have to keep an eye on it and really only pull off the first bit of distillate to keep it tasting fresh and not overly-cooked.
MORE SCIENCE! 🙂
Also, we had a compact centrifugal juicer (the Breville Juice Fountain) a while back, and I decided I hated it. It was messy and threw shit everywhere and was loud and not a little scary. It’s notably smaller than other centrifugal juicers, but eh, I don’t think it’s all the way awesome. We swapped it out for the Hurom slow juicer, and I’m madly in love with this thing. It’s quiet, much calmer, and is actually even smaller. If you have a chance, check one out next time you’re at a Sur La Table.