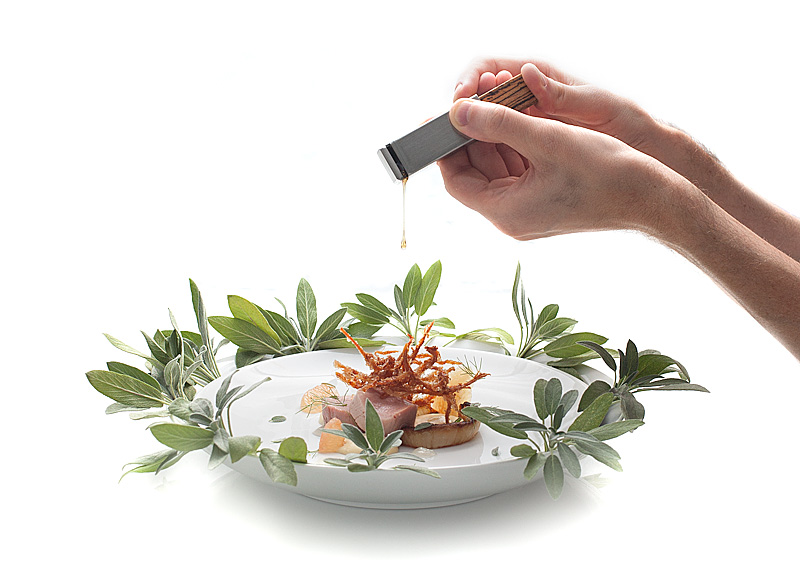
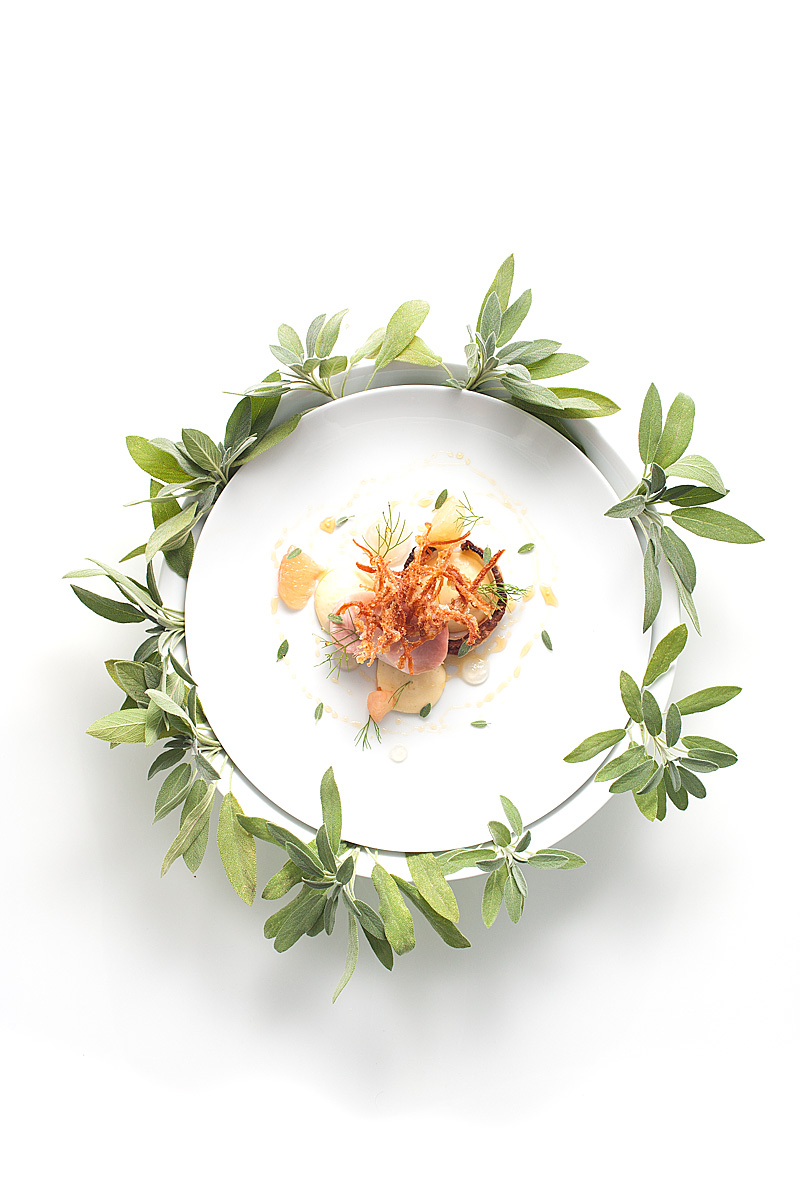
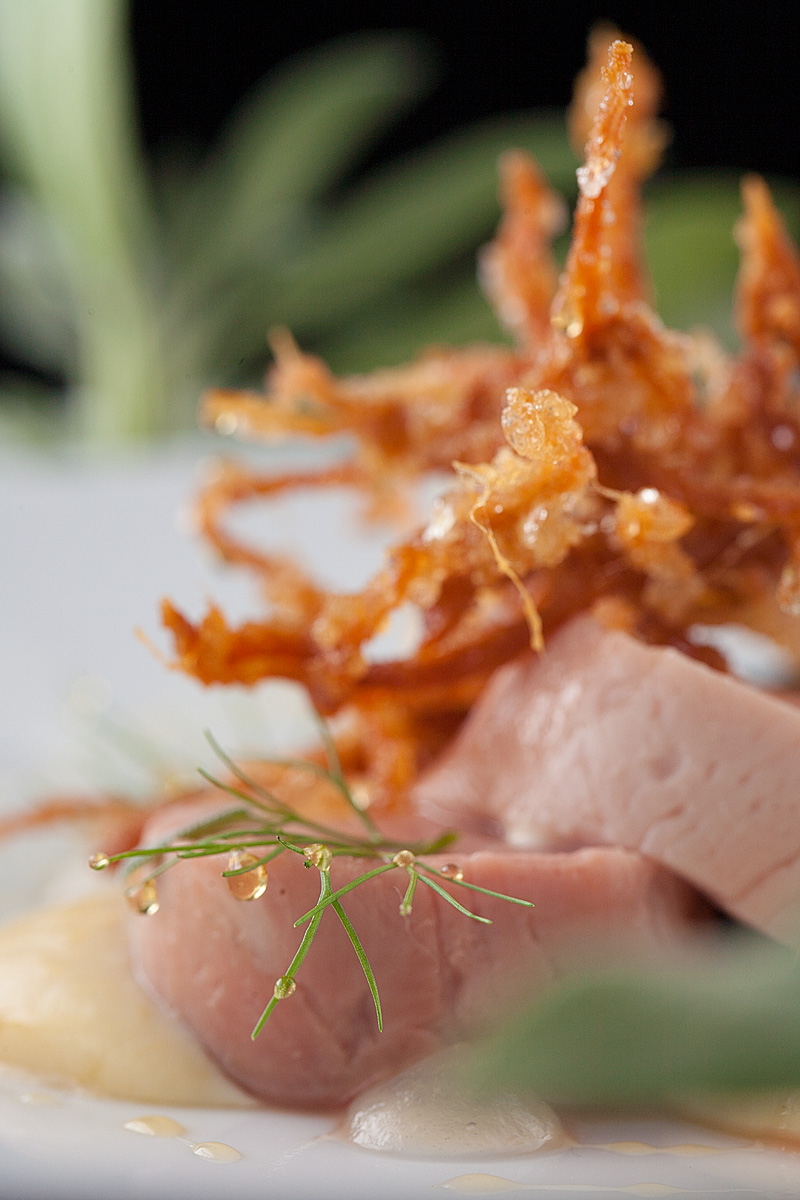
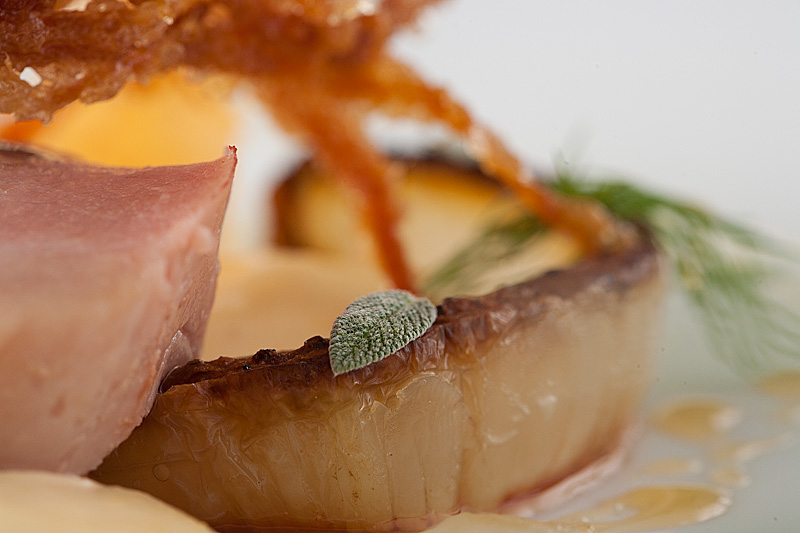
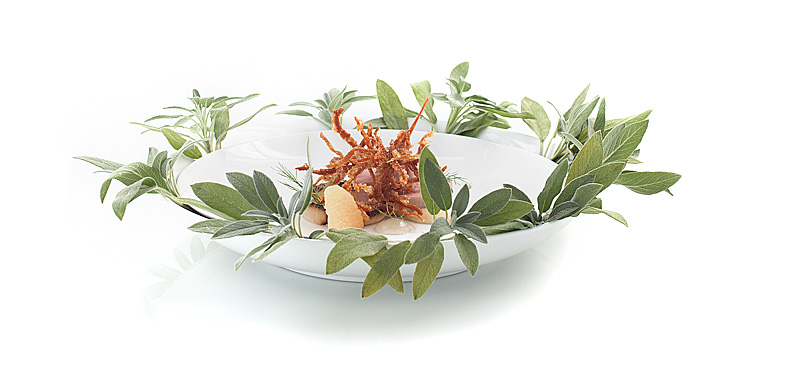
It’s probably apropos that the first dish back in the saddle for this project is one tangentially-related to BBQ. While not totally deep southern, this dish manages to blend autumnal flavors with traditional BBQ pairings, with a few pretty rad touches just to keep it all the way Alinea. Pork — prepared two ways — is paired with warm cornbread puree, sage pudding, caramelized fennel, and grapefruit segments. The dish is garnished in a particularly dramatic way with honey at time of service.

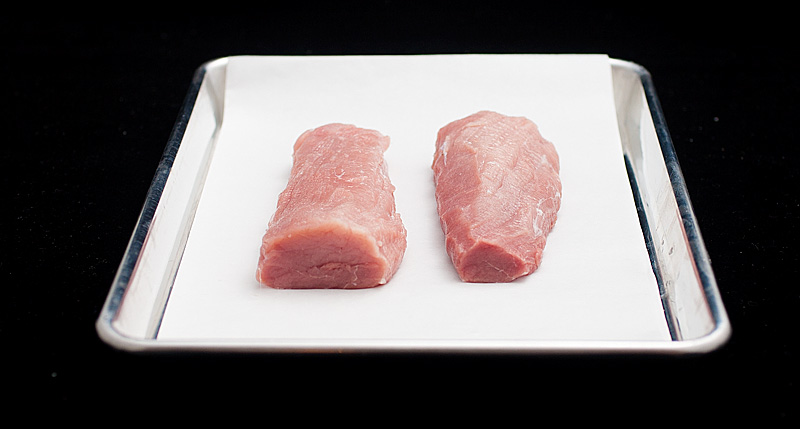
One of the two pork preparations is sous vide tenderloin. Having good experience in the past with Marin Sun Farms’ products, I knew up front that I wanted to try their wares for tenderloin. I bought a whole tenderloin, then trimmed it of fat and silverskin before rolling it into a cylinder in plastic wrap and vacuum-sealing it into shape.
For preparing the pork, I had a new toy to play with; several month ago I kicked in for one of the first consumer-level sous vide immersion circulators to come onto the market recently: the Nomiku.
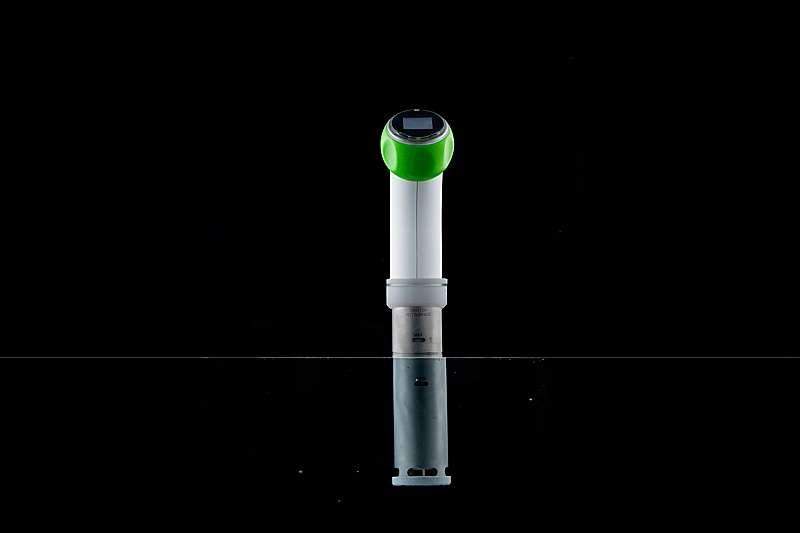
The Nomiku ran $300 for a kickstarter edition. It’s largely well-built, with the slight exception of the green knob that one uses to dial in the temperature. The knob isn’t particularly tight and ostensibly uses an optical sensor to detect motion; a choice that results in odd temperature set point jumps when you walk around in front of the device, causing light fluctuations which in turn seem to make the device set itself up or down a few tenths of a degree from where I’d left it. But the device holds temperatures bang-on, and is light-years ahead of the methods I’ve been using for the past many years (mostly dicking around with the knobs on my stovetop to try to hold a stockpot at temperature). I’m ecstatic to have this thing to play with, though I admittedly also kicked in for the Sansaire as well, and am curious how the two will compare.
The water bath I used is around 3 gallons, and is made from a Cambro I found at the East Bay Restaurant Supply warehouse near our apartment. I used a coping saw and a dremel to cut a notch into the edge of the cambro and a cutout into the lid of it to accommodate the Nomiku while minimizing evaporation during long cooks.
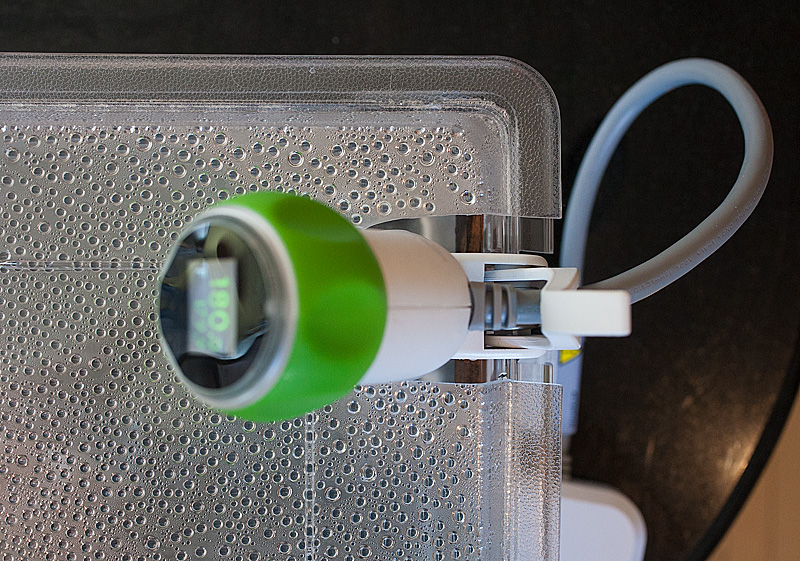
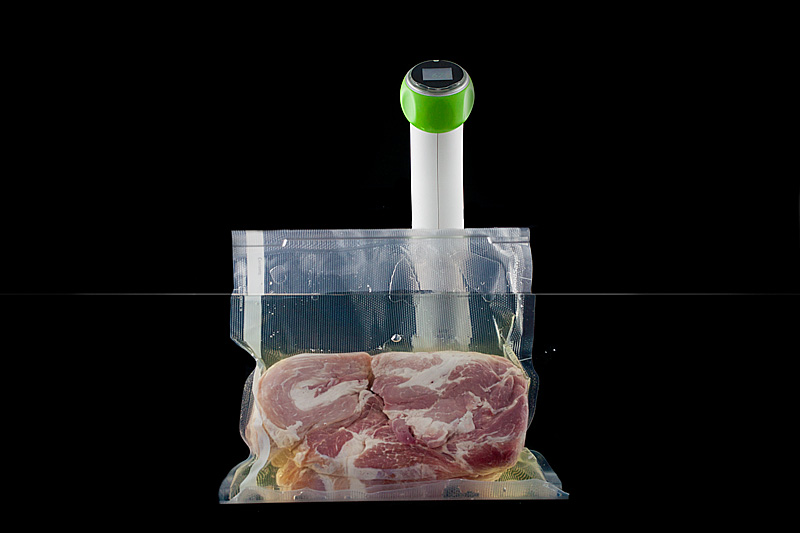
The preparation of the tenderloins took only a few minutes at 135F. But the other (arguably more-interesting) pork preparation involved cooking a pork shoulder for 5 hours at 180F — notably more-challenging conditions for an immersion circulator. Handily, the Nomiku handled it with aplomb.
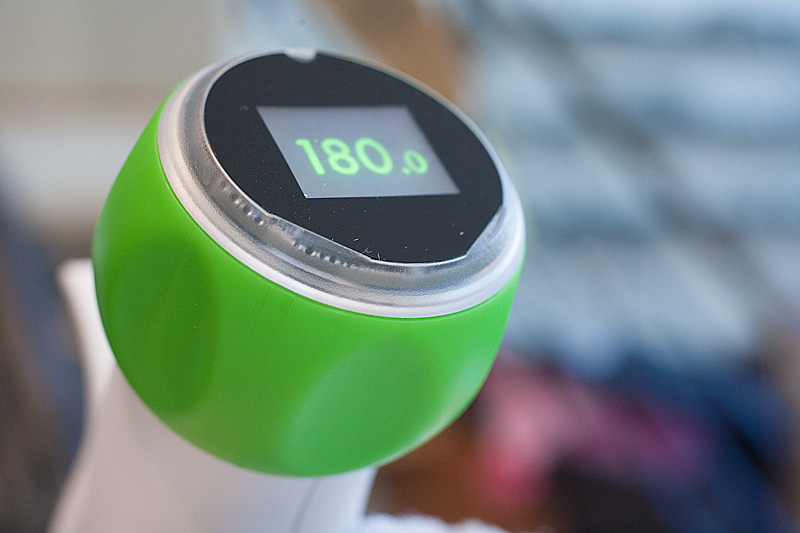
I noticed several hours into the cook some condensation forming inside the dial to the Nomiku. I tweeted to the team to ask them about it (the circulator continued to function flawlessly, I just worried that I might be doing something to damage the unit). They responded that the silicon sealant used to waterproof the dial chamber might be sweating alcohol, and that it wasn’t something to be concerned about (and would evaporate eventually).
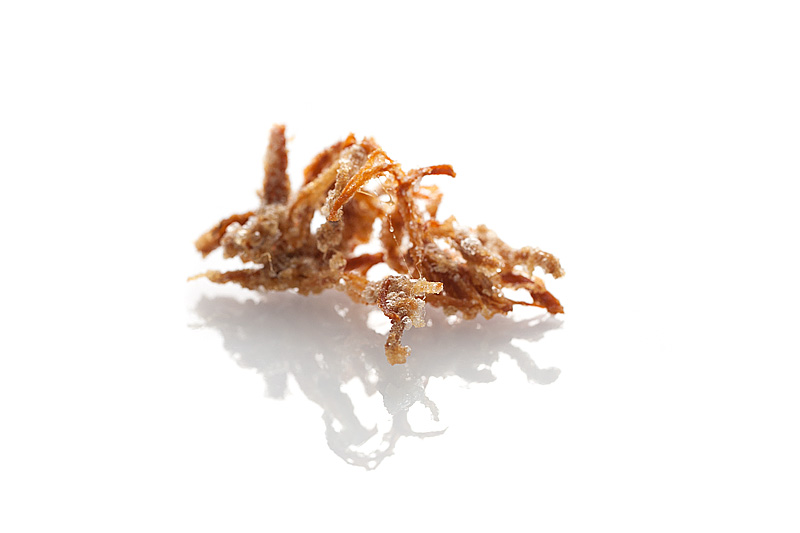
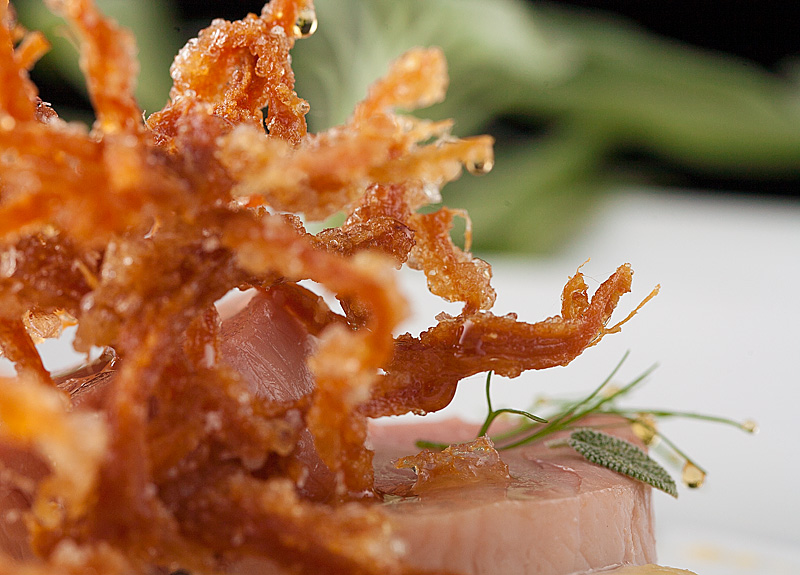
Once the pork shoulder was done after 5 hours or so, I removed it from the vacuum bag and finely shredded it. The shreds were then deep-fried in screamingly-hot oil until the gelatinized residual fat in them puffed, yielding Puffed Pork Shoulder.
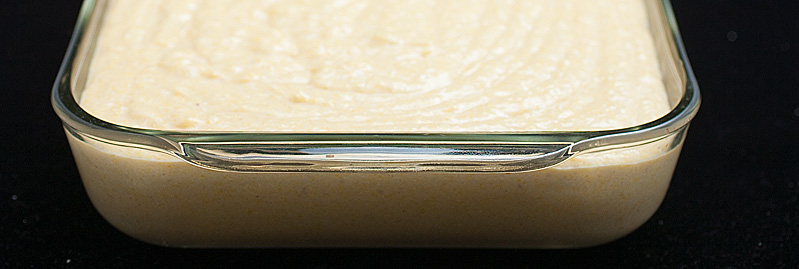
I made Cornbread Puree by first making cornbread. It probably goes without saying that I tend to have strong opinions about cornbread, and as cornbreads go, the one this recipe yields is pretty pedestrian. Maybe neutral is a better word, which is apt because this isn’t a dish about cornbread per se. It’s just that you’re left with a fair bit of leftover cornbread afterwards, and it’s a bit unremarkable on its own. The recipe is also challenging; the batter yields way more than can fit in the prescribed pan, and the bread needs to bake ~4 times longer than the recipe notes to achieve proper doneness.
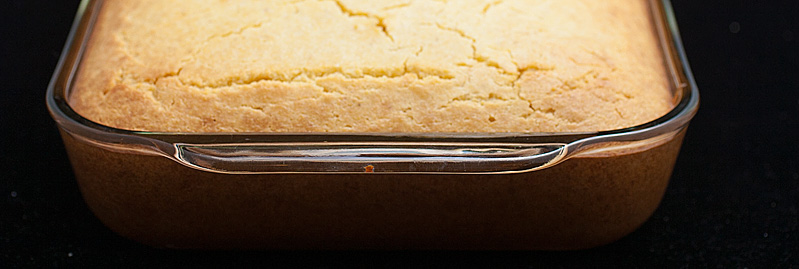
Once baked, the cornbread is pureed with butter and cream (way, way more cream than the recipe calls for) to yield something that’s puree-like. This is maybe the most frustrating component of the recipe, only because making cornbread and pureeing it with cream is — in the grand scheme of things — not something that should be as hard as this is.
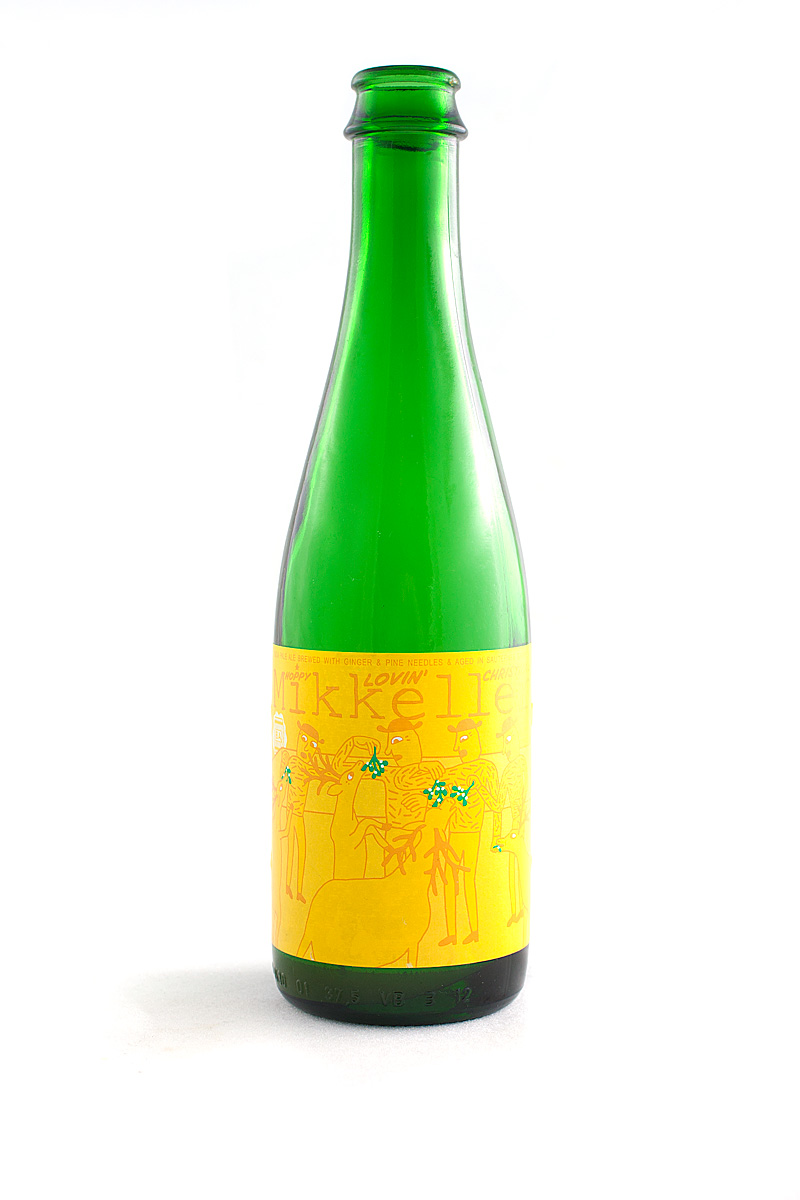
Whew. After all that cornbread rigamarole, I needed a beer. I chose this one; a Mikkeler seasonal IPA made brewed with pine needles. Citrus and pine struck me as appropriate and fall-like. This beer is really delicious.
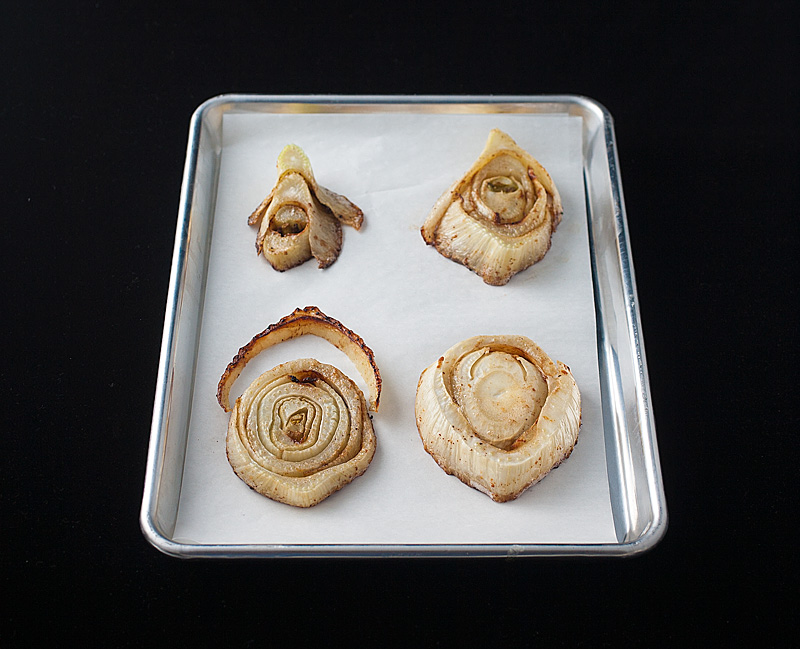
Cornbread puree complete, I got to work on the other components. Making caramelized fennel was notably easier; I sliced some fennel into cross-sections and simmered them gently in butter in a skillet until the bottom surface was deeply caramelized. If you think you can make me stop loving caramelized fennel you’re wrong; this stuff is so damn delicious.
This dish is served with grapefruit wedges that are meant to be peeled of their skins and all pith. I’ve learned that this preparation is often called a “supreme”. Making citrus supremes is one of those time-honored French techniques that’s hard and earned. I can do it (barely), but for this dish I wanted to try something a little different: enzymatic peeling. The idea with this is that I combine the citrus segments with an enzyme that consumes the components of a citrus segment that make up the peel and pith, leaving behind just the cells of the segment. Cooking Issues wrote about this a few years back and it’s always been interesting to me. To try it, I needed some Pectinex SP-L, which contains the requisite enzymes.
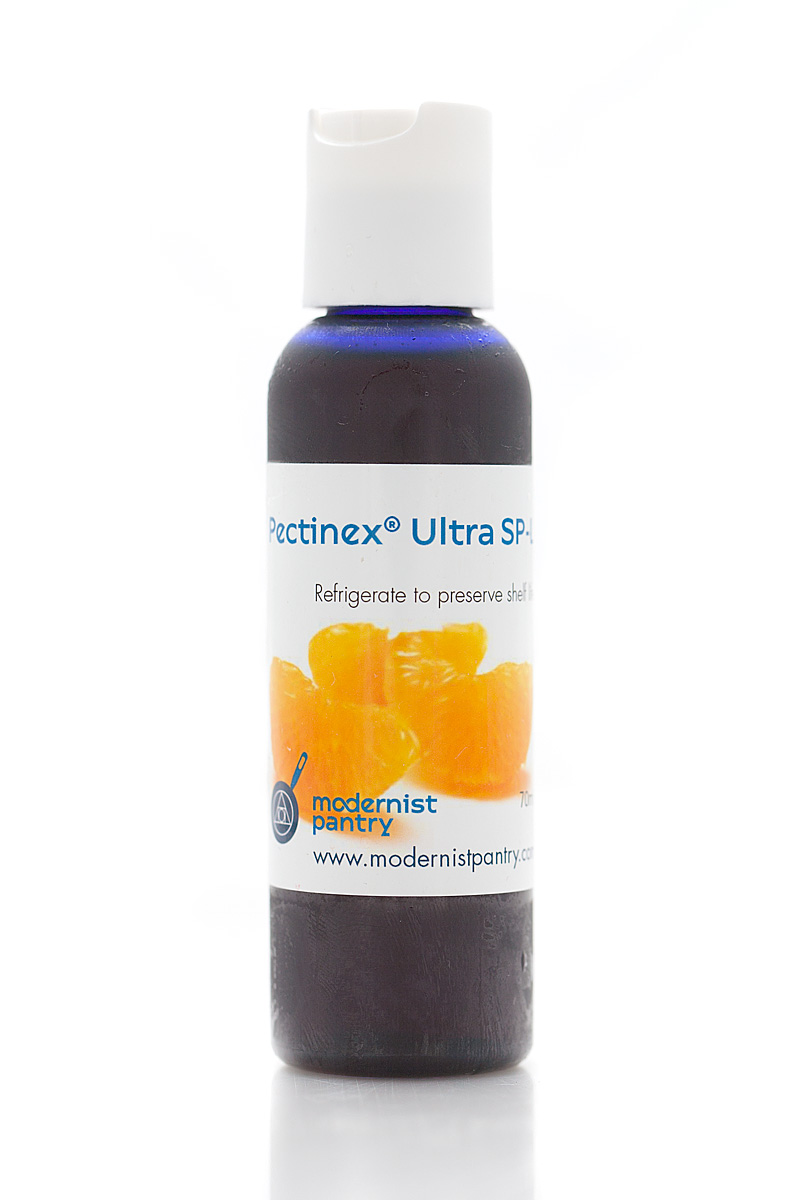
This enzyme can be activated in one of two ways: either steep the segments with 0.5% weight enzyme in the fridge for 2 days, or cook them with the same amount sous vide at 40F for 30 minutes. I tried both. They both worked equally well, which is to say “sort of”; the peel between the segments turns soft and can be rubbed off gently under cold running water. Visually, the segments are nearly perfect; they are membrane- and pith free.
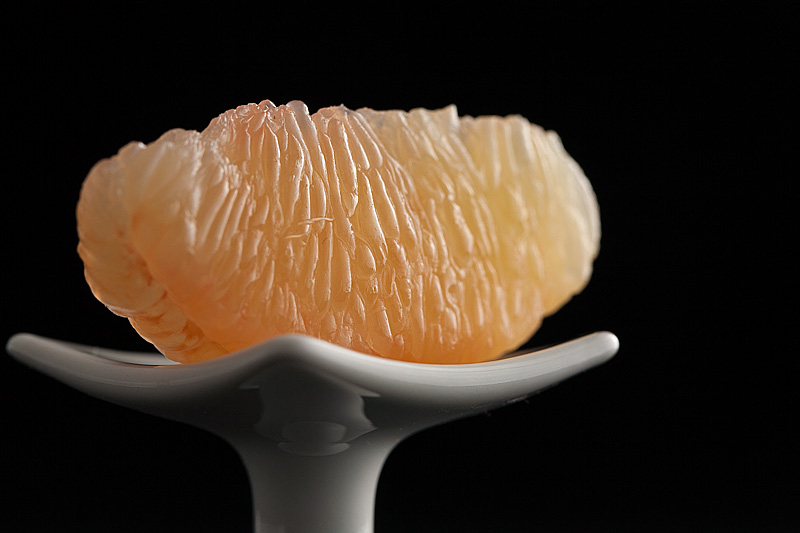
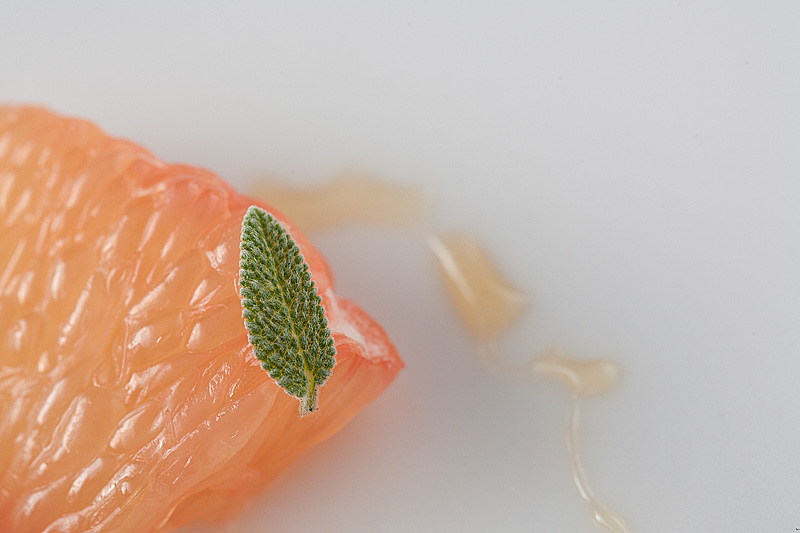
From a taste perspective though, I felt like the flavor was slightly-diluted. Modernist chefs argue that the enzyme “tightens and sweetens” the flavor, but I felt that a 2-day soak in water only lessened the flavor; it still tasted like grapefruit, but was a little less potent. It’s amusing to me that I find these subtle traditionalities in this project that are compelling to me: I’d rather supreme the citrus the hard way and know that it tastes good than let an enzyme do my work for me. Still, cool experiment though.
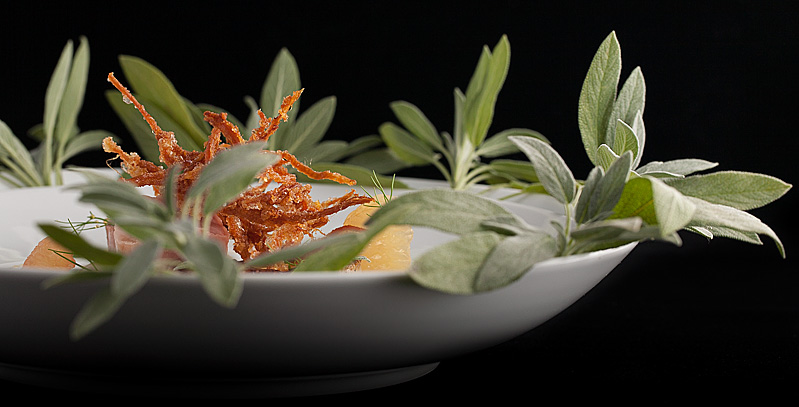
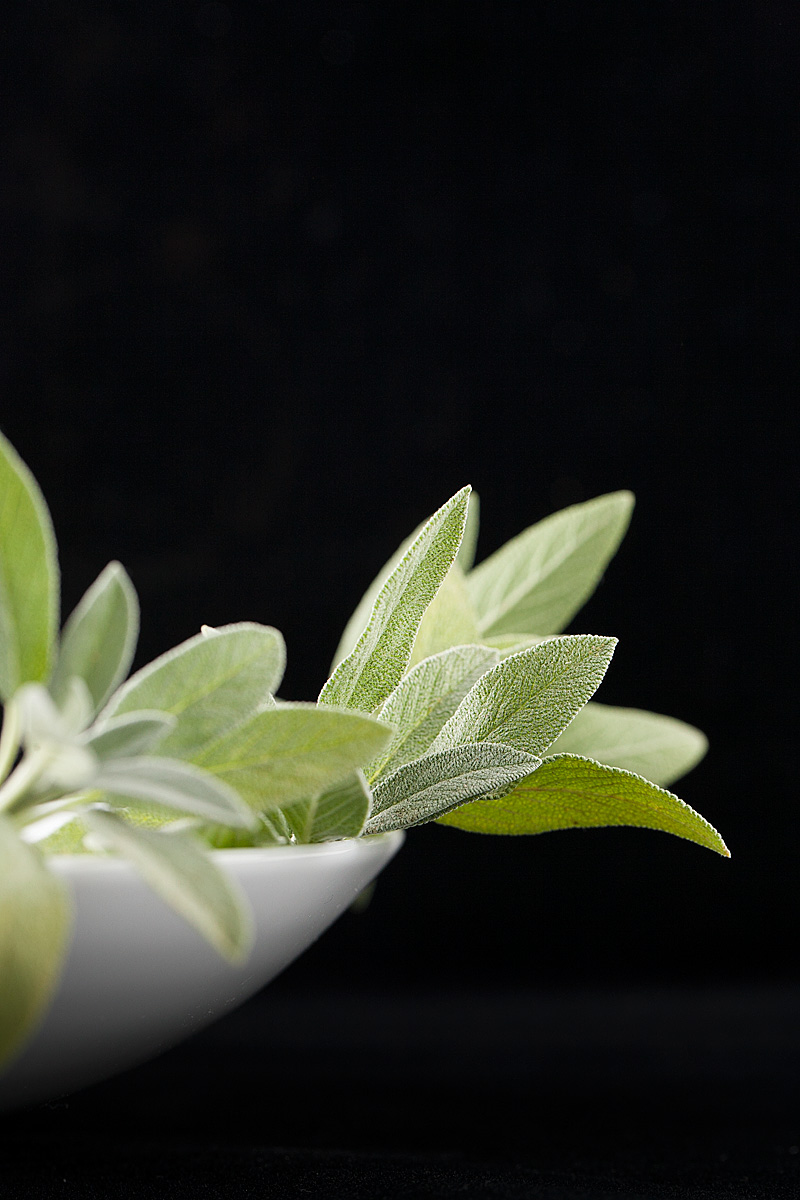
The final component was Sage Pudding, a technique I’m all too familiar with at this point: cook some sage with water, sugar, and salt, let it steep for 20 minutes, set with Agar and puree to a smooth pudding. The flavor as always is clear and crisp: cooked sage that’s dizzyingly aromatic.
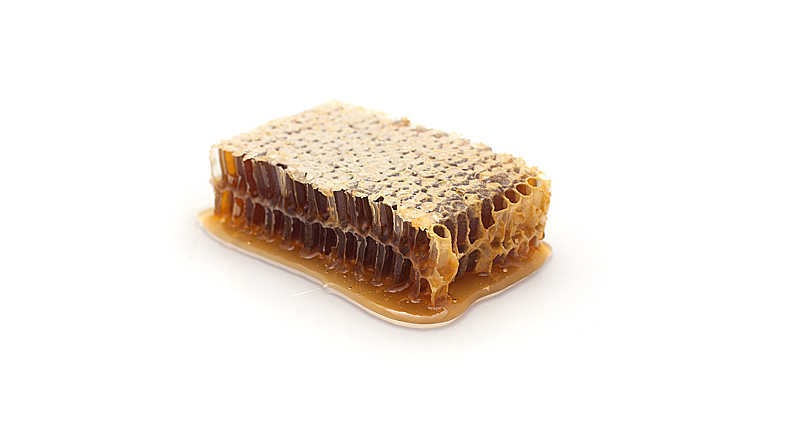
Before plating, it was time to start the final garnish: the honey. To do this, I cut a chunk from a locally-sourced honeycomb, and set it atop a piece of beeswax-polished Bocote wood.

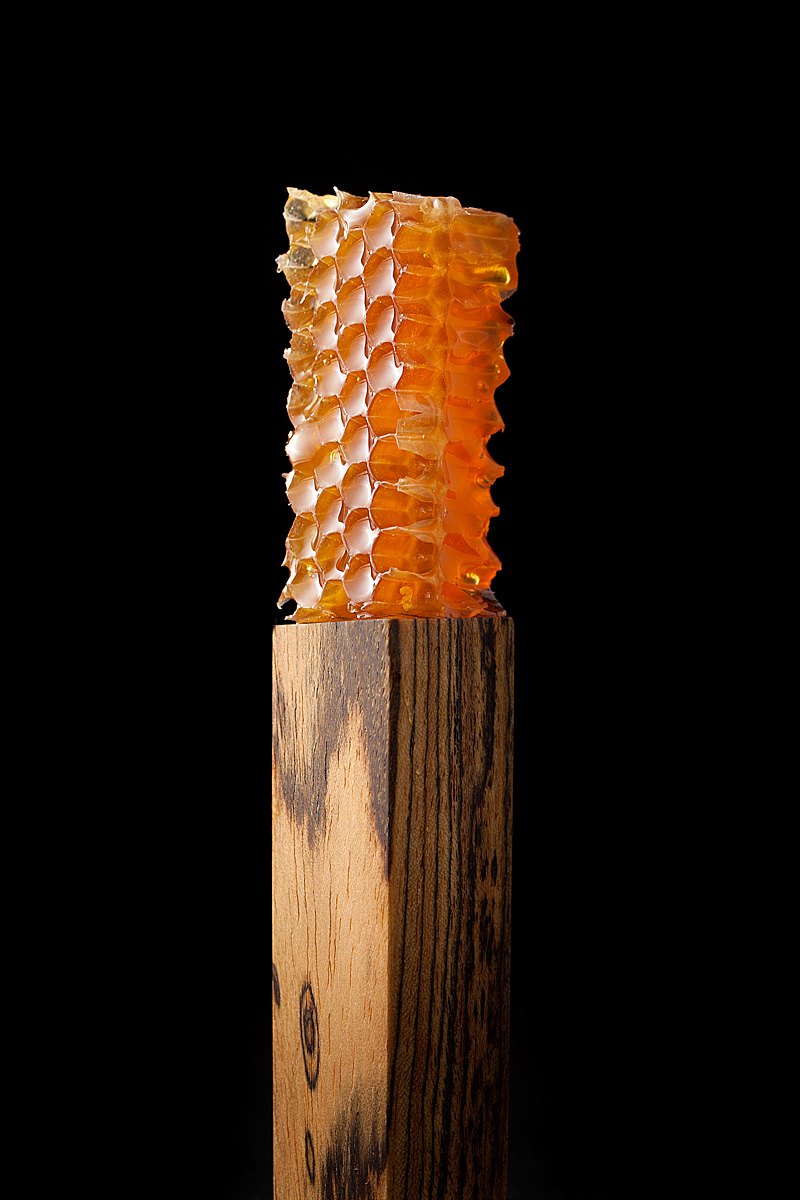
I asked Sarah to come down while I plated the dish, warning her that things were likely to get a bit messy. This is how Alinea prepared this dish when it was on their menu: about an hour before this dish hit the table, they would sit out a small Bocote pedestal with a piece of oozing honeycomb atop it. As dishes evolved onto and off of the diners’ table, the honeycomb was left to serve as a slowly-kinetic centerpiece, perplexing and tension-inducing in its messiness. Surely this pristine restaurant understood that the drips of honey oozing down the sides of the pedestal were sure to leave a giant sticky puddle in the center of the table?
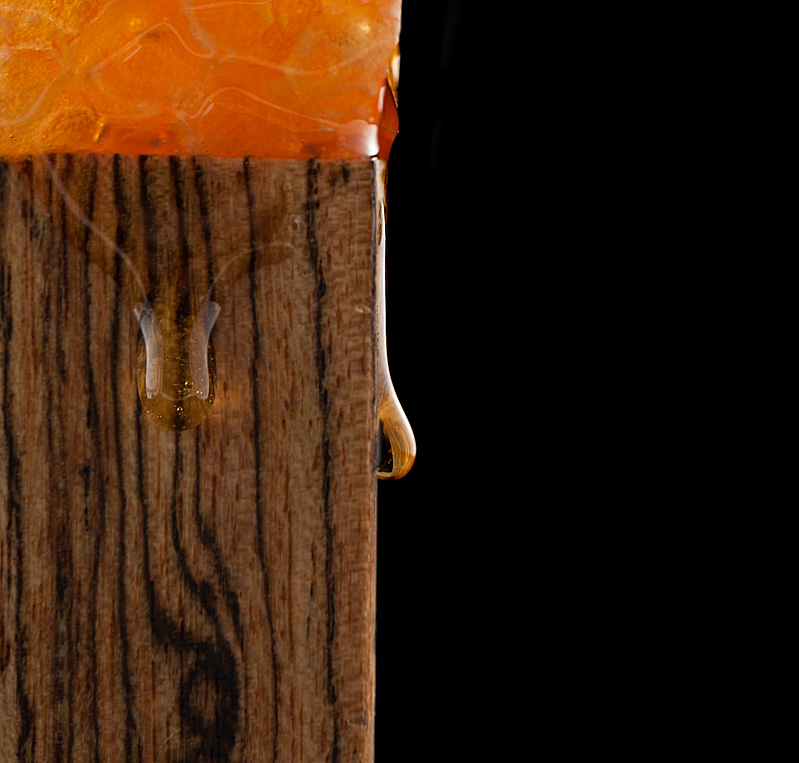
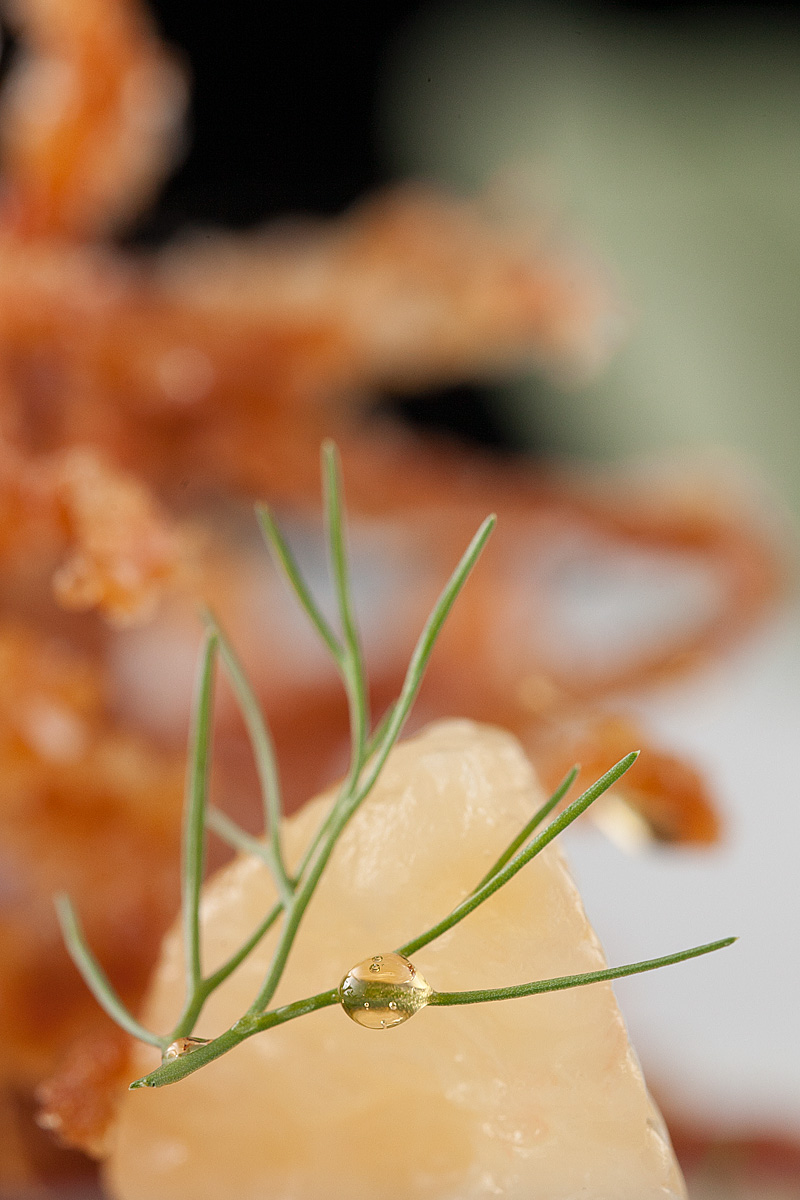
At the last minute, a plate would arrive bearing pork, sage, cornbread, and fennel, and the waitstaff would produce a small, stainless-steel tool into which the entire wooden pedestal and honeycomb was inserted. The pedestal became a plunger, and the honey within the honeycomb would be extracted in a drizzle on the diners’ plates.

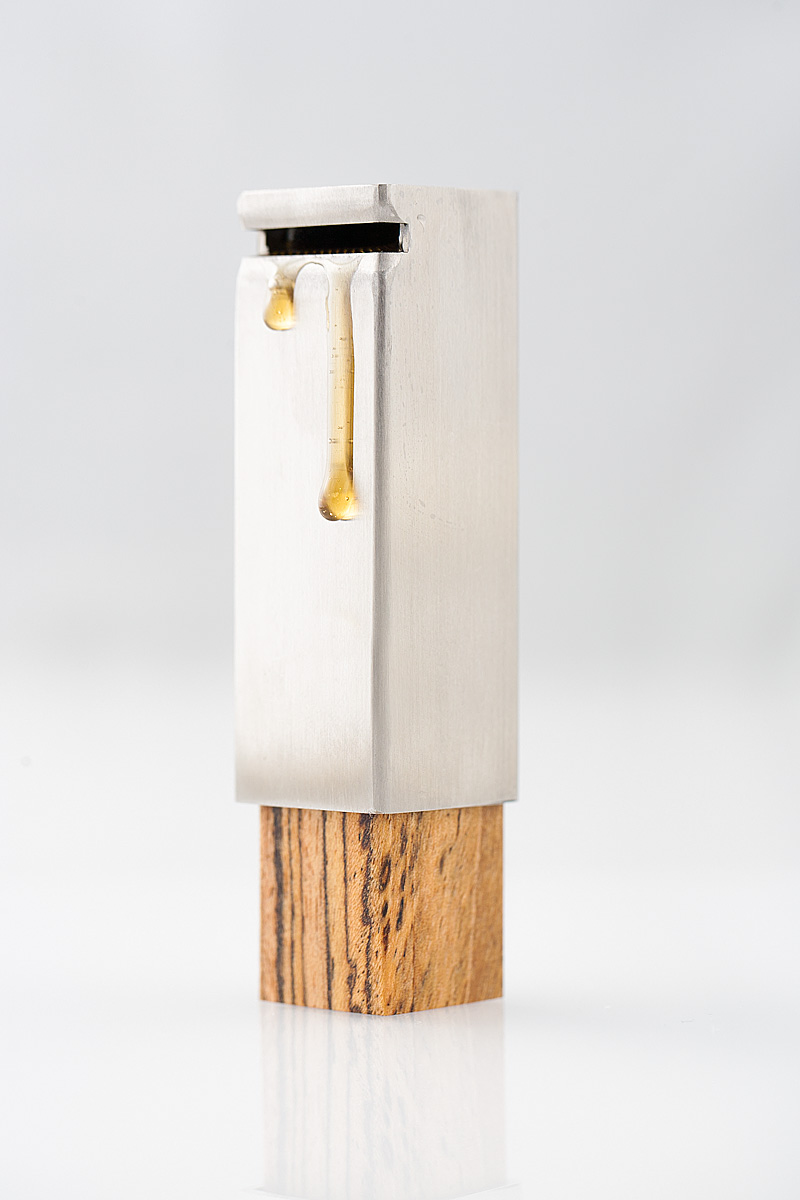
The Honeycomb Extractor is one of my white whales for this project; Martin Kastner has never released it for consumer sale, and I felt that the drama of this presentation was too awesome to be minimized by simply squeezing a bear-shaped bottle over this dish. I’ve made mention of this several times before, but for the past 3 years I’ve been slowly accumulating the skills necessary to build my own. I’ve taken machining and welding classes, and after a lot of trial and error arrived at something that I think holds up to Alinea standards and serves the original intent of this dish. It’s also been entirely un-trivial to fabricate, which gives me a massive appreciation for the breadth and depth of Martin’s skills.
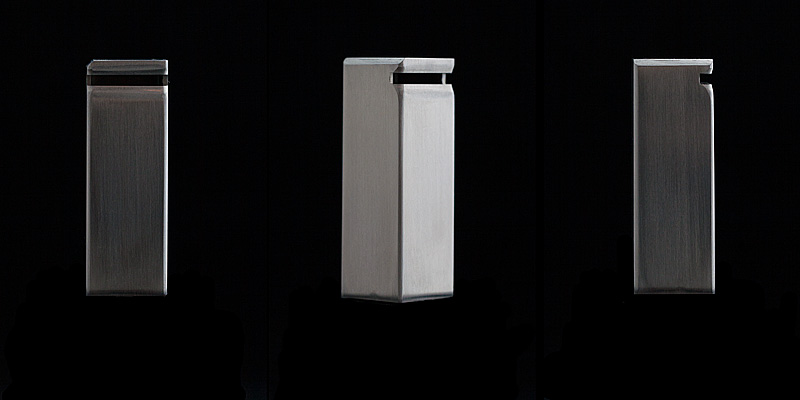
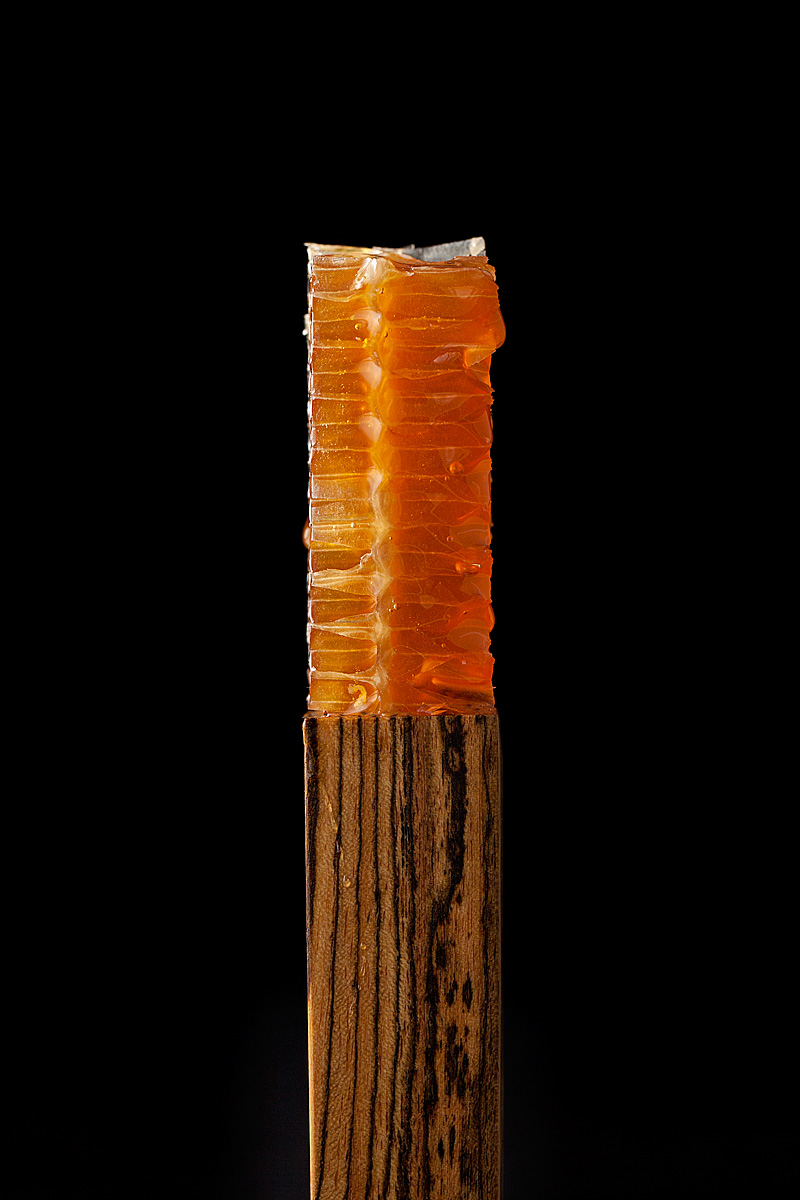
My extractor was fabricated from 1″ stainless steel seamless tube, machined true with a 1″ end mill, slotted with a 1/8″ end mill and capped via TIG welding and sanded to 600 grit with a belt sander, then waxed to a sheen. The Bocote pedestal/plungers were cut from a Bocote turning block via a Miter box with a Japanese handsaw, sanded down to 600 grit, then polished with beeswax. The constant bathing of honey and more beeswax with each extraction only serves to further burnish the plungers, giving them a soft, glassy feel. Not obvious but still significant is an internal filter I made to fit inside each Extractor, made from fine stainless steel mesh to filter out wax and impurities from the honeycomb as it’s smooshed inside the extractor.

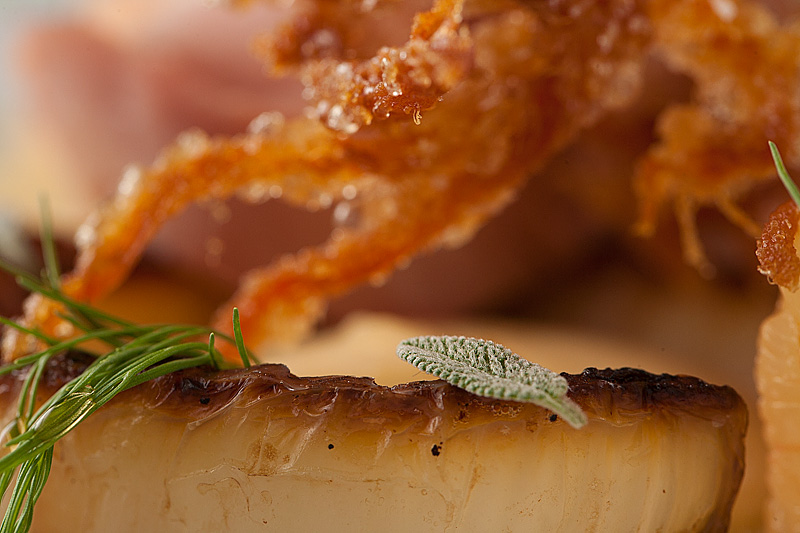
The dish itself is delicious, a perfect blend of autumn and comfort food. The pork tenderloin, cooked medium rare, was incredibly tender and juicy. Amazingly, the Marin Sun Farms pork in and of itself carries flavors of nuts and sage. It’s quite flavorful and required minimal seasoning — a testament to sourcing really fine meat. Coupled with the caramelized fennel and micro sage leaves it was delicious. The puffed pork shoulder is straight up magic for me; sort of like pork fritos. Bacony and crispy and porky and delicious. The cornbread puree played a lovely role, cornbready without needing to call a lot of attention to itself, a testament to restraint for the Alinea guys here. The drizzle of honey and grapefruit segment lent welcome sweetness to the whole dish. It was wonderful; Sarah said she’d put it in her top 10 for this project.
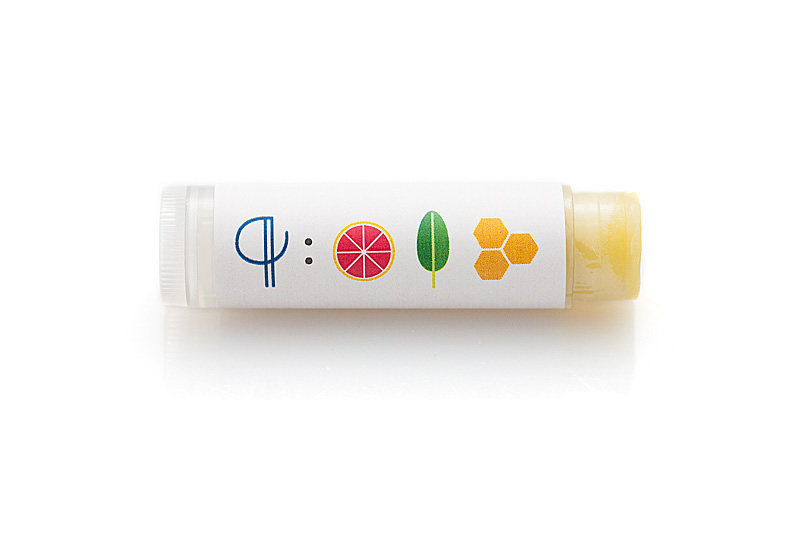
I heard somewhere that Alinea, when it was serving this dish, was left with a glut of beeswax at the end of each night. Each serving yields between 5 and 10 grams of wax, which is significant. Hating to see this go to waste, the restaurant rendered out the wax and used it to prepare lip balm, a takeaway gift to patrons at the end of the meal. This idea is too rad for me to pass up.
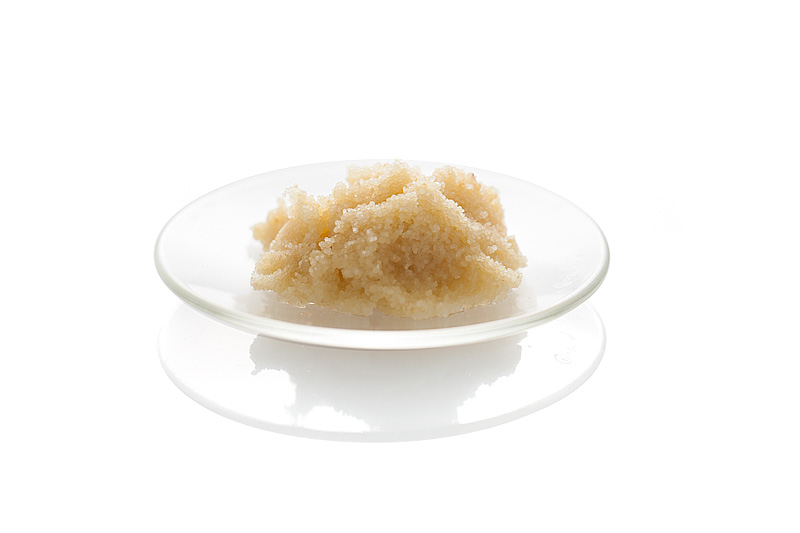
To render beeswax from the spent honeycomb, I put the crushed, extracted honeycomb chunks in a pot of water and warmed it until the wax melted. This was chilled and the wax rose to the top. The wax has a high surface tension, so it tends to form small beads at the top of the rendered mixture. I scooped these off and strained them.
I mixed the beeswax with oil in a ratio of 1 pt wax to 3 pts oil, heating these until the wax melted. I then added some drops of sage and grapefruit oil, and poured the mixture into tubes held with a tool that’s apparently custom-made for doing this (!). After the mixture cools, I scrape it flat with a pastry knife and remove the tubes.
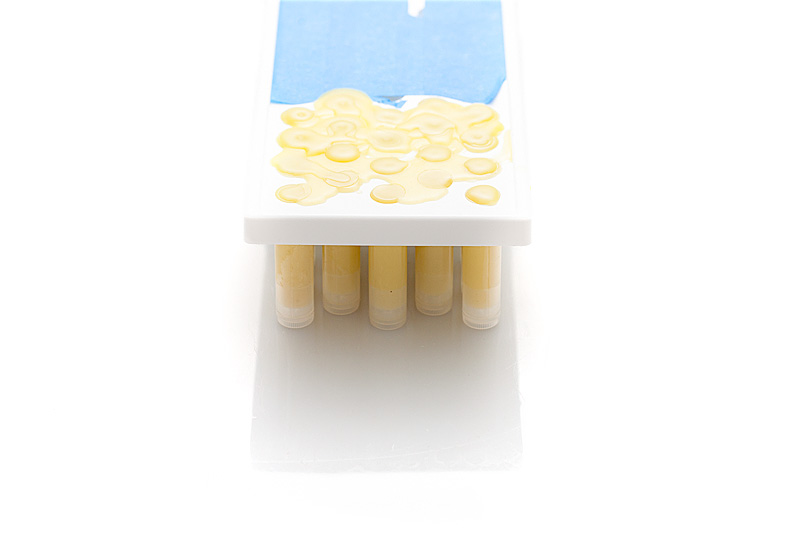
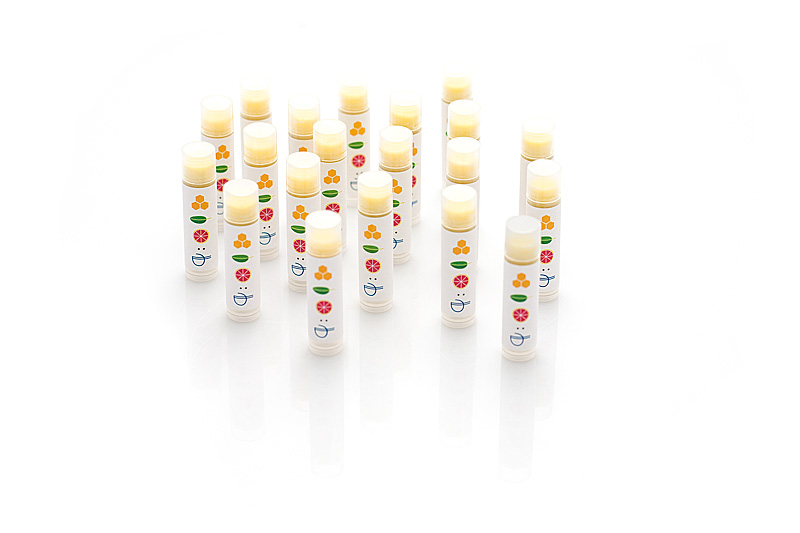
Et voila! The Alinea Project Sage, Grapefruit, Honeycomb lip balm.
4 dishes remaining.
Amazing, once again! You should have a side blog of just who gets to eat it and what their expressions and/or comments are! Thank you!
Allen, I am late to the party, which makes me so sad that you only have 4 more fabulous dishes to make! Congratulations on your recent wedding, and thanks for providing an intelligent and comprehensive guide to your adventures, as well as some amazing photography!
Hi Kris! Thanks so much for the kind words!
And, I suspect I’m just only getting started… 🙂
What, machining and making lip balm tied to the same dish? Too crazy. I’m impressed.
I’m lost here! I can’t make up my mind what impressed me the most.
The absolutly stunning pictures? The fact that you’ve built your own honey extractor? Or should it be the lip balm you’ve made?
I just found your postings via Nomiku blog. I am truly impressed
We often use enzyme peeling for citrus that can’t be effectively supremed, e.g. mandarins and tangerines because the segments come apart so readily, or limes simply because the segments are so small. Occasionally we’ll use it with larger citrus, but not often.
I noticed this “dilution” of flavor the first couple times I worked with the technique, and would have given up on the technique if it weren’t for finding a fix. I reasoned that soaking the fruit in water without the enzymes present would likely have the same effect. So we started mixing the enzyme with the juice of the same fruit, instead of water, and soaking the fruit in its enzyme-added juice. Completely fixes the dilution problem. Give it a try.
Dude, awesome.
I wondered about this! So, using the enzyme in juice rather than water doesn’t affect its…enzymeyness? I’d intended to give that a shot but you saved me the trouble! Thanks man!
This looks amazing. Have you thought what culinary adventure you will scale and hopefully blog about after the Alinea cookbook?
Fantastic job as always on this dish Allen!
Not that you need it, but here is yet another very affordable ($199) Immersion Circulator option that is on the market, has good reviews and support.
http://anovaculinary.com/
I’m thinking the Nomiku folks really have some stiff competition at this price point!
Beautiful site! This is the first comment made but, you would make Elizabeth Andoh proud with your beeswax lipbalm. I admire your dedication to your project and always consistently impressed with your results.
“And, I suspect I’m just only getting started…”-you
” I surely wish so”- your readers
Best!